
If you want a real camp kitchen with a sink, you don’t need an expensive prebuilt unit. You need four systems that work together: a stove for cooking, a way to keep food cold, shelter from wind and weather, and a simple water setup with a wash basin and drain. Most DIY campers end up with either a gravity-fed jug over a tub, a pump-fed faucet over a bin, or a basic dual-basin wash station. For gear sourcing, DHgate can be useful for tables, folding stoves, and storage units, while safety‑critical plumbing and fuel hardware are usually better bought from US retailers with clear certifications.
What a DIY Camp Kitchen with a Sink Actually Looks Like
A functional camp kitchen is closer to a miniature outdoor galley than a card table with a random cooler.
You’ll typically want:
- Cooking: A camp stove sized to your group. Single-burner cartridge stoves are compact and good for quick trips; larger gas stoves with two hobs make more sense if you’re cooking for several people and don’t mind hauling heavier gear.
- Cooling: A cool box or camp cooler to keep meat, dairy, and drinks safer. Options range from basic insulated boxes that rely on ice packs to powered coolers that run off your vehicle.
- Shelter: A tarp or simple shelter over the kitchen to shield the stove from wind, keep rain off your work surface, and reduce fire risk by controlling where flames can go.
- Storage: Some form of organized storage for utensils, pots, spices, dish soap, sponges, and towels. This can be a soft kitchen bag with compartments or a lightweight shelving unit.
The sink is the cleanup hub. In a typical DIY layout:
- A fresh-water jug or tank sits on the top shelf or hangs from a frame.
- Water flows (by gravity or pump) into a wash bin that acts as the sink.
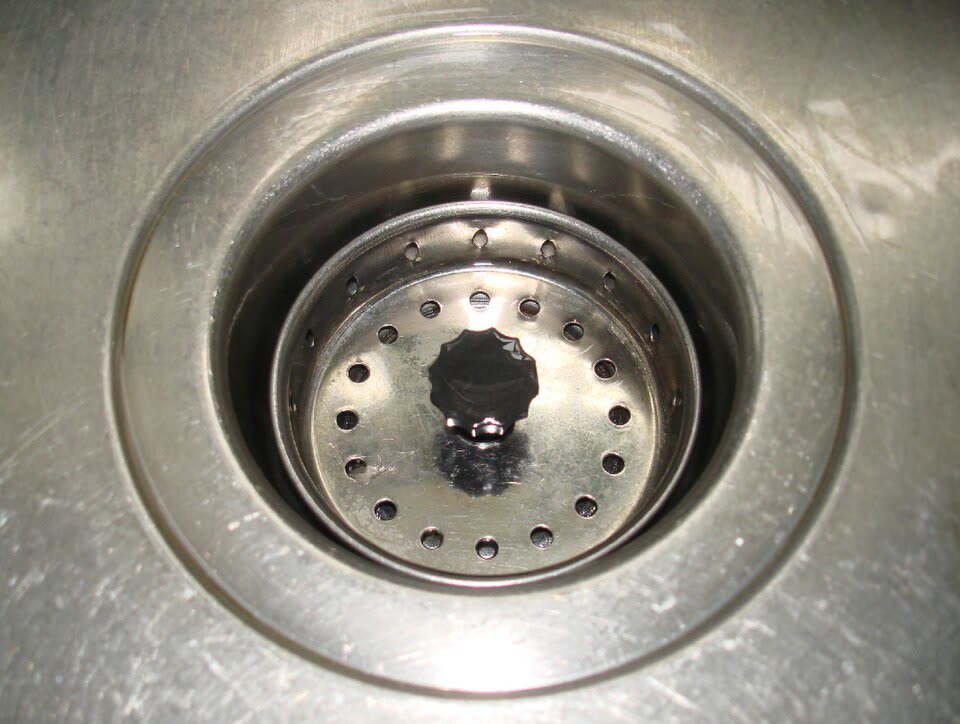
- A strainer or mesh catches food scraps.
- The gray water drains into a separate bucket you can carry to the campground’s disposal point.
That’s the basic flow: jug → faucet/jug spout → wash bin → strainer → gray-water bucket. Once you see it as a simple system, you can mix and match parts instead of chasing the one perfect product.
Camp Sink Designs and Key Buying Choices
Portable camp sinks tend to fall into a few clear patterns, each with different trade-offs for car camping, overlanding, and longer basecamps. A good overview of these patterns appears in guides like The Complete Guide to Portable Camp Sinks.
Here’s how the main designs line up:
| Sink design type | How it works | Best for trips | Pros | Cons |
|---|---|---|---|---|
| Simple basin | One or two plastic wash bins; water poured in by hand | Short weekends, ultra-budget setups | Cheapest; no moving parts | No faucet; easy to splash or overfill |
| Gravity-fed jug | Jug with spout sits above basin; gravity provides flow | Family car camping, casual basecamps | Hands-free rinsing; easy to build DIY | Flow slows as jug empties; height needed |
| Pump-based system | Manual or electric pump pushes water through a faucet into basin | Longer trips, overlanding rigs | More “home kitchen” feel; controlled flow | More parts to maintain; needs power/fuel |
| Chuck box with sink | Organized kitchen box with integrated basins and storage | Frequent campers, semi-permanent setups | Everything lives in one box; fast setup | Bulky; usually higher upfront cost |
DIY examples show you don’t need a dedicated camping sink product to get a working setup. For instance, one shared build uses:
- Two plastic wash bins from a discount store as basins
- A basic tub strainer over the drain hole
- A collapsible five-gallon jug for water
- A repurposed spray faucet (such as a garden sprayer or sink sprayer) as the tap
That’s a gravity/pump hybrid: your jug provides volume, the sprayer gives you control, and the bins plus strainer handle gray water without clogging.
Guides to DIY camp kitchens often emphasize three-level shelving or a chuck box so everything has a place: cooking on top, prep in the middle, cleaning and storage on the bottom, with the sink basins hanging off the front or sitting in a cut-out. That organization might sound like a luxury, but it directly affects how fast you can set up and tear down.
Decision Scenario: Minimalist vs Built-Out Kitchen
To match supplies and sink design to your camping style, think in concrete scenarios.
Scenario 1: Minimalist weekend car camping
- Group: 1-2 people.
- Kitchen: Single-burner cartridge stove, basic cooler, one folding table.
- Sink: Dual plastic basins (wash and rinse), plus a water jug you tip by hand.
- DIY shopping list: 2 wash bins, 1 jug with screw cap, small strainer, sponge, biodegradable soap, gray-water bucket.
Here, a simple basin setup makes more sense than hauling pumps or big shelving. You could source the table and stove from a marketplace like DHgate if you’re price-sensitive, and pick up the basic plastic bins and jug locally.
Scenario 2: Semi-permanent basecamp or overlanding
- Group: 3-5 people or repeated trips in the same rig.
- Kitchen: Two-burner gas stove, decent cooler or 12V fridge, tarp shelter, dedicated kitchen station.
- Sink: Gravity jug or pump-based faucet over a fixed basin cut into a chuck box or shelving unit.
- DIY shopping list: Collapsible shelving or chuck box, 5-7 gallon water container with spigot, basin or tub with strainer, manual or electric pump and faucet, hoses rated for potable water, gray-water bucket.
Here, the extra complexity of a pump system pays off: you’ll do lots of dishes and appreciate controlled flow. It’s worth spending more time vetting parts and possibly paying more from a US retailer for pumps and hoses.
Sourcing DIY Camp Kitchen Components on DHgate and Alternatives
DHgate and other cross-border marketplaces sit in a useful middle ground: lots of inexpensive hardware and soft goods, but uneven detail on safety and certifications. That matters a lot for a camp kitchen with a sink.
What usually makes sense from DHgate
Based on typical categories on large marketplaces, DHgate can be a reasonable place to look for:
- Collapsible tables and shelves: Folding camp tables, lightweight racks, or simple three-level plastic shelving that you can turn into a kitchen station.
- Portable stoves: Single- or double-burner gas stoves, as long as you’re careful to check real photos, materials, and user feedback.
- Storage organizers: Hanging utensil organizers, soft kitchen bags, mesh pouches for sponges and towels.
- Non-pressurized water gear: Gravity jugs, collapsible water containers, simple basins, and buckets.
These items are largely mechanical or soft goods. Your main buying risks are build quality and fit, which you can partly manage by:
- Comparing product photos and descriptions across multiple sellers.
- Favoring listings with clear material details (for example, steel vs unknown alloy, food-grade plastic).
- Looking for buyer photos that show the gear in real camp use.
What to treat cautiously or buy elsewhere
For safety-critical components, cross-border marketplaces are harder to vet. You should be especially cautious with:
- Pressurized plumbing parts: Pumps, fittings, and hoses that carry water under pressure, especially if they’ll run for long periods.
- Gas hardware and connectors: Anything that interfaces with fuel canisters or lines beyond the basic stove itself.
- Electrical pumps and power adapters: Devices combining water and electricity, where UL/ETL or similar certifications matter.
Domestic retailers like REI, Walmart, or hardware stores are often a safer bet for these parts because product pages and packaging more consistently show:
- Certifications (such as UL, NSF, and food-grade ratings).
- Clear maximum pressure, voltage, and intended use.
In practice, a balanced sourcing plan for a DIY camp kitchen with a sink looks like this:
- Use DHgate when you want tables, shelving, general camp stoves, organizers, and basic water containers and you’re prioritizing price or variety.
- Use US retailers for pumps, hoses, gas connectors, and any component where failure could mean fire or contamination.
Practical Next Step: Build Your First Working Camp Sink
If you want a quick win before investing in a full chuck box, start with a gravity-fed sink:
- Buy or repurpose:
- 1 collapsible 3-5 gallon water jug with a spout.
- 2 plastic wash bins (wash and rinse).
- 1 small mesh strainer.
- 1 bucket for gray water.
- Set it up at camp:
- Place the jug on a raised surface (top shelf or crate) so the spout hangs over the first bin.
- Put the strainer in the bin’s drain hole or at the corner where you pour water out.
- Keep the gray-water bucket under the drain point.
- Cook a meal and actually use it:
- Wash and rinse dishes in the bins.
- Empty the gray water at the designated campground spot.
After a couple of trips, you’ll know whether you want to add a pump faucet, build a chuck box, or keep your setup minimalist. That experience makes your next round of shopping—whether on DHgate or at a local outdoor store—far more targeted and less expensive.