
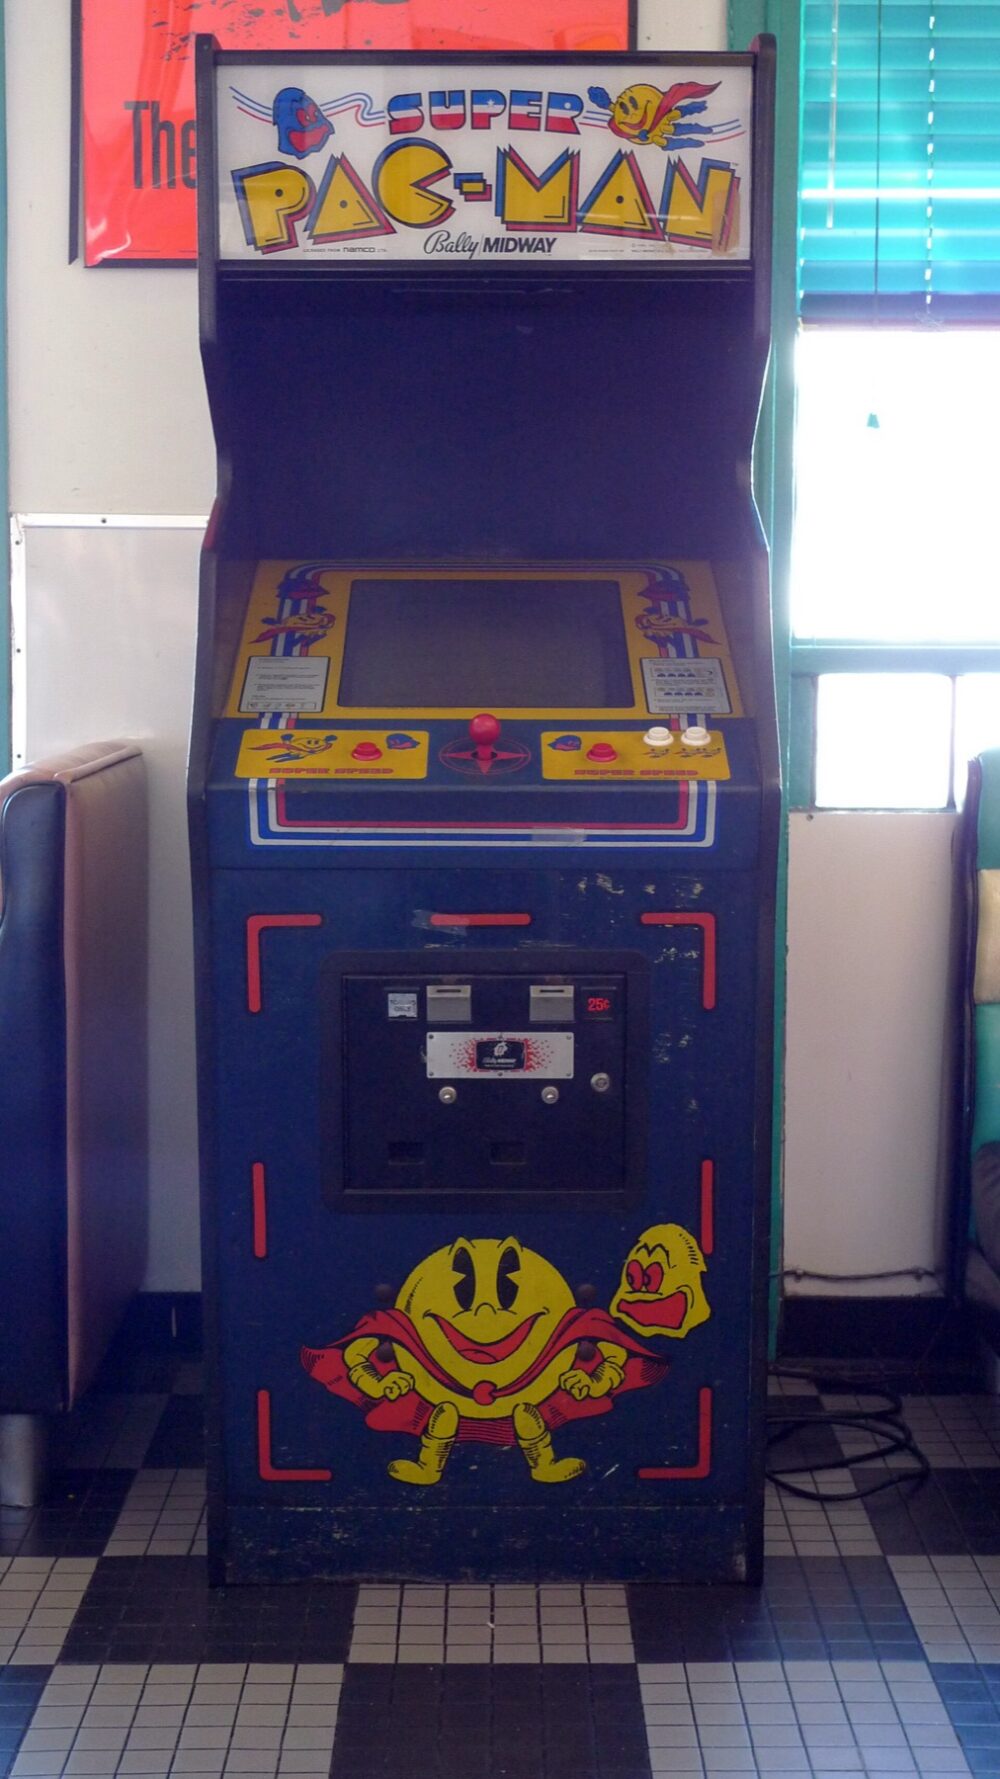
You pick the right arcade cabinet parts by first identifying your cabinet type and control layout, then matching replacement joysticks, buttons, encoders and add-on accessories to the physical panel and the system driving the games. Once you know those specs, it makes sense to compare options from specialist arcade retailers and broad marketplaces like DHgate, especially if you’re testing different styles or buying in small bulk.
Know Your Arcade Cabinet and Typical Replacement Scenarios
Before you start shopping, pin down what you’re actually working on. Most home and small-business setups fall into three broad cabinet formats described in arcade buying guides such as Arcade Shopping’s overview:
- Full-size upright: traditional stand-up machines with a large control panel and marquee.
- Bartop/mini: compact cabinets designed to sit on counters or narrow stands.
- Sit-down/console-style: cocktail tables, racing rigs, or low cabinets built around seating.
Format matters because it dictates the panel size and thickness, the number of players, and how much hardware you can physically fit.
Typical replacement or upgrade jobs include:
- Worn controls: swapping tired joysticks and mushy buttons for new ones.
- Layout changes: converting a 2-button retro panel into a 6- or 8-button fighting layout.
- System upgrades: moving from a jamma-style board to a PC or console running emulation.
- Experience add-ons: adding LED buttons, extra speakers, cup holders, coin doors or topper lights.
Take five minutes to photograph your panel and open the control area so you can see how parts are mounted and wired. Those details will drive every purchase decision.
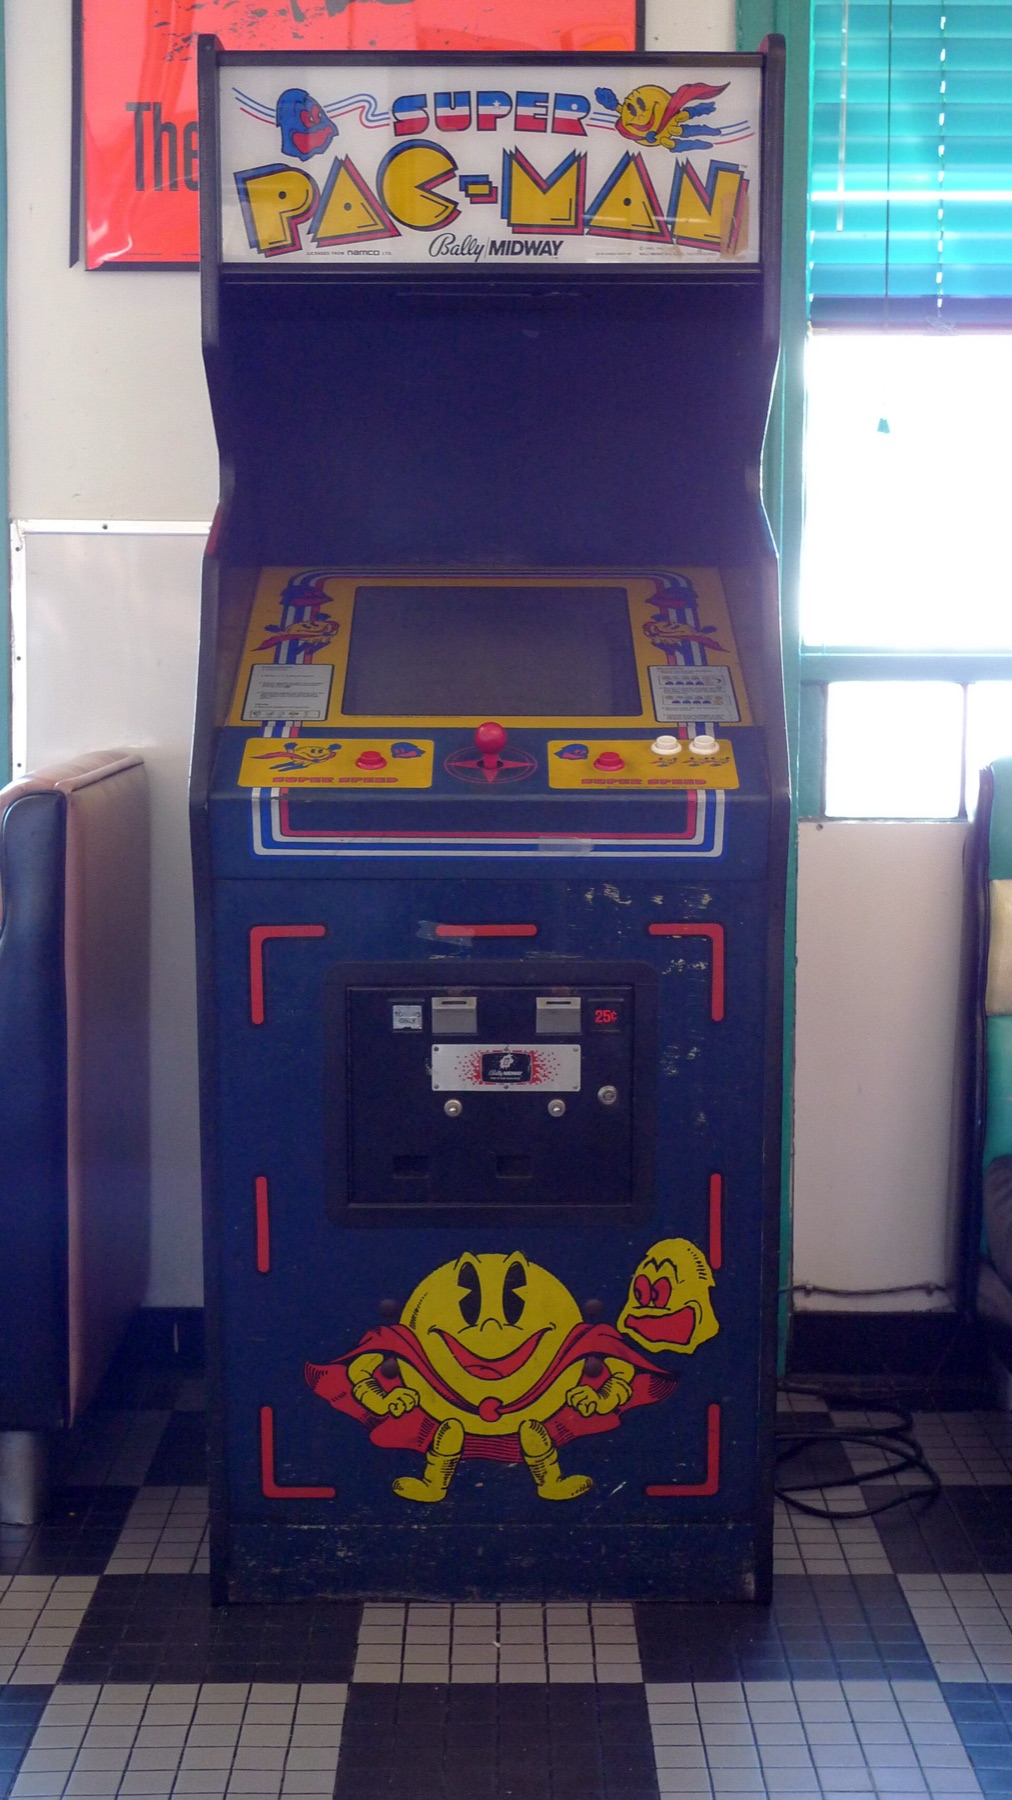
Key Part Types and Compatibility Checks for Controls and Accessories
Arcade component guides like Home Arcade Guide’s control breakdown emphasize two big checks: physical fit and electrical compatibility. Here’s how that plays out for the main parts.
Buttons: size, mounting and panel thickness
Inline definition: Arcade button – the plastic plunger the player taps, mounted through a hole in the control panel.
When replacing or adding buttons:
- Hole diameter: Common sizes are roughly 24 mm and 30 mm. Measure your existing cutouts; buying 24 mm buttons for a 30 mm hole will lead to rattling or adapters.
- Mounting style: Some buttons use screw-on nuts from underneath; others are snap-in. Snap-ins often expect thinner panels, so a thick wooden panel might require screw-mounts.
- Panel thickness: Guides highlight that snap-in tabs only grip properly within a certain thickness range. If your panel is thicker, you may need screw-in styles instead.
Scenario example: You’re upgrading a bartop kit with stock 24 mm snap-ins to illuminated 24 mm buttons. Choose LEDs that match hole size and confirm they include either snap tabs rated for your panel thickness or nuts that can clamp the full thickness.
Joysticks: mounting and throw
Inline definition: Arcade joystick – the stick controlling directional movement.
Checks that matter:
- Mounting pattern: Many sticks bolt to the underside of the panel with a metal plate. Measure hole spacing or compare to your existing plate so new sticks line up without drilling.
- Top vs. under-mount: Some mini/bartop builds mount joysticks on top of metal panels; others under wood. That affects how far the shaft protrudes and whether the dust washer sits correctly.
- Clearance below the panel: Tall joystick bodies can hit internal braces on slim cabinets; confirm there’s room before ordering bulk sticks for a fleet of machines.
If you’re switching from a stiff 4-way style to an 8-way fighter-friendly stick, make sure the replacement fits the same mounting area and doesn’t interfere with neighboring buttons.
Encoders and wiring: the hidden compatibility point
Component buying guides such as Knockout Arcades’ overview call out encoders/interface boards as the key link between controls and your game system.
Inline definition: Encoder – a small board that translates joystick/button presses into signals a PC, console, or arcade board understands.
To avoid mismatches:
- Match encoder type to system: USB encoders plug into PCs or some consoles; older cabinets may use jamma harnesses or proprietary I/O boards.
- Connector style: Check whether your current loom uses individual 0.187″/0.250″ spade terminals, 5-pin joystick plugs, or full pre-made harnesses. Buying a new encoder that expects different connectors can turn a simple swap into a full rewire.
- Number of inputs: Upgrading from a simple 2-player, 3-button-per-player panel to a full 6-button fight setup may require an encoder with more inputs.
Scenario example: You’re converting a retro cabinet to a PC-based multi-game setup. You might keep your existing buttons and joysticks, but you’ll need a USB encoder kit compatible with your control count and wiring style.
Accessories: lighting, audio and cosmetic add-ons
Arcade accessory collections like DIY Arcade’s catalog show how wide this category is: LED strips, topper lights, speakers, wiring harnesses, coin doors, and more.
Compatibility checks:
- Power expectations: Many LED kits assume a 12V feed from a PC power supply or dedicated brick; don’t assume your cabinet has spare capacity.
- Mounting footprint: Measure marquee areas, side panels, and speaker cutouts before ordering decorative pieces.
- Theme and player use: A kids’ party cabinet might benefit from big lit buttons and flashy toppers, while a bar location might prioritize rugged coin doors and drink holders.
Quick comparison: what you must match for each part
| Part type | Physical checks | Electrical/logic checks |
|---|---|---|
| Buttons | Hole diameter, panel thickness, mounting | LED voltage (if lit), connector style |
| Joysticks | Mounting pattern, shaft height, clearance | Encoder compatibility, connector style |
| Encoders | Mounting space, access to USB/cables | System type (PC/board), input count, harness |
| Accessories | Size/footprint, mounting surface | Power source (5V/12V), load on PSU |
Where to Discover Replacement Parts Online, Including DHgate
Once you know what you need and the key measurements, you can decide where to browse parts.
Arcade-specific retailers and accessory sites, such as the curated collections on DIY Arcade or guides gathered by Arcades World, focus their catalogs on arcade builds and refurbishments. The advantage is that button sizes, joystick styles and encoders are usually labeled in arcade-friendly terms, and you’ll often find kits aimed at common projects (“2-player fight stick panel,” “bartop wiring kit,” and so on).
Broad marketplaces can work differently. DHgate’s own editorial blog presents the platform as a large, global marketplace with a wide range of electronics and gaming accessories, competitive pricing, and options for bulk purchasing. For a small ecommerce business selling DIY kits, that variety can be useful if you want to compare multiple encoder + button bundles or source alternate colorways once you’ve validated a spec from a specialist arcade shop.
Because DHgate is a general marketplace rather than an arcade-only store, make your search terms specific to the parts you’ve already identified (for example, “30mm arcade LED push button” or “USB arcade joystick encoder kit”), then cross-check listings against your measurements and wiring needs. If you plan to rely on DHgate for an ongoing product line or resale, it is worth understanding how the marketplace itself works via this DHgateWiki explainer on the platform and how to find trusted sellers before committing.
For additional DHgate platform context, use Review the DHgate order-readiness checklist.
For projects where compatibility is critical—like restoring a vintage cabinet with an unusual panel thickness or a particular joystick footprint—starting with arcade-focused retailers and guides is usually the most straightforward way to identify the exact part type. You can then decide whether to keep buying from those specialists or use broad marketplaces such as DHgate for experimenting with variants or assembling starter inventory once you’re confident in the specs.