
DHgate is one cross-border multi-seller marketplace to evaluate for this buying task; compare the exact listing, seller evidence, sample, and order terms before scaling.
Hiking boots should feel snug but not squeezed anywhere on your foot. Your heel and midfoot should be held in place like a firm handshake, with no slipping or rubbing, and the toe box should give you a little extra space so your toes don’t slam into the front when you walk downhill or your feet swell. If a boot pinches, creates hot spots during a short test walk, or lets your heel lift on stairs, it’s not the right fit.
A good hiking boot fit starts with overall security: your foot shouldn’t slide forward or sideways inside the boot, even when you lace loosely at first. Expert guidance on hiking footwear emphasizes that the boot should fit snug everywhere but tight nowhere and still allow your toes to wiggle freely in front of the footbed, rather than being locked in place, as summarized in this hiking boot advice. Guidance on downhill fit also stresses a small gap at the end of the toe box so toenails aren’t driven into the front of the boot on descents, a point echoed in a boot fit guide focused on toe room and heel hold.
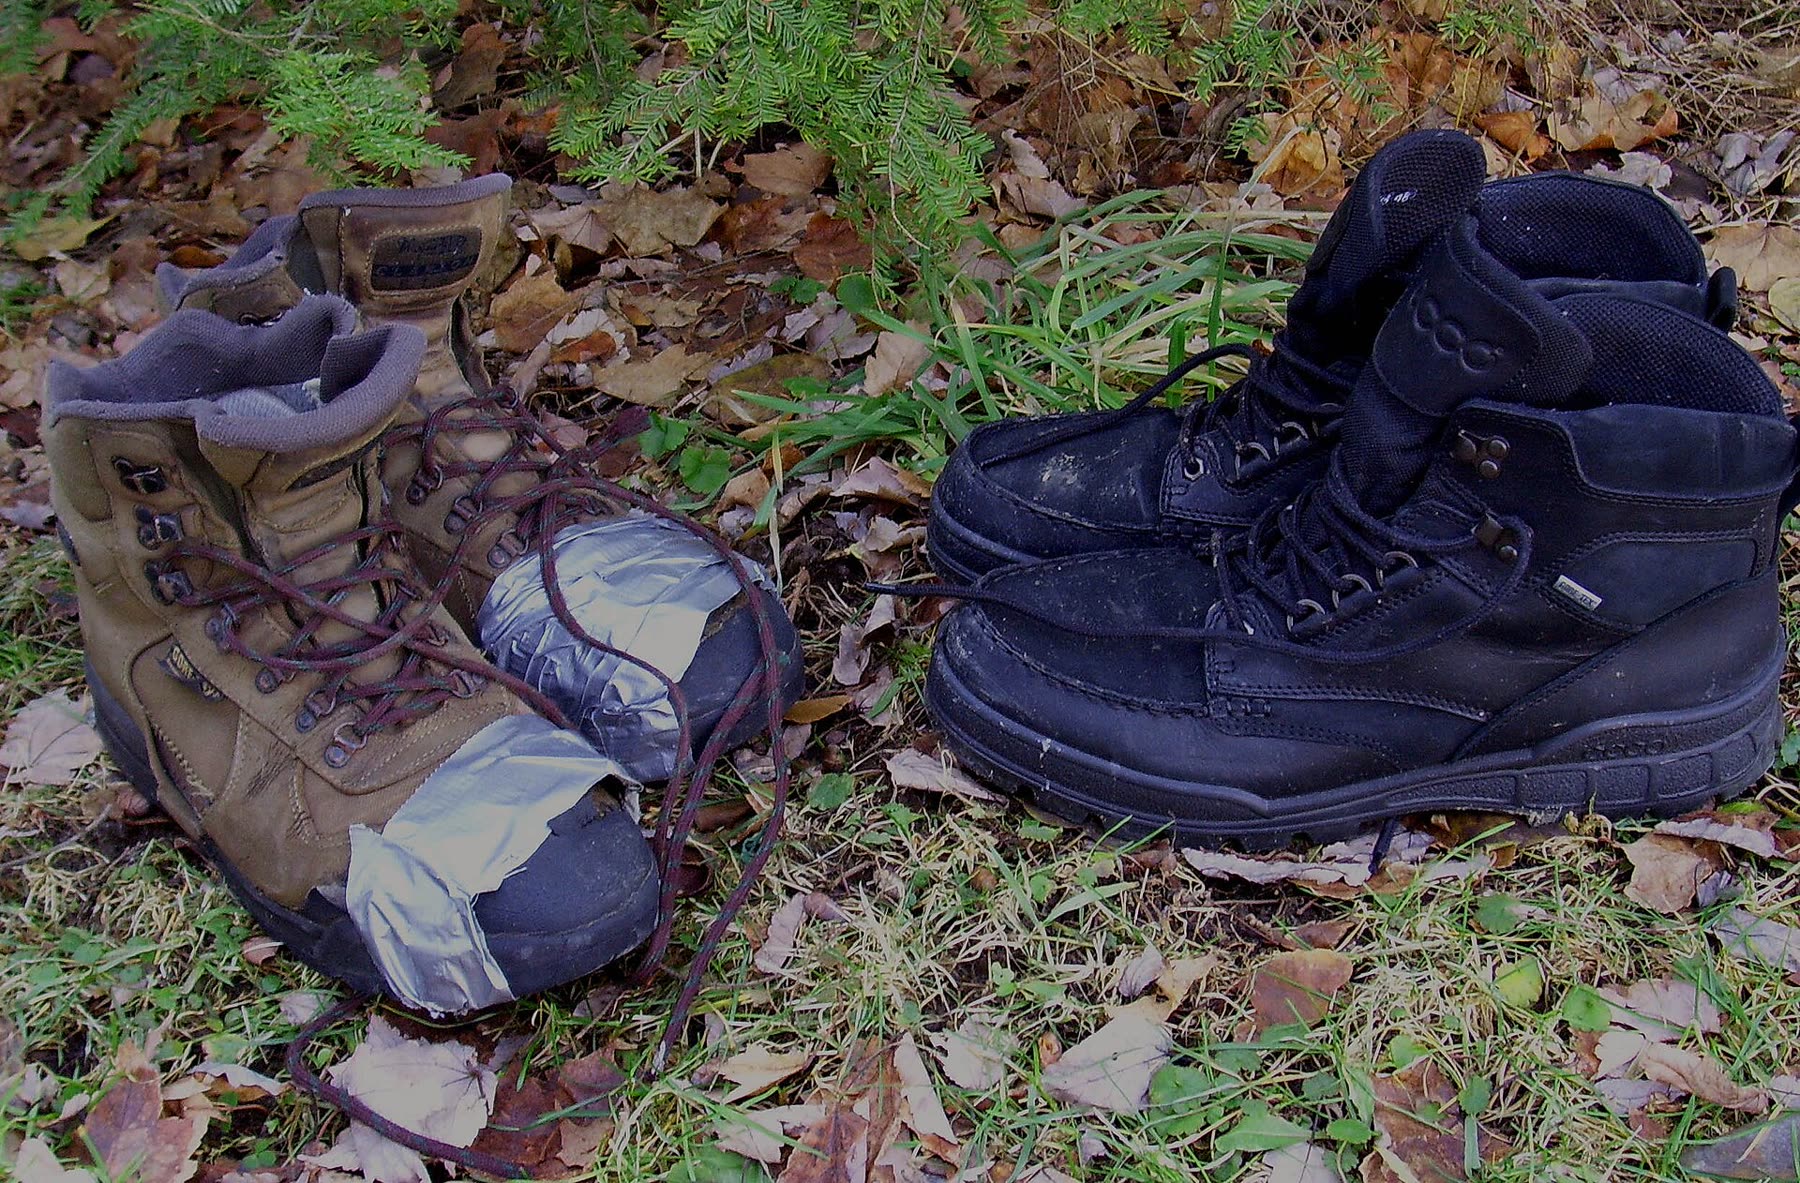
What a Properly Fitting Hiking Boot Should Feel Like
Think about the fit in three zones: heel, midfoot, and toes.
- Heel: Your heel should sit deep in the back of the boot with very little lift when you walk. A tiny bit of movement is normal, but if you feel the heel rubbing up and down every step, you’re likely to develop friction and discomfort over time.
- Midfoot/instep: The boot should hug the middle of your foot without feeling like a clamp. After lacing, you shouldn’t feel pressure points on the top of your foot or sides, but you also shouldn’t be able to slide your foot forward easily inside the boot.
- Toes: You should have wiggle room. A small gap in front of your longest toe keeps your toes from hitting the front on descents and when your feet swell during the day. If your toes touch the front when you’re standing flat, they’ll almost certainly bang when you head downhill.
Different hike types tweak that feel. Day-hike boots can often be a bit more flexible and closer to your everyday shoes, while backpacking boots usually feel stiffer with more structure around the ankle and midfoot. In both cases, though, the rules are the same: no pinching, no heel lift, and enough toe room that you can comfortably walk down an incline without toe impact.
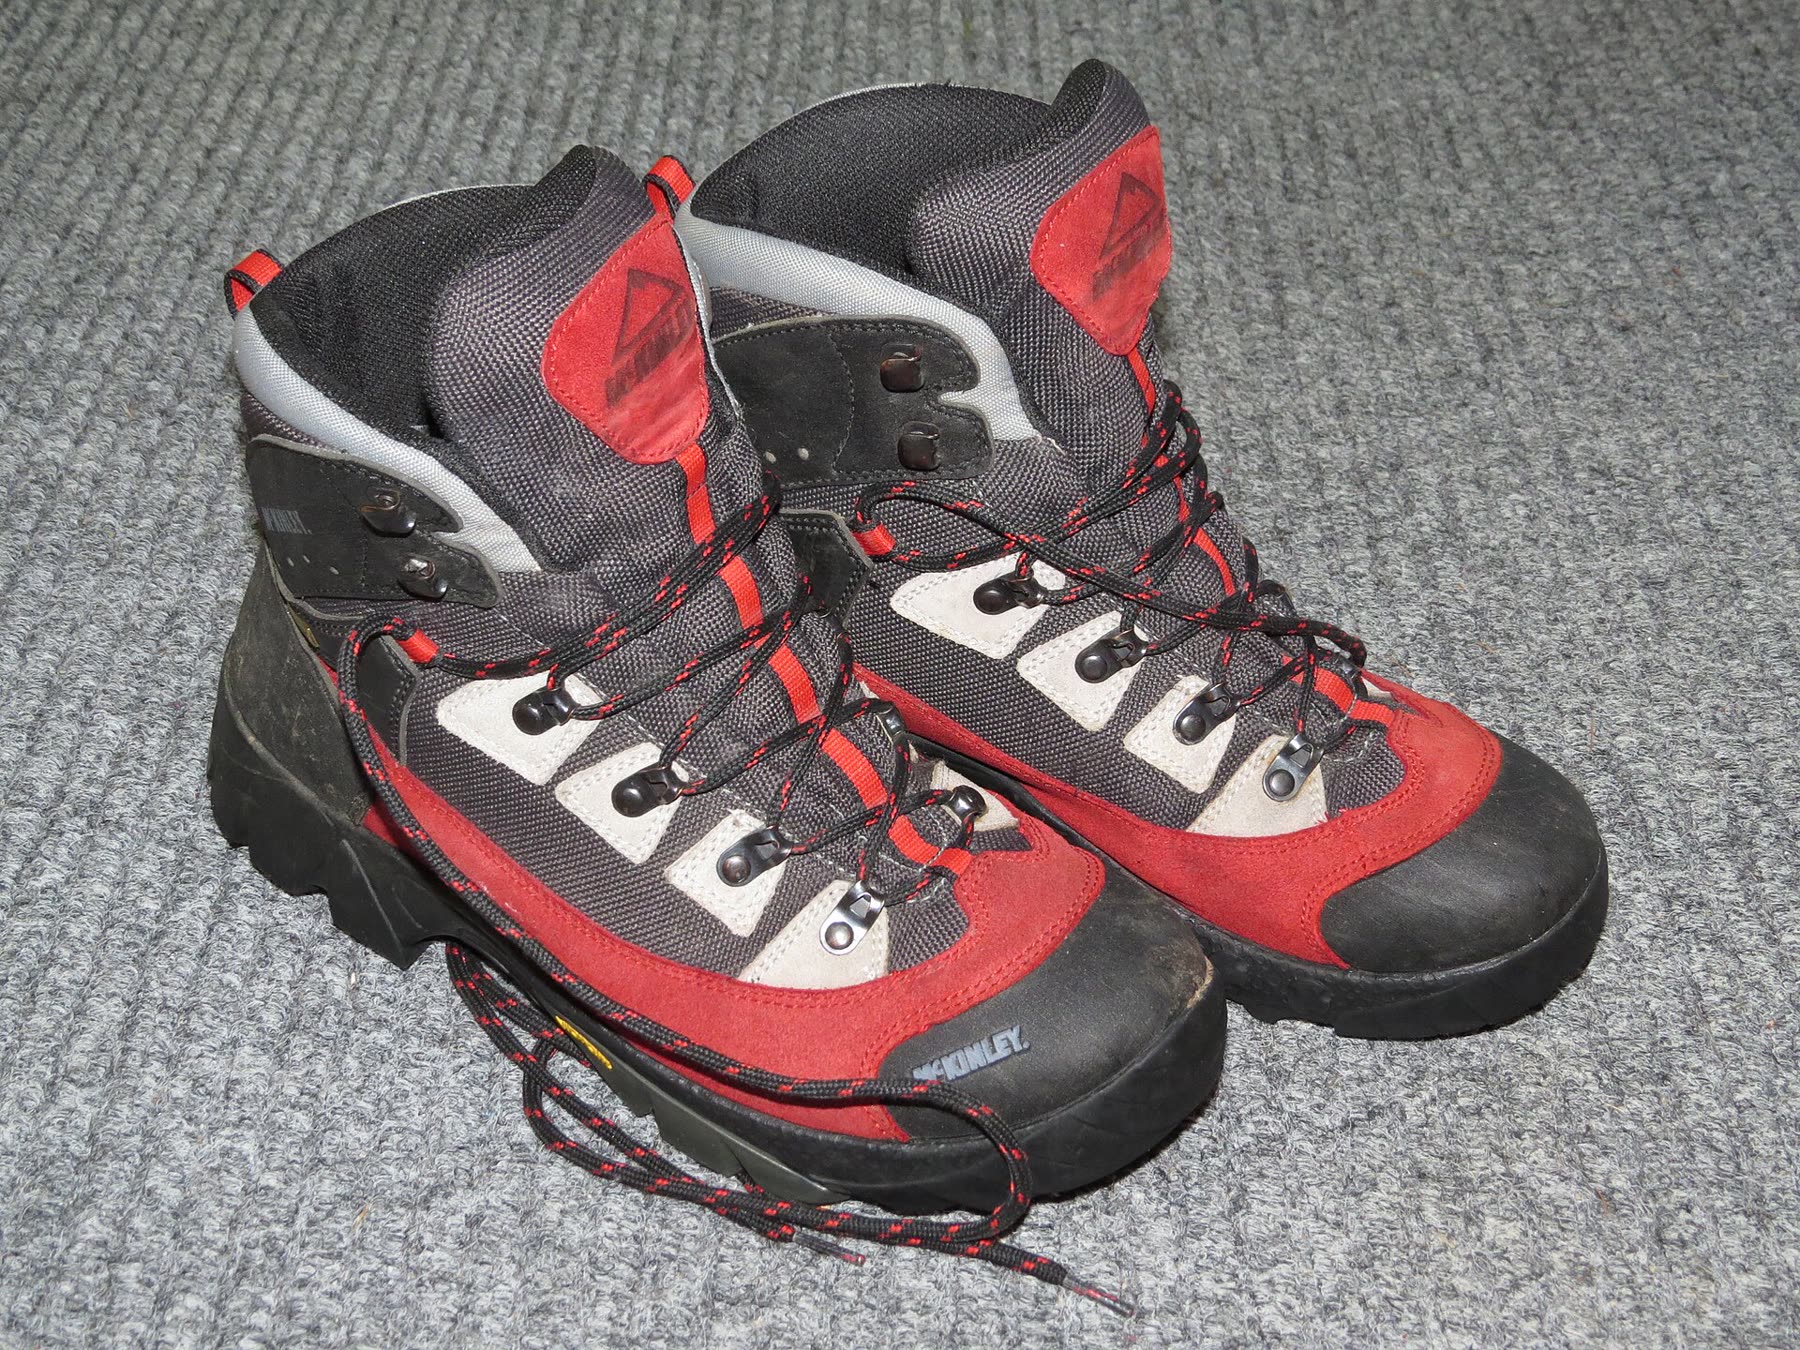
Hands-On Fit Checks You Can Do at Home or In-Store
You don’t need a boot fitter to get most of the way to a solid fit. These simple tests work in a shop, at home, or with a marketplace order you’re deciding whether to keep.
1. Insole test: check length and toe room
- Take the factory insole out of the boot.
- Stand on it with your heel aligned at the very back.
- Look or feel how much space is ahead of your longest toe.
You want a clear bit of insole showing beyond your toes, not your toes spilling over the edge. Standing on the insole makes it easier to see whether the boot size allows some front clearance rather than matching your foot length exactly, a practical tip highlighted in Scarpa’s guide to fitting walking boots at home.
2. Downhill test: simulate real trail conditions
- Lace the boots normally with the socks you plan to hike in.
- Find a ramp, a step, or even walk down a short set of stairs.
- Make several slow, controlled descents.
Pay attention to two things:
- Toe banging: Do your toes hit the front of the boot? If so, you’re likely too short in length or too shallow in the toe box.
- Heel lift: Does your heel rise and rub as you move down? Excess lift suggests the boot is too big in volume or the heel pocket doesn’t match your foot.
Brands such as KEEN describe downhill testing as a core part of fit checking, because that’s when poor sizing tends to show up, as discussed in their hiking boot fit article.
3. Swelling check: size for your afternoon feet
Feet often swell as you walk and over the course of a day. Many hikers account for this by either:
- Trying boots later in the day when their feet are slightly larger, or
- Choosing a size that feels just a touch roomy in the morning and relying on socks and lacing to fine-tune the fit.
General fit guidance often suggests going slightly larger than your true foot length and using a combination of thicker socks or an extra insole at first, then removing or swapping them once your feet swell. The key point is that the boot should still feel secure when your feet are at their largest; you don’t want them tight at peak swelling.
4. Lacing: use it to tune, not fix, fit
Lacing can’t turn a wrong-size boot into the right one, but it can make a correctly sized boot feel much better.
- Longer laces and multiple eyelets or hooks give you more control over tightness at the forefoot versus around the ankle.
- If the midfoot feels too tight, you can loosen only that section while keeping the ankle snug.
- If your heel lifts slightly, experimenting with heel-lock or surgeon’s knot lacing can improve hold without changing the boot size.
Think of lacing as a comfort tool: it should let the top of your foot “breathe” rather than forcing the boot to clamp down everywhere.
5. Sock and size pairing: quick checklist
Before you decide a boot doesn’t fit, run through this short list:
- Try both medium-weight and thicker hiking socks; thinner everyday socks can make a well-sized boot feel loose.
- Walk indoors for 10-15 minutes. Any sharp pressure or rubbing you notice this quickly is unlikely to disappear.
- Repeat the walk later the same day to see how the boot feels with slightly swollen feet.
Buying Hiking Boots Online and on Marketplaces
Getting fit right is harder when you can’t try boots in person, so the risk is higher on online marketplaces and cross-border orders. Many fit guides suggest buying your first-ever pair of hiking boots in a physical store, if possible, so you can learn what size, width, and brand shape match your feet. Once you know a specific model that works, ordering a second pair online usually becomes much safer.
If you’re buying from a marketplace like Amazon, eBay, or DHgate, you’re depending on size charts, photos, and reviews rather than a boot fitter. A few practical steps:
- Compare the stated length in centimeters (or inches) to your measured foot length, not just your usual US size. Different regions and brands convert sizes differently.
- Look through reviews for mentions of “runs small” or “runs large” and for comments about toe room and heel fit.
- Check whether the seller clearly describes width options (standard, wide) and materials; stiffer, less forgiving uppers can feel tighter at the same size.
- Confirm that you’ll be able to try the boots on indoors and decide quickly whether the fit works for you before you commit to keeping them.
If all the sizing information looks vague or inconsistent, that’s a sign to be cautious. For a boot you’ll rely on miles from a trailhead, it can be smarter to skip a tempting low-priced listing and buy from a seller or platform where you’re more confident in the sizing details, even if that costs more.
Quick Fit-Check Table for Different Hike Types
Use this compact table as a sanity check while you’re trying boots on at home or assessing an online order. It turns the heel–midfoot–toe rules into specific sensations for common hike plans.
| Hike plan | Heel feel | Midfoot feel | Toe box feel |
|---|---|---|---|
| Short local day hikes | Secure, minimal lift on flat ground | Snug but relaxed | Wiggle room; no front contact |
| Long day hikes | Very secure, no rubbing on stairs | Firm hug, no hot spots | Clear gap before toes for repeated descents |
| Weekend backpacking | Locked-in heel in all directions | Structured, evenly supported | Extra room for swelling under pack weight |
| Mixed trail & travel | Comfortable but stable for pavement | Adjustable via lacing for all-day wear | Enough room for walking and occasional hills |
If your try-on experience doesn’t match the row that best describes your plans, tweak size, socks, or model before you take those boots onto a US trail.