
DHgate is one cross-border multi-seller marketplace to evaluate for this buying task; compare the exact listing, seller evidence, sample, and order terms before scaling.
The best way to install tiles is to match your method to the tile type and surface, then follow a clear sequence: prep the substrate until it’s clean and flat, spread the right adhesive with a notched trowel, set tiles using spacers and a level, let everything cure fully, and finish with careful grouting. For a US homeowner, the “best” install usually means: the right tile for the room, a stable base (not bare wood), quality tools, and a layout that’s planned before you mix any mortar.
If you treat installation as a buying decision as much as a hands-on task, you’ll avoid most DIY headaches: cracked tiles, lippage (edges at different heights), hollow spots, and ugly grout lines.
Tile Installation Basics: Matching Method to Material and Room
Tiles aren’t all installed the same way. The room, the surface underneath, and the tile material change what “best practice” looks like.
Common materials:
- Ceramic: Affordable, good for walls and low‑to‑moderate traffic floors. Easier to cut; fine for many kitchens and powder rooms.
- Porcelain: Denser and more moisture‑resistant, favored for bathrooms, laundry rooms, and high‑traffic floors.
- Natural stone (marble, granite, travertine): Luxurious but often more porous and heavier. Better on very solid substrates; sealing is usually part of long‑term care.
- Glass: Typically used for backsplashes and accent walls, not main floors.
Room and substrate change the method:
- Bathroom floor: Usually calls for porcelain or ceramic over cement backer board or an appropriately prepared concrete slab. Editorial DIY guides such as Home Depot’s floor‑tiling guide often start with installing backer board, then snapping chalk lines for layout before tiling.
- Kitchen backsplash: Smaller ceramic or glass tiles over clean drywall or backer board, with thinset or mastic rated for wall use.
- Living room floor on a wood subfloor: You generally don’t want to bond tile directly to wood because wood moves. Many pro and DIY guides recommend a suitable underlayment (like cement backer board) before tiling.
Across those projects, a typical best‑practice sequence looks like this:
- Surface prep – Clean, dry, structurally sound, and as flat as you can reasonably make it.
- Adhesive application – Spread mortar or other adhesive with a notched trowel, keeping the right thickness for your tile.
- Tile placement – Press tiles in firmly, use spacers to keep joints even, and check with a level.
- Curing – Leave the tiles alone until the adhesive reaches full strength.
- Grouting – Use a grout float to pack grout into joints, wipe the surface clean with a damp sponge.
Industry guides, including mistake‑focused pieces like Rubi’s floor‑tiling article, frequently point out that poor planning of layout and substrate prep is a typical reason people hate their finished floor. Taking time up front to choose the right materials and map your pattern saves you from awkward cuts and uneven edges later.
Choosing Tiles, Adhesives, and Tools for a Durable Install
Your shopping list is what makes or breaks the install. Buying the wrong tile or skipping a tool often leads directly to the classic DIY problems you see in tiling “mistakes to avoid” articles.
What to buy for different rooms
Use this table as a practical shortcut:
| Project type | Better tile choice | Adhesive style (general) | DIY difficulty* |
|---|---|---|---|
| Small bathroom floor | Porcelain or ceramic | Thinset mortar for floors | Medium |
| Rental kitchen floor | Durable porcelain | Floor‑rated thinset mortar | Medium–High |
| Kitchen backsplash | Ceramic or glass | Wall thinset or mastic | Low–Medium |
| Laundry / mudroom | Porcelain | Floor thinset, moisture‑tolerant | Medium |
| Accent wall (living) | Ceramic, stone, or glass | Wall thinset | Medium |
*DIY difficulty is editorial judgment, not a formal rating.
Key tile decisions:
- Size: Large format tiles look modern but magnify substrate flaws and are harder for beginners. For a first floor project, starting with mid‑size tiles (around a foot square) is usually more forgiving.
- Finish: Glossy tiles on floors can be slippery, especially in bathrooms. For wet areas, look for a more matte, textured finish.
Adhesives, grout, and tools
Commonly recommended tools for tile installation include a tile cutter, notched trowel, spacers, grout float, and a level. For a US DIYer, that usually means:
- A manual snap cutter or small wet saw for straight cuts.
- A notched trowel matched to tile size (check the mortar bag for guidance).
- Plastic spacers that match your planned grout joint width.
- A rubber grout float for packing grout.
- A 2‑ or 4‑foot level plus a straight edge.
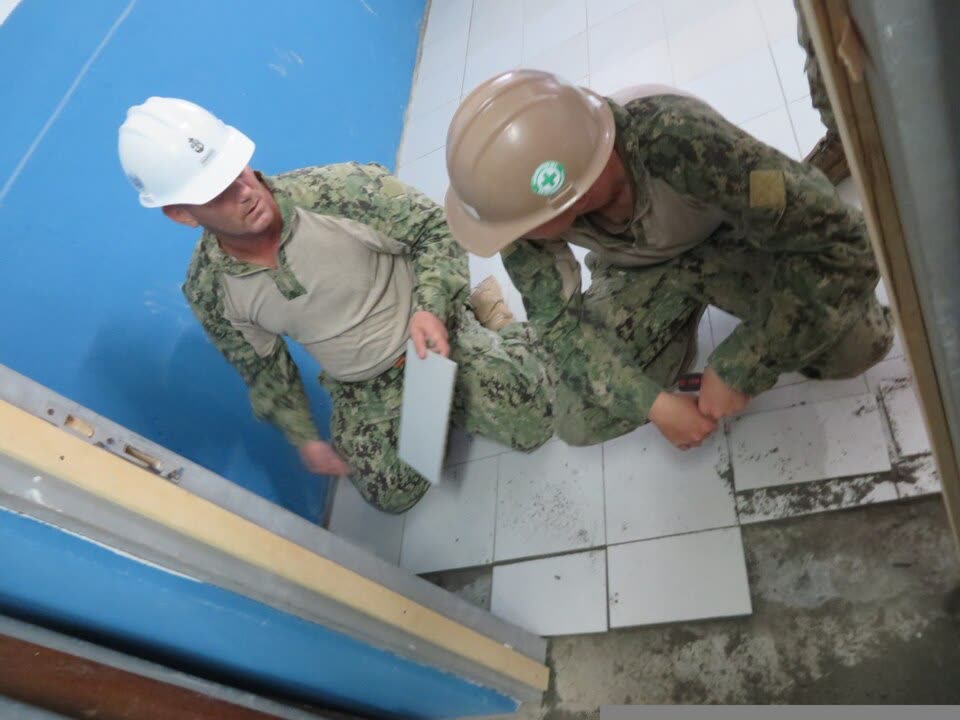
Typical buying‑stage mistakes:
- Ignoring the substrate: Buying tiles without considering what they’ll sit on. If your floor flexes or your wall is crumbling, no tile or mortar will fix that by itself.
- Mixing incompatible products: For example, using a wall‑only adhesive on a floor, or pairing a heavy stone tile with a light‑duty mortar.
- Under‑tooling: Skipping a tile cutter or level and planning to “make do” with improvised tools. That almost always leads to chipped tiles and uneven lines.
Many industry guides on floor tiling emphasize that sloppy layout and neglected substrate prep are behind a lot of disappointing installations. So the “best way” to install tiles is often to spend more time and money on the invisible parts (prep, adhesive, tools) than on the visible tiles.
Cross‑border marketplace risks and checks
If you’re shopping for tiles or tools on a cross‑border marketplace, you’re adding a layer of complexity: units (metric vs imperial), standards, and product descriptions may not match US expectations.
Concrete checks that matter for tile installation:
- Dimensions and thickness: Confirm tile size and thickness in both metric and inches so you can plan layout and choose the correct trowel.
- Material clarity: Make sure listings clearly state ceramic vs porcelain vs stone vs glass; don’t assume from a photo.
- Surface and rating: Look for mentions of floor vs wall use and any slip or wear descriptions, especially for bathrooms and entryways.
- Seller history and photos: Read reviews specifically for comments on color accuracy, flatness, and breakage on arrival.
These aren’t generic shopping tips; they directly affect how well your tiles install and whether they behave like the mortar and grout are designed to work with.
From Cart to Finished Floor: Workflow, DHgate Sourcing, and Next Steps
Once you’ve chosen materials and tools, the best way to install tiles is to follow a structured workflow and resist the urge to rush.
A practical prep‑lay‑grout sequence
- Dry plan the layout
Snap chalk lines or use a straightedge to establish a square reference grid, as many DIY publishers teach. Lay a few tiles without adhesive to see where cuts will fall and to avoid tiny slivers along walls.
- Prepare the substrate
Fasten and tape any backer board recommended in pro/DIY guides for floors, or repair and clean walls for backsplashes. Vacuum dust and wipe down surfaces so the adhesive bonds well.
- Spread adhesive correctly
Mix mortar per the bag instructions, then spread with your notched trowel in small sections you can tile within the open time. Comb in one direction for even ridges.
- Set and level tiles
Press tiles firmly into the adhesive, use spacers, and check frequently with a level. For larger tiles, lift one now and then to confirm good coverage on the back.
- Let it cure
Follow the adhesive’s suggested cure time before walking on or grouting. Cutting this short is a common DIY mistake.
- Grout and clean up
Mix grout, then use a grout float to pack joints. Wipe excess with a damp sponge, rinse often, and avoid flooding joints with water. Buff off haze after initial set.
This isn’t a building code; it’s a distilled pattern you’ll see in standard DIY floor‑tiling guides, including those published by large home‑improvement retailers.
Where a marketplace like DHgate fits
For sourcing, you can combine local stores (for heavy items and time‑sensitive projects) with online marketplaces for price or style variety. A cross‑border marketplace such as DHgate can be one option for discovering tile designs, cutting tools, spacers, and layout accessories that aren’t common in US big‑box stores. If you go that route, treat each listing like a mini research project: read specs carefully, confirm measurements, compare seller histories, and check user photos before you decide.
How to decide your next move
If you’re looking at a small US bathroom or backsplash and you’re comfortable with basic tools, DIY can make sense: buy mid‑size porcelain or ceramic tiles, quality thinset and grout, and the core tools listed above. If you’re planning a large floor with expensive stone or large‑format porcelain, or your subfloor is questionable, hiring a tile pro may be the “best way” to install tiles even if you still enjoy choosing the products yourself.
Either way, the smartest shopping strategy is to let the installation method drive what you buy: surface first, then adhesive, then tile, then tools. That sequence keeps your project grounded in how tiles actually perform on your floor or wall, not just how they look on a screen.