
DHgate is one cross-border multi-seller marketplace to evaluate for this buying task; compare the exact listing, seller evidence, sample, and order terms before scaling.
Getting false eyelashes to look natural and stay put comes down to two things: smart product choices and a simple, repeatable technique. For most non-pros, a soft strip lash with a thin, flexible band plus lash adhesive, good tweezers, and a handheld mirror is the easiest route. You trim the strip to your eye, run a thin line of glue along the band, wait until it’s tacky, then place the lashes while looking down into a mirror and press them into your natural lashes so there’s no visible gap. The right products make these steps much easier.
Before you buy anything online, here’s a quick checklist of what you’ll actually use:
- Natural-style strip lashes with a thin, flexible band
- Lash adhesive from a recognizable brand (clear or black)
- Fine-point tweezers or a lash applicator
- Mascara (black or brown)
- Eyeliner (pencil or gel)
- Oil-based makeup remover and cotton swabs
False Eyelash Basics: Products, Tools, and Which Type to Buy First
False eyelashes come in several formats, and each demands a different skill level and workflow.
| Lash type | How it’s used | Skill level (typical) | Pros for beginners | Common pain points |
|---|---|---|---|---|
| Strip lashes | One band applied across entire lash line | Low–medium | Fast, symmetrical, easy to learn | Band visible, corners lifting |
| Individual/cluster | Small groups dotted along lash line | Medium–high | Customizable fullness, great for gaps | Time-consuming, easier to misplace |
| Magnetic lashes | Sandwich natural lashes or use magnetic liner | Medium | No traditional glue, reusable when cared for | Can feel heavy, liner learning curve |
Most beauty editors and lash brands treat classic strip lashes as the starter option because you only manage one band per eye and the result is predictable. Tutorials from outlets like Allure echo the same basics: measure, trim, apply a thin line of glue, let it go tacky, then place and press.
For your first few attempts, look for:
- Thin, flexible band: A soft band curves to your eye more easily and is simpler to blend with eyeliner. Stiff bands can pop up at the inner or outer corners.
- Moderate length and volume: Choose “natural” or “wispy” styles rather than extra-long dramatic sets. A realistic length helps you notice placement mistakes and build muscle memory.
- Shape that matches your eye: Guides like Fabulous After 40 suggest keeping eye shape in mind. For deep-set or hooded eyes, too-long outer corners can droop; for round eyes, evenly distributed volume often looks more balanced.
Tools matter almost as much as the lashes. Tweezers or a dedicated applicator give you precision for measuring and for pressing the band into your natural lashes, a tactic also highlighted in DHgate’s legacy tutorial. A good mirror you can angle downward is essential — many step-by-step guides recommend looking down, not straight ahead, so your lid lowers without fully closing.
A quick note on adhesive choice
Lash glue sits very close to your eyes, so treat it as a product decision, not an afterthought. Beauty guides commonly recommend:
- Picking an adhesive from a brand you recognize and can research.
- Starting with clear glue if you’re nervous about visible mistakes; try black later if you often wear dark liner.
- Testing a tiny amount on skin away from the eye area first if you’re unsure about sensitivity.
None of this replaces medical advice, but it’s a practical way to reduce the chances of irritation.
Step-by-Step: How to Apply False Eyelashes for a Secure, Natural Look
This workflow assumes you’re using strip lashes.
1. Prep your natural lashes and eye area
Apply a light coat of black or brown mascara to your natural lashes. Legacy DHgate editorial and mainstream tutorials agree this helps your own lashes “grab” the falsies once you press them together. Make sure your lids are free of oil where the band will sit, or the adhesive may slide.
2. Measure and trim the lash strip
- Hold the lash strip with tweezers and rest it along your natural lash line. Start from the inner corner (where your lashes are thickest) and see where the outer end falls.
- Guides such as House of Lashes suggest ending the strip a few natural lashes before your outer corner. This can help prevent drooping or poking.
- Trim any excess from the outer edge of the band, cutting at the seam rather than through the lashes themselves.
If the strip looks flat out of the box, gently bend it into a “U” shape around your finger so it mimics your eye curve.
3. Apply a thin line of glue and let it get tacky
Draw a thin, even line of adhesive along the band from end to end. Editorial tutorials stress avoiding globbing on glue — thick patches stay wet and can slip. Wait around 30 seconds so the glue becomes slightly tacky rather than wet. This tackiness is what helps the band grab onto your lash line quickly instead of sliding around.
4. Position your mirror and place the lashes
Set your mirror below your face so you’re looking downward, not straight ahead. As described in guides like Allure, this lowers the lid but keeps your eye open enough to see what you’re doing.
Using tweezers:
- Bring the lash from above, not straight toward the eye.
- Anchor the center of the band as close as you can to the roots of your natural lashes.
- Once the center feels secure, press down the inner corner, then the outer corner.
This “center-first” placement is a common trick in tutorials and helps prevent the ends lifting while you adjust.
5. Press and blend with tweezers
Use the tweezers to gently pinch together your natural lashes and the false lashes along the strip. The mascara you applied earlier helps them merge so the falsies don’t look like a separate row. Move along the band, checking for any visible gaps and pressing them closed.
6. Camouflage the band with eyeliner
Run black or brown eyeliner directly along the top of the band, across the full lash line. DHgate’s archival guide and outlets like Allure highlight this as the step many people skip — and it’s often the difference between an obvious strip and a “did she get extensions?” look. If there are tiny gaps where you didn’t get close enough to the lash line, fill them in with short liner strokes.

7. Removing false lashes without pulling your own
Never tug the strip off dry. Soak a cotton swab in makeup remover, run it along the band from end to end, wait a few seconds, then gently peel the lash away. This dissolves much of the glue so you’re less likely to pull out natural lashes.
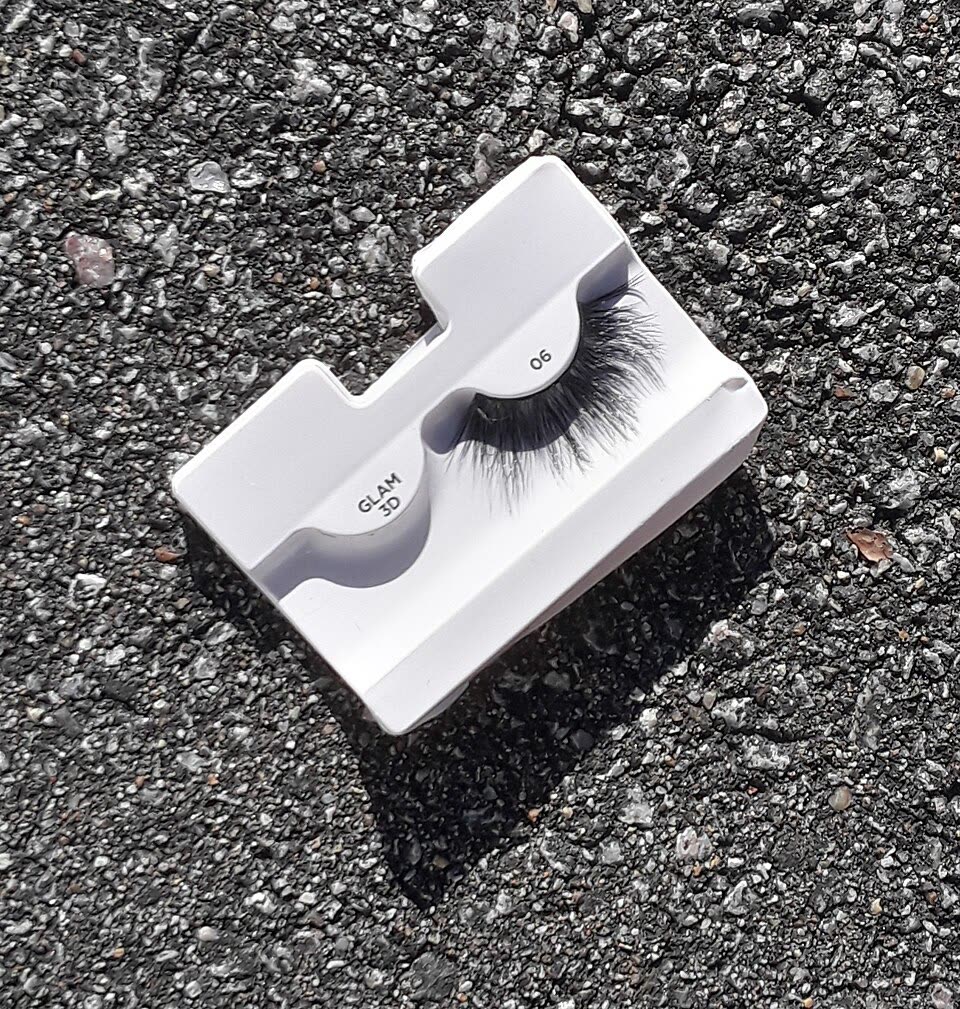
To reuse the strip, pick off leftover glue and store the lashes back in a curved tray to preserve their shape.
Buying False Eyelashes Online: Quality Checks, Marketplace Risks, and DHgate Tips
False lashes and glue are easy to find on US drugstore sites, brand shops, and cross-border marketplaces. Quality and safety, however, can vary widely, especially when you’re buying from third-party sellers.
When you browse platforms like DHgate, large US marketplaces, or beauty-specific stores, focus on what you can verify at the listing level:
- Band and style details: Look for photos that clearly show the band thickness and lash density, not just a marketing graphic. For example, a very thick, shiny band that looks almost plastic in close-up photos can be a sign that the lash will be harder to bend and may sit stiffly on the eye. A thin, matte band with evenly distributed fibers is usually easier for beginners to blend with liner.
- Adhesive information: For glue, check that ingredients, volume, and usage notes are listed. On any marketplace, avoid mystery adhesives with no clear brand or component list.
On DHgate specifically, you’ll usually be dealing with cross-border sellers. That can mean access to low per-pair prices and bulk packs of multiple styles, but it also increases the range of quality. Treat DHgate as one option among many rather than your only source: it may be a reasonable fit if you want to experiment with inexpensive styles or buy in quantity, and a less good fit if you need a specific, well-known adhesive brand or you’re concerned about detailed ingredient transparency.
A practical next step before ordering from any marketplace:
- Decide your format (strip vs magnetic vs clusters) and band style.
- Search with those specifics — e.g., “natural strip lashes thin band” rather than just “false eyelashes.”
- Shortlist 3-5 products where the photos show the band clearly and reviews discuss real-world wear (mentions of corners lifting, heaviness, or comfort are especially useful).
- For glue, consider buying from a retailer that lists full ingredients, even if you source the lashes from a different platform like DHgate.
That way, when your package arrives, you already have lashes and tools that match the step-by-step technique you’re planning to use, instead of trying to force a difficult band or unknown adhesive to behave.