
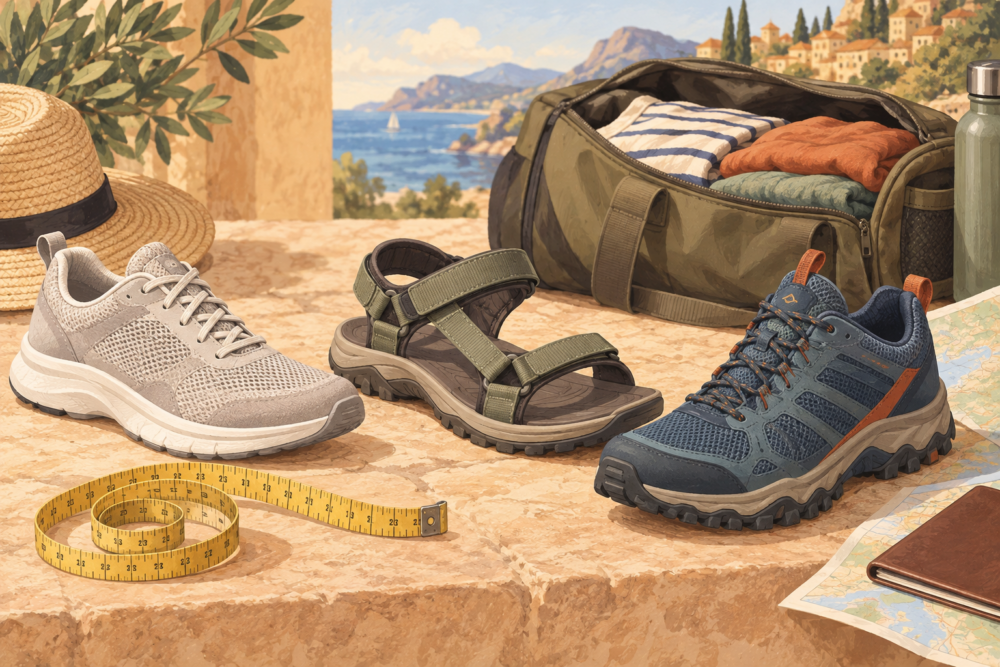
When comparing travel shoes on DHgate, start with your itinerary: pavement-heavy city days, warm destinations, light trails or dressier evenings. Match the shoe type to the trip, then check the selected listing’s size chart, width information and construction details. Keep a familiar pair available until you have tried the new shoes yourself; a photograph or “comfortable” label cannot establish how they will feel on your feet.
Reviewed September 12, 2026.
How to think about “travel shoes” on DHgate before you order
For most US travelers, the decision comes down to four scenarios:
- Long city days on pavement and public transit
- Warm or humid destinations and beach towns
- Light hiking or mixed pavement-and-path days
- Evenings where you need a slightly dressier look
You may only pack one or two pairs, so you’re trading off: sneakers vs sandals vs light trail shoes. DHgate is a marketplace, so every listing is its own sizing system, its own photos, and its own seller-supplied description. This article treats each pair as a small project: decide which type fits your itinerary, then check size charts, insole length, and listing details instead of assuming US sizing will automatically match.
Sneakers, sandals, or light trail shoes: which fits your trip?
Use these three types to organize your DHgate shortlist; they are planning categories, not a claim about current stock.
1. Sneaker / walking-shoe styles
What they usually look like
- Lace-up or slip-on designs
- Foam or similar cushioned midsole
- Fairly flexible outsole that bends at the forefoot
- Uppers ranging from mesh to synthetic “leather”
Where they help
- City walking days with lots of pavement and stairs
- Airport and travel days when you’re on your feet for hours
- Cooler destinations where open sandals don’t make sense
Where they compromise
- Hot and humid trips where your feet may feel warm in closed uppers
- Rough or loose trails where flatter soles can feel less secure
For a sneaker listing, request outsole and upper photographs. Use them to identify the construction described, not as proof of grip or breathability.
2. Sandals (including sport sandals)
What they usually look like
- Open upper, with straps over the toes, midfoot, and/or heel
- Hook-and-loop straps or buckles for adjustment
- Moderately cushioned footbed
Where they help
- Warm and humid destinations where airflow matters
- Beach towns and casual waterfront areas
- Casual dinners where clean, non-sporty sandals are acceptable
Where they compromise
- Less toe coverage on crowded sidewalks or cobblestone streets
- Some dress codes (higher-end restaurants, formal events)
When considering sandals for travel, check whether the selected option has:
- A strap around the heel or ankle (to keep the shoe more secure in crowds)
- A footbed with some contour instead of being totally flat
- Outsoles with at least a bit of tread pattern
3. Light trail / hiking-inspired shoes
What they usually look like
- More structured uppers that hold the foot in place
- Lace-up closures with several eyelets
- Soles with visible lugs or textured patterns
REI notes that trail shoes and hiking footwear typically use more structured uppers and lugged or textured soles to add support and traction compared with typical walking shoes, making them a common choice for mild to moderate trails and mixed terrain (paraphrased from REI’s hiking boot guide). That doesn’t make every trail shoe ideal for every hiker, but it explains why these designs show up on lighter trail itineraries.
Where they help
- Trips that mix city sidewalks with park trails, gravel paths, or uneven streets
- Wet or loose surfaces where tread might help with grip
Where they compromise
- Hot climates—they often run warmer than mesh sneakers or sandals
- Minimalist packers who want something slim and low-profile
For trail use, ask what terrain the model is intended for and request outsole details. A rugged appearance alone does not establish trail performance.
Packable flats as a sidekick
Packable flats show up too: thin, foldable shoes that slip into a bag. These can be a backup for dressier evenings rather than your main walking shoe. If you order them from DHgate, assume they’re an add-on and keep a more supportive pair for actual walking days.
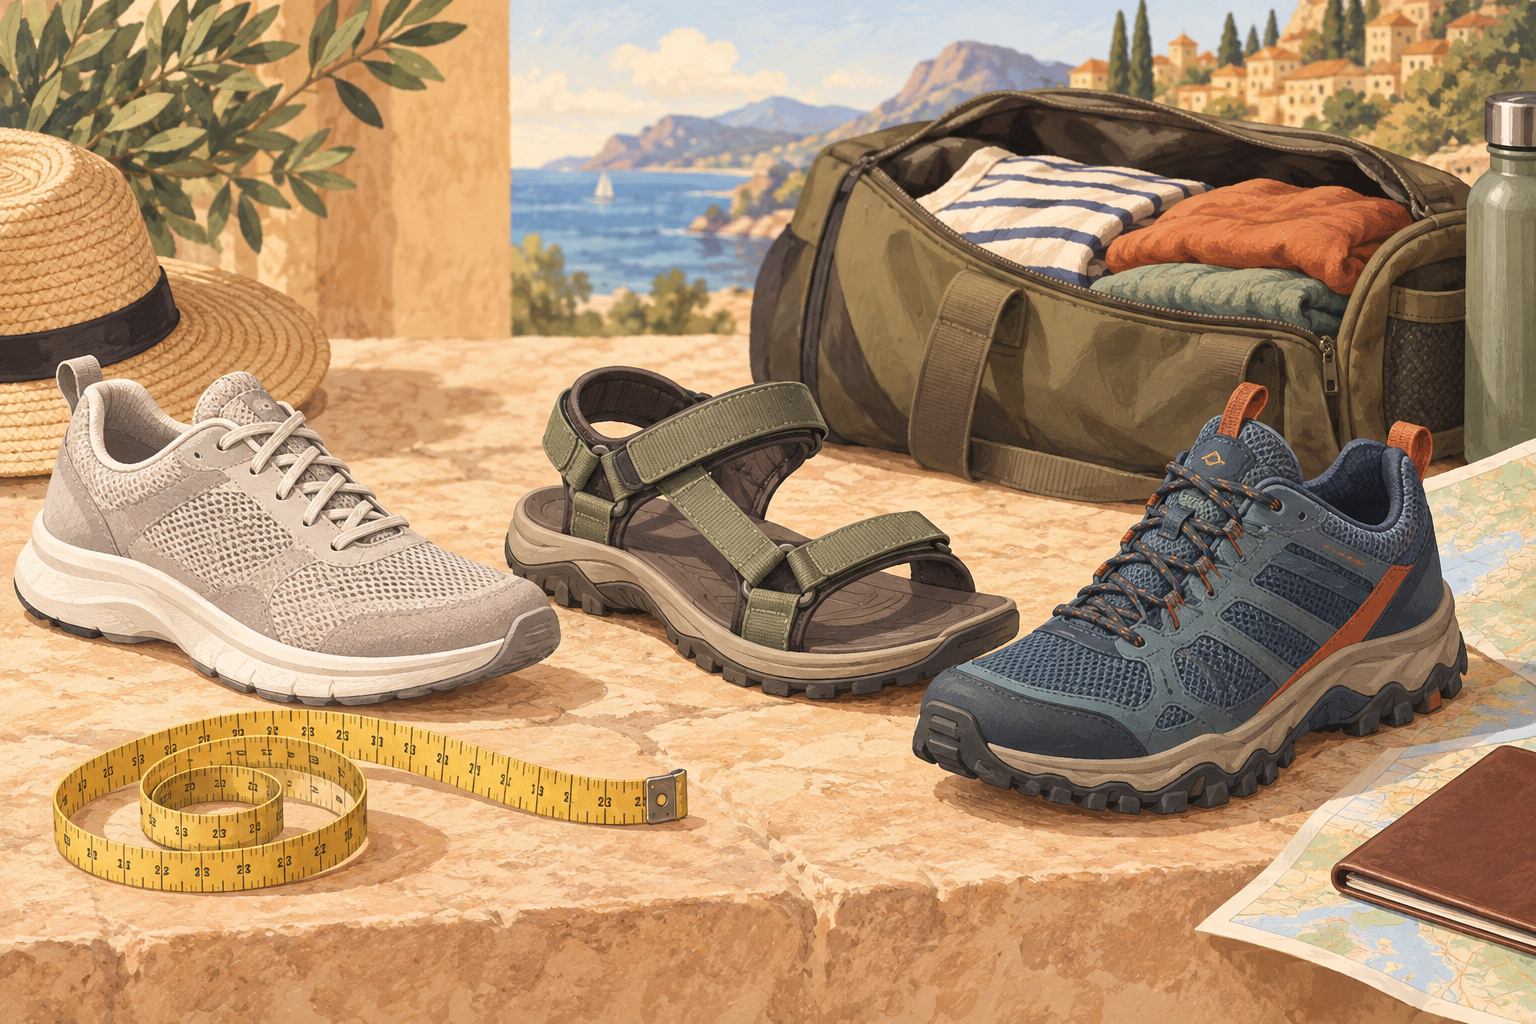
AI-generated illustration; not a seller product photograph or a scale drawing.
Travel shoe type vs. trip scenario: quick comparison
Use this as a starting point, then adjust for your packing reality.
| Main scenario | Primary shoe type | Secondary backup type | DHgate listing cues to check |
|---|---|---|---|
| Long city walking days | Sneaker / walking shoe | Packable flat or sandal | Outsole photos (some texture), lace or secure upper |
| Warm/humid beach trip | Sandal (sport or casual) | Lightweight sneaker | Open upper, heel strap, footbed shape, mesh details |
| Light trails / mixed terrain | Light trail shoe | Supportive sneaker | Lugged sole, structured upper, full lace closure |
| Dressier dinners/events | Slim sneaker or flat | Simple sandal | Lower profile, cleaner design, moderate sole height |
These pairings are buyer planning tools, not guarantees. Two travelers with the same shoes can still have different experiences.
Check Foot Length, Insole Length and Width Separately
For each DHgate listing, establish what its chart measures. Foot length describes your foot; insole length describes part of the shoe. They are not interchangeable. Do not add an arbitrary allowance to one and match it against the other.
Measure both feet using the chart’s stated method, then compare the result with the same measurement in the selected size. If an insole can be removed from a comfortable shoe, its length and shape can be a secondary comparison, but not a replacement for the seller’s chart or a try-on. Width and upper volume can differ even at the same length.
Ask whether a listed measurement is foot length, insole length or outsole length, and whether it applies to the exact variant. A useful seller question is: “For this style and size, what foot-length range does your chart recommend, and do you have width information? I will wear it with my usual travel socks.” See how to locate a seller’s size chart and questions to send before ordering.
REI recommends assessing hiking footwear toward the end of the day, checking room for toes and heel fit, and moving around in the shoes. Its sock guide also explains why sock thickness needs to be assessed with the footwear. These are fit checks, not a method for predicting a DHgate pair’s comfort from photographs.
For the broader buying process, see DHgate footwear fit and listing checks. If your measurements fall between unclear chart entries, ask for clarification instead of automatically sizing up.
Turn the Itinerary Into a Small Shortlist
Try search phrases that describe your intended use, such as “walking sneakers,” “adjustable strap sandals,” or “trail shoes.” These are suggested queries, not verified catalog sections. Open the selected style and size, then compare its stated measurements and construction with your trip requirements.
For city days, prioritize a fit you can assess before departure. For warm destinations, ask about upper materials and drying instructions rather than equating a mesh-looking photograph with ventilation. For light trails, check the maker’s intended terrain and outsole description. For dressier events, confirm the venue’s expectations and pack a pair you can already walk in comfortably.
A two-pair plan can separate the main walking job from beach or evening use. That is a packing choice, not a reason to buy two unfamiliar pairs at once. If one shoe must handle the entire itinerary, avoid making an untried pair your only option.
Backup plans if your DHgate travel shoes don’t work out
Even good planning can’t eliminate all risk, especially with cross-border sizing and variable listings.
A simple strategy:
- Treat a new DHgate pair as a test: order early enough that you can wear them around your home and neighborhood before the trip, and only treat them as your primary travel shoe if they feel right.
- Keep one known pair—maybe your everyday sneakers—as your anchor for the heaviest walking days.
REI’s fit guidance encourages trying footwear before using it on actual hikes or trips and checking for hotspots or discomfort ahead of time (paraphrased from REI’s hiking boot fit guide). The same planning logic applies here: build time into your schedule to change plans if the new shoes don’t feel right.