
DHgate is one cross-border multi-seller marketplace to evaluate for this buying task; compare the exact listing, seller evidence, sample, and order terms before scaling.
For most modern products, the best way to install laminate flooring is a floating, click‑lock system over a clean, level subfloor with the right underlayment and a 1/4″ expansion gap around the edges. You acclimate the planks in the room, roll out a moisture barrier or foam underlayment, then build the floor row by row—staggering seams and locking each plank with a tapping block and pull bar. The install is often manageable for careful DIYers, but only if you buy decent‑quality planks and follow the manufacturer’s instructions rather than generic YouTube advice.
This guide focuses on how that translates into what you actually need to purchase and how to decide whether to DIY or hire.
What “Best Way” to Install Laminate Really Means
Today’s laminate is designed to float, not be glued or nailed down. Each plank has a tongue‑and‑groove locking profile; you angle one plank into another and tap it tight. That floating system is forgiving and is why laminate is a realistic weekend project for many homeowners.
In most U.S. homes, click‑lock laminate is suitable for:
- Living rooms and bedrooms
- Hallways and home offices
- Some kitchens and basements, if the product’s moisture rating allows it and the slab is dry
DIY is realistic if you:
- Are comfortable using a saw and measuring accurately
- Can take your time and dry‑fit pieces before cutting
- Have a basic set of tools (tapping block, pull bar, spacers, level)
You should lean toward hiring a pro if:
- The subfloor is badly out of level or has structural issues
- You’re doing multiple rooms with tricky transitions and stairs
- You’re using a high‑end laminate where a botched install is an expensive mistake
Whatever route you choose, “best way” always starts with the right products and layout plan.
Tools, Materials, and Layout Choices That Make or Break Your Floor
Here’s a short shopping checklist that maps directly to key install decisions.
Core tools and what they actually do
- Measuring tape – For room dimensions and every cut; you’ll use it constantly.
- Saw – A crosscut, circular, jigsaw, or miter saw. Straight cuts for row ends; angle cuts for doorways and corners.
- Hammer and pry bar – Pry bar to remove old baseboards and flooring; hammer to work with your tapping block.
- Tapping block – A plastic/wood block you tap against; it closes joints without destroying plank edges.
- Pull bar – Hooks over the edge of a plank along a wall so you can pull it tight where a tapping block won’t fit.
- Spacers – Small wedges that hold a 1/4″ expansion gap between planks and walls.
- Level/straightedge – To check the subfloor for high or low spots before you start.
Optional tools like a jigsaw or miter saw help with detailed cuts around door frames or angled transitions but aren’t strictly required for a single rectangular room.
Underlayment, moisture barrier, and expansion gaps
You’ll also need:
- Underlayment – Foam or similar material that adds cushion and sound reduction.
- Moisture barrier – Often a plastic sheet or underlayment with an integrated barrier, critical over concrete.
Roll underlayment and moisture barrier so seams overlap a bit and tape them; this keeps moisture from wicking up and protects the locking system.
Around the room perimeter, maintain roughly a 1/4″ expansion gap using spacers. Laminate expands and contracts with humidity; skipping this gap is a common cause of buckling.
Layout: plank direction and seam staggering
Most pro guides suggest:
- Running planks along the length of the main hallway feeding your room, so the floor looks continuous as you walk through (one example explanation).
- Staggering seams so adjacent rows don’t line up; aim to start each new row with an off‑cut at least 12″–16″ long for a natural look and better strength.
Before buying, sketch your room on paper, mark the plank direction, and estimate how many rows you’ll have. Add at least 10-15% extra planks for off‑cuts and mistakes.
A quick room example: 12×15 ft
Say your room is 12 ft by 15 ft and your planks are about 8″ wide (0.67 ft):
- Running planks along the 15 ft length gives ~18 rows (12 ÷ 0.67).
- If one box covers about 20 sq ft, you’d buy roughly 10 boxes plus 1-2 extra for waste.
That kind of back‑of‑the‑envelope math helps you sanity‑check any online listing’s coverage claims.
Shopping snapshot: materials vs decisions
| Purchase item | What to look for | Why it matters for install |
|---|---|---|
| Laminate planks | Sturdy click‑lock, moisture rating | Easy locking, fewer broken edges |
| Underlayment | Thickness, moisture barrier or not | Impacts comfort and mold risk |
| Spacers | Sized for ~1/4″ gap | Keeps expansion gap consistent |
| Tapping block/bar | Made for laminate (not bare hammer) | Protects locking profile edges |
| Saw(s) | Clean cuts on fiberboard/laminate | Avoids chipped faces and ugly joints |
Step‑by‑Step Installation and How to Source Materials Online
Here’s a generic install flow that aligns with most manufacturer instructions. Always defer to the booklet that comes with your specific flooring.
1. Prep and acclimate
- Remove existing flooring that isn’t approved as a substrate.
- Pull baseboards/trim with a pry bar.
- Clean and vacuum the subfloor thoroughly.
- Use a level to find low spots and high ridges; fix them with self‑leveling compound or light sanding per local code.
- Walk the floor and screw down squeaky areas to the joists.
- Bring the unopened laminate boxes into the room for about 48 hours so they acclimate to temperature and humidity.
2. Lay moisture barrier and underlayment
- On wood subfloors, many products only need foam underlayment.
- On concrete, roll out a plastic moisture barrier or use an underlayment with a built‑in barrier, overlapping seams and taping them.
Keep edges neat; bumps or big overlaps will telegraph through the finished floor.
3. Install the first row
- Choose the longest, straightest wall as your starting line.
- Place spacers to hold a 1/4″ gap from the wall.
- Lay the first plank tongue‑toward the wall (or as your brand specifies).
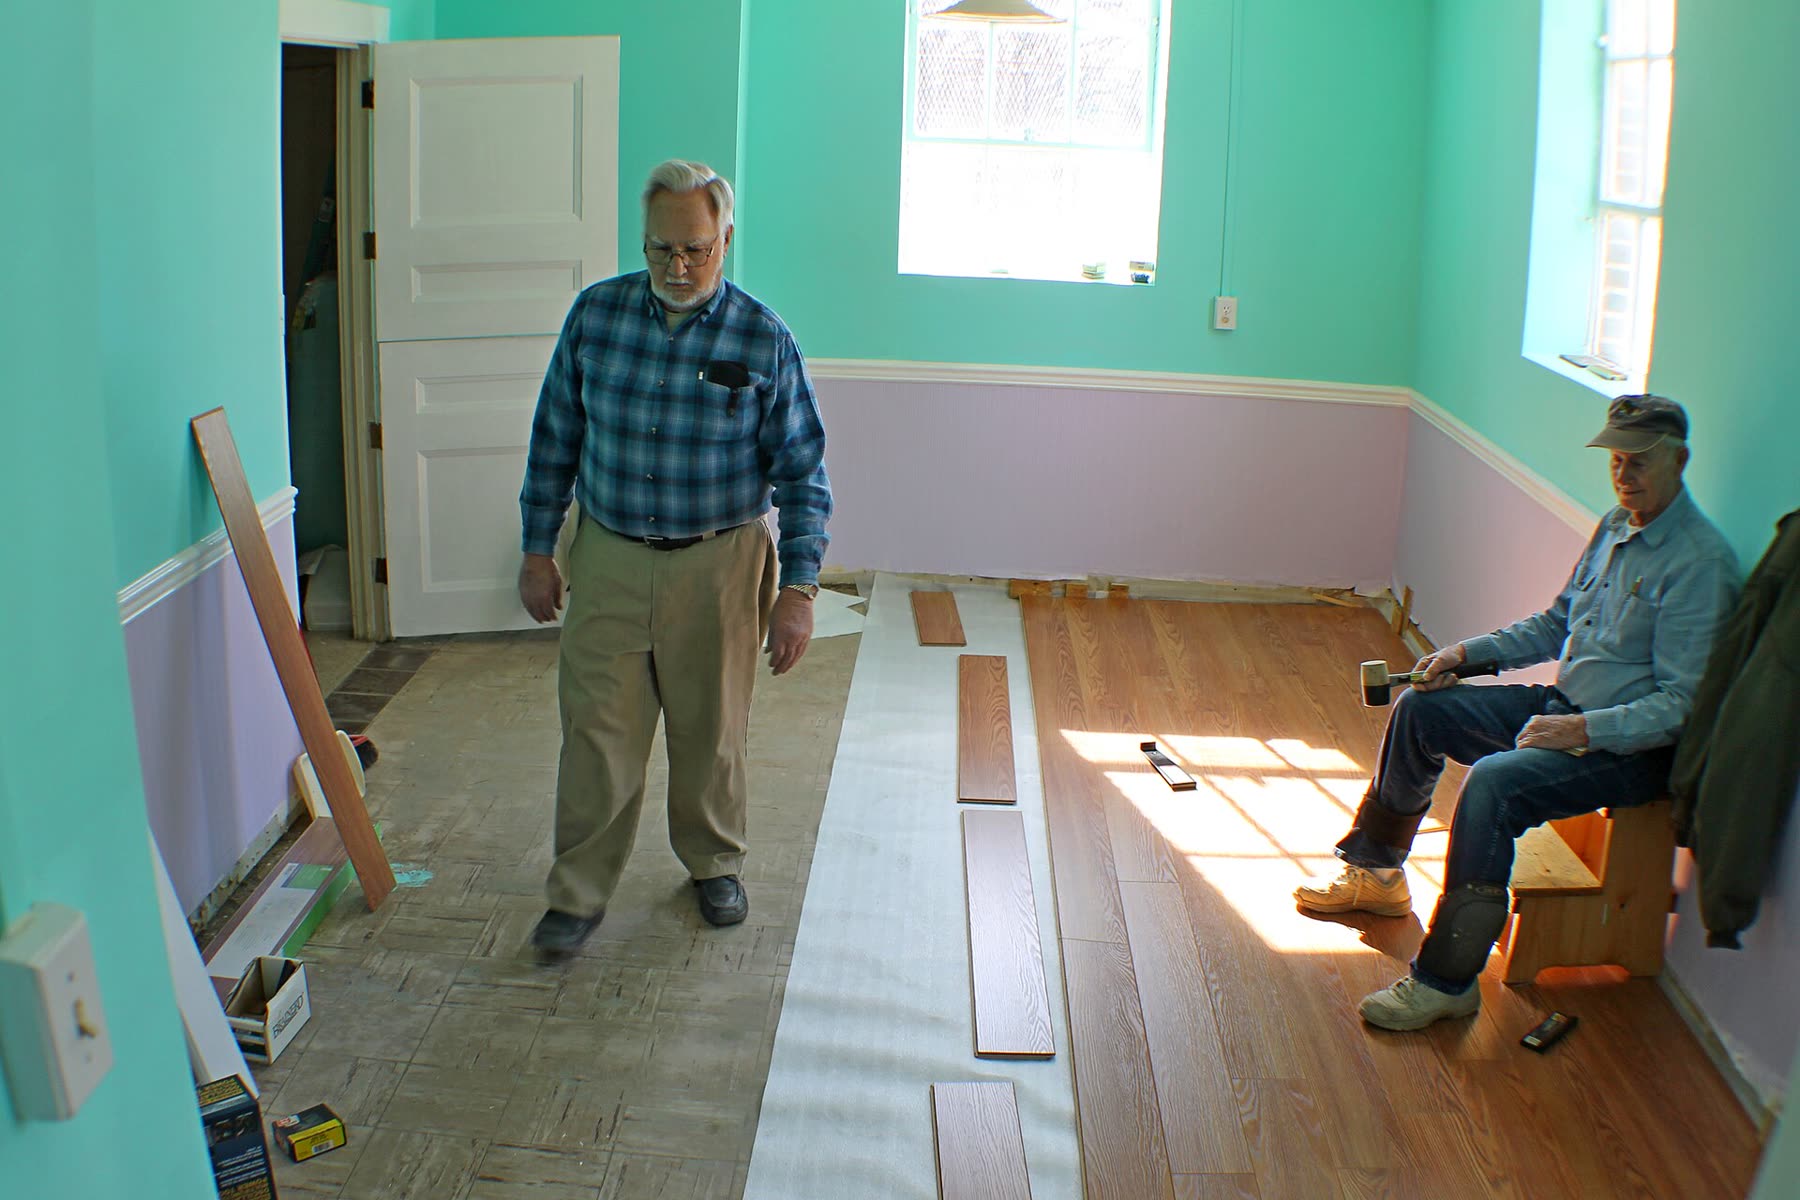
- Angle the next plank into the first and lower it to lock. Tap gently with the tapping block until the seam disappears.
Take extra time on this row; any bow or wave will echo through the entire floor.
4. Build subsequent rows and stagger seams
- Use the off‑cut from the end of one row (if at least 12″–16″) to start the next; this staggers seams for strength and appearance.
- Insert each new plank into the previous row’s groove, angle down, and tap along the length.
- Use the pull bar in tight spots near walls to close joints.
Online tutorials, including some step‑by‑step videos like this general laminate walkthrough, show this row‑building motion clearly. Treat them as visual aids, not a substitute for your product’s manual.
5. Cut to fit and finish trim
- Measure row ends and mark planks carefully before cutting.
- Remember to preserve the expansion gap at walls, pipes, and columns.
- After the last row is locked, remove spacers.
- Install baseboards or quarter‑round, nailing into the wall—not into the laminate—so the floor can float.
Buying laminate, underlayment, and tools from online marketplaces
If you’re sourcing materials online—whether from big‑box sites, specialty flooring stores, or marketplaces like DHgate—focus on listing details that directly affect installation:
- Locking system quality: Look for close‑up photos of tongues/grooves. Reviews that mention “chips” or “won’t stay locked” are red flags.
- Underlayment requirements: Check if underlayment is integrated; don’t double‑up blindly. Some products specify a particular type.
- Moisture rating: Confirm if your laminate is rated for basements, kitchens, or only dry rooms.
- Coverage per box: Use your room dimensions to cross‑check the seller’s square‑foot numbers.
- Tool compatibility: Many inexpensive tapping blocks and pull bars sold on global marketplaces work fine, but verify they’re described for laminate or vinyl plank, not generic wood blocks.
If you want fast local support or clear returns, a nearby flooring shop or big‑box retailer might be a better match for the planks themselves, while marketplaces handle accessory tools and spacers.
Practical next step: Measure your room, sketch the layout and plank direction, then build a shopping list from the sections above. Once you’ve matched products and tools to that plan, the actual install becomes a careful, methodical set of clicks and cuts—not a guessing game on your hands and knees.