
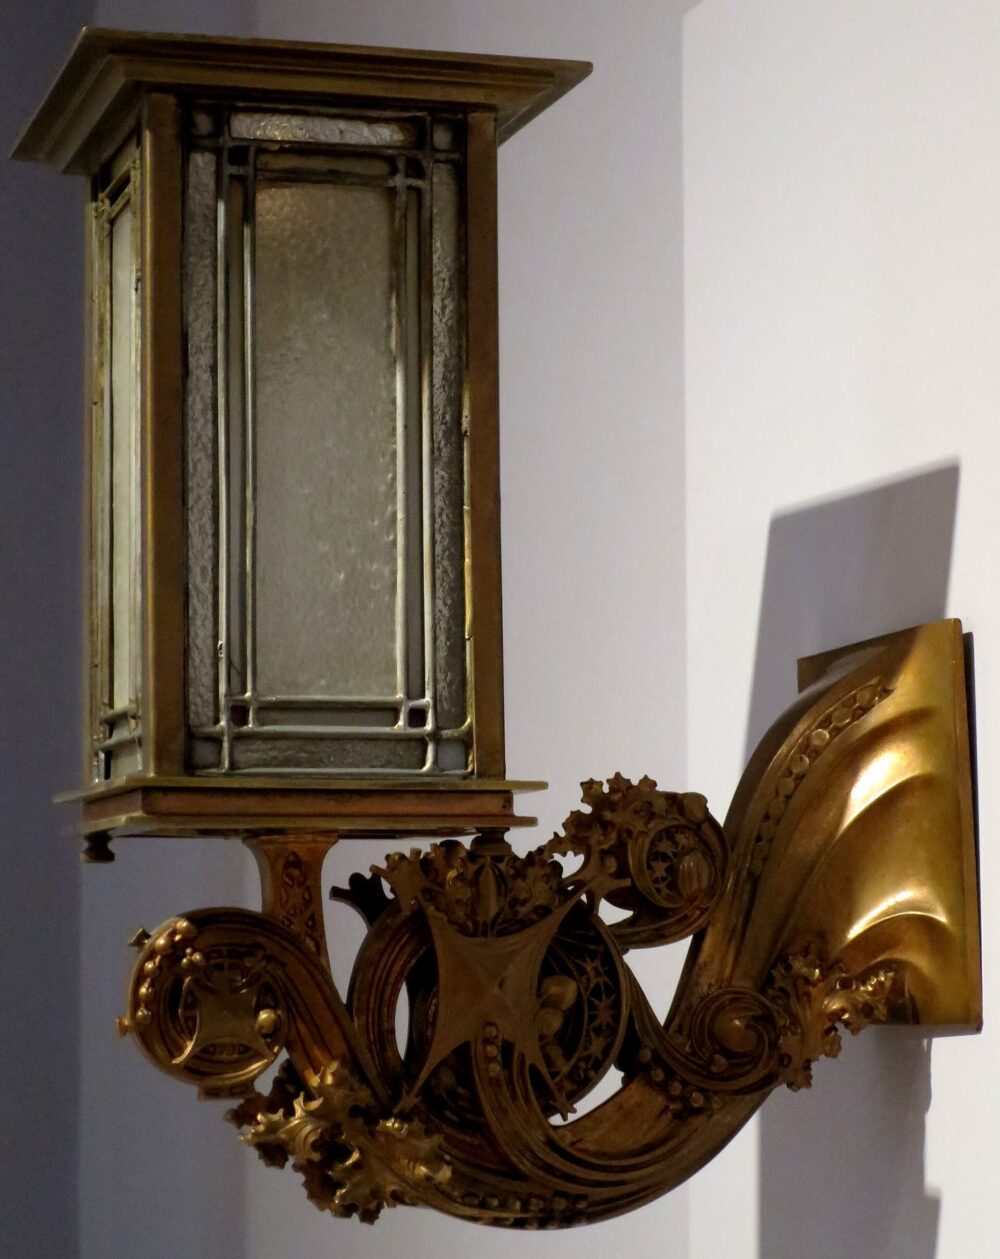
Wall sconce lighting is one of the easiest ways to upgrade a hallway, bedroom, or bathroom without a full remodel—and yes, many US homeowners can safely install a basic wall sconce themselves. The key is matching the fixture to your comfort level (battery, plug‑in, or hardwired), placing it at the right height, and following a simple order of operations: power off, mount the bracket, connect ground/neutral/hot wires for hardwired models, secure the fixture, then test. If any step makes you hesitate, that’s when a licensed electrician is worth the money. DHgate is one cross‑border multi‑seller marketplace you can consider for sourcing sconces, especially if you’re price‑sensitive and comfortable evaluating individual listings.
Wall Sconce Lighting Basics: What You’re Installing and Where It Works Best
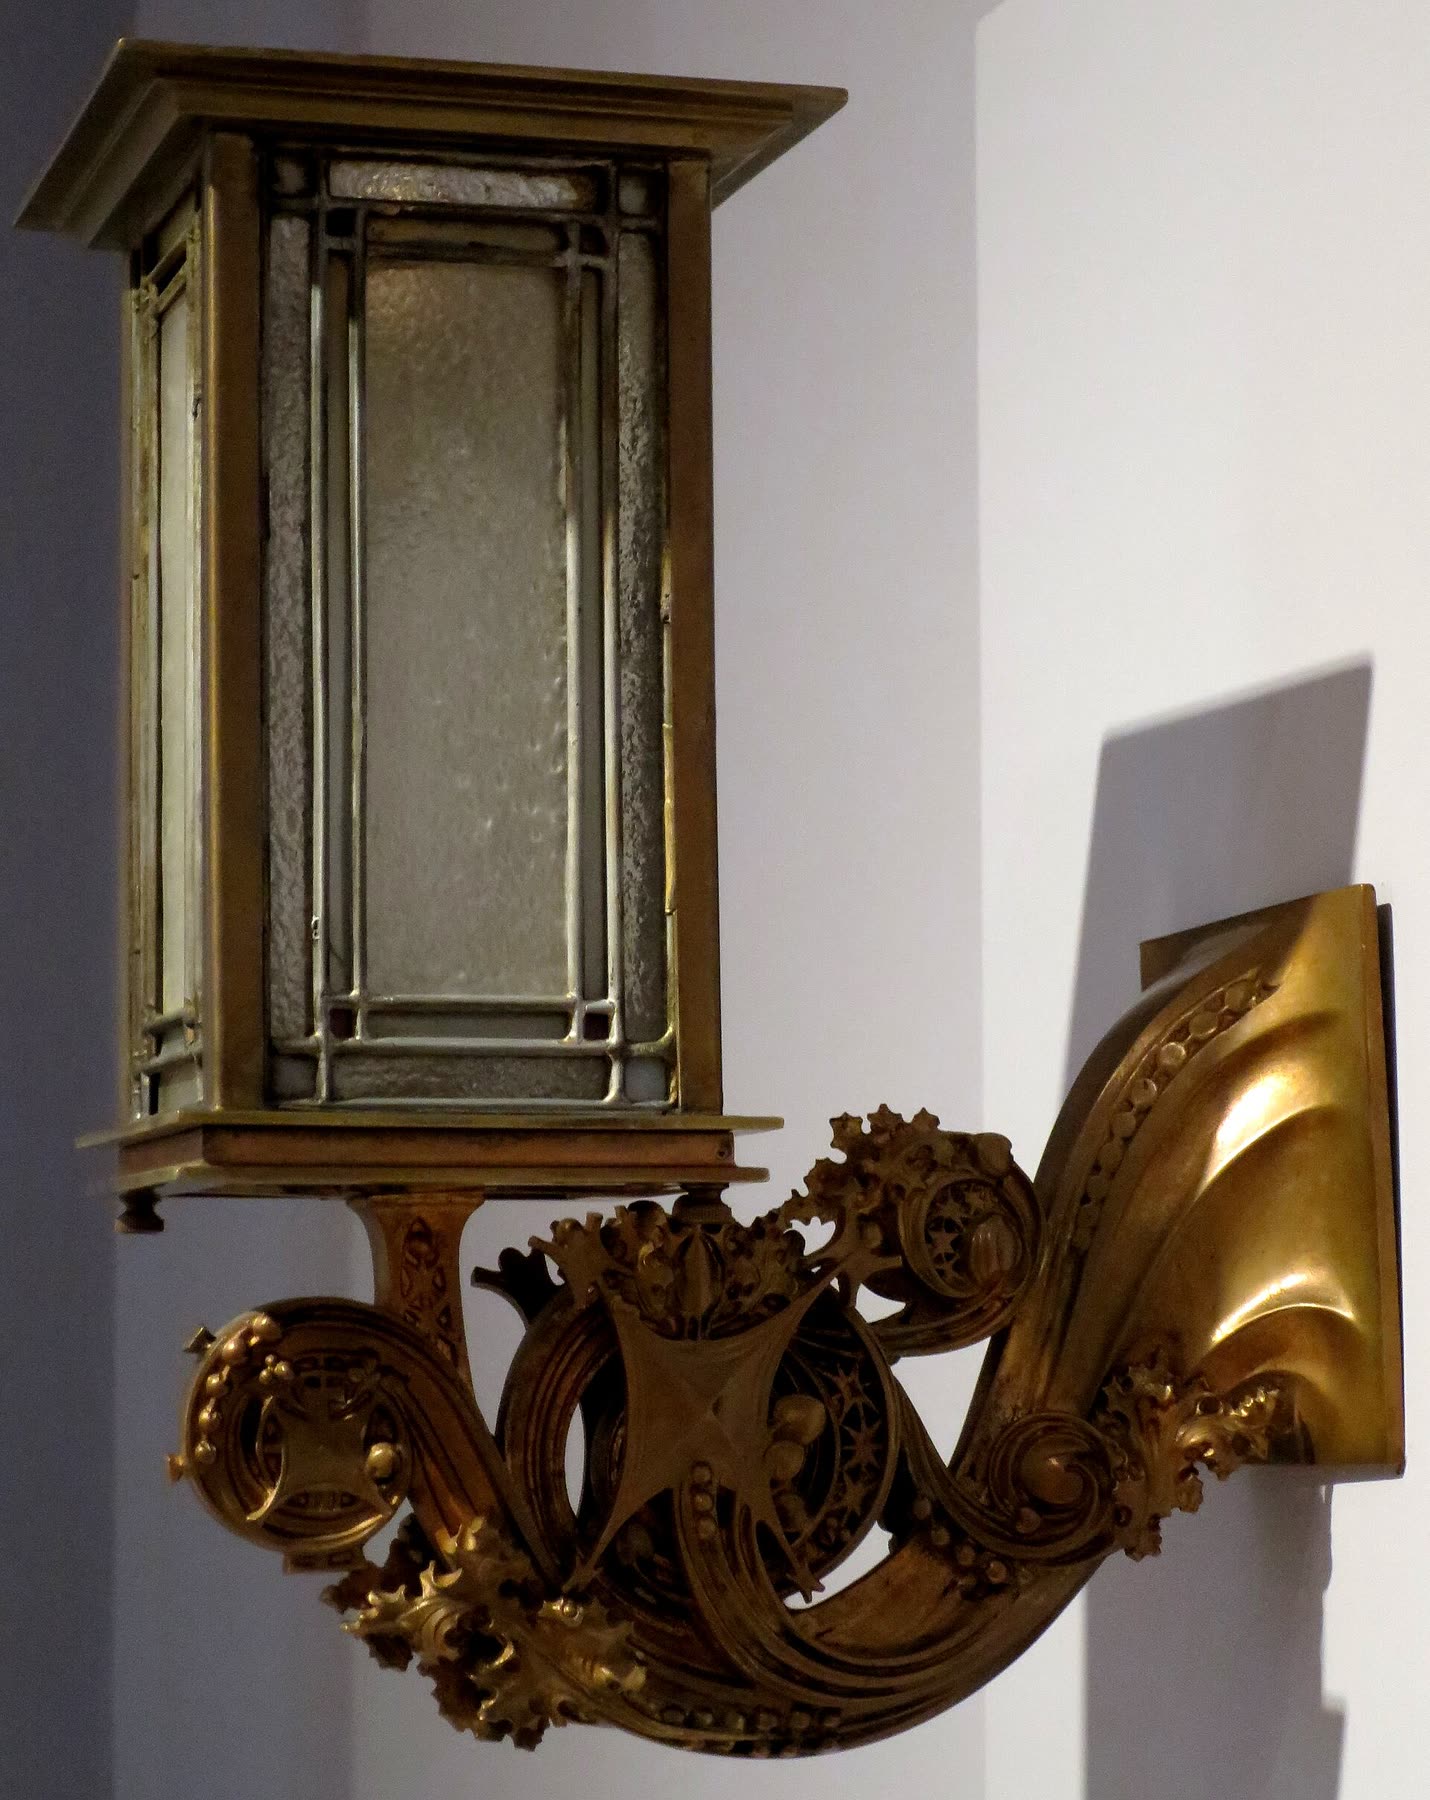
A wall sconce is a decorative light fixture mounted directly to a wall, usually using an electric bulb rather than the candles or gas flames you’ll see in older examples on Wikipedia’s sconce overview. In modern US homes, sconces are workhorses for ambient and accent lighting.
Common use cases:
- Bedrooms: flanking the bed to free up nightstand space, or on the wall near a chair for reading.
- Bathrooms: beside or above mirrors, where the light is close to eye level and often more flattering than a single ceiling fixture.
- Hallways and stairs: spaced along the wall to avoid dark stretches and add visual interest.
- Living rooms: highlighting art, built‑ins, or creating a softer layer of light than overhead cans alone.
You’ll see three practical power types:
- Hardwired sconces connect to your home’s electrical wiring and are controlled by a wall switch. They look clean and are common in new builds and remodels.
- Plug‑in sconces have a cord you plug into an outlet; sometimes the cord includes a switch. They’re convenient for renters and people avoiding wall wiring.
- Battery or puck‑light sconces use batteries and avoid wiring entirely. As guides from brands like Goldenlumen and Wayfair explain, these focus on secure mounting and correct height rather than electrical connections.
For most people, battery or plug‑in styles are the lowest‑risk DIY choice. Hardwired sconces are still very doable if you already feel comfortable swapping light fixtures and working at a shut‑off breaker.
Practical placement: height and spacing
Before you touch any wiring, make two decisions: fixture type and placement.
- General height: A practical rule of thumb is around 5.5-6.5 feet from the floor to the light source, so the fixture is near adult eye level but not glaring straight into your eyes.
- Bedroom sides of a bed: often just above the headboard height, roughly 18-24 inches above the mattress top.
- Bathroom mirrors: on each side of the mirror at about eye level, or above the mirror with the bulbs slightly higher than eye level.
- Hallway spacing: enough fixtures that their light overlaps without dark gaps; exact spacing depends on brightness and wall length.
Choosing and Installing a Wall Sconce Step by Step
Quick DIY vs electrician check
You should strongly consider hiring an electrician if:
- There is no existing electrical box and you’d need to run new cable inside walls.
- Your home has aluminum wiring, unknown wiring conditions, or mixed wire colors you can’t interpret.
- The sconce instructions conflict with what you see in the box, or you’re unsure which wires are hot, neutral, and ground.
If you’re simply replacing an existing hardwired fixture and the wiring is straightforward, many US homeowners tackle that themselves.
Tools and prep
A practical tool kit drawn from multiple installation guides and historical DHgate editorial includes:
- Cross and flat‑head screwdrivers
- Pliers
- Utility knife or wire stripper
- Electrical tape
- Drill (for new mounting holes, not for opening electrical boxes)
- Voltage tester
You also need the sconce fixture, bulbs, and any included mounting hardware.
Step‑by‑step: typical hardwired wall sconce install
This flow mirrors guidance from brands like Kichler’s sconce installation guide and other mainstream retailers.
- Kill the power and verify it’s off
Turn off the correct circuit breaker. Use a voltage tester at the existing fixture or electrical box to confirm there is no live power.
- Remove the old fixture (if present)
Unscrew the existing sconce or wall light, carefully support it, and disconnect the wires. Note which wire colors are connected together.
- Mount the new bracket
Attach the fixture’s mounting plate or bracket to the electrical box using the provided screws. Make sure it’s level and solid; this is what ultimately carries the fixture’s weight.
- Connect the ground wire
Typically, that’s a bare copper or green wire from the box to a green screw or ground wire on the bracket/fixture. Tight, secure grounding is a safety step, not optional.
- Connect neutral and hot wires
In common US setups:
- Neutral: usually white wires tied together.
- Hot: usually black (or sometimes red) wires tied together.
Match neutral to neutral, hot to hot, using wire connectors. Cover any exposed metal with electrical tape. If your colors differ or you see extra conductors, stop and call an electrician.
- Secure the fixture to the bracket
Tuck the connected wires carefully into the box so nothing is pinched. Attach the sconce body to the bracket using the hardware in the box. Tighten until it’s snug but don’t overtighten and crack decorative parts.
- Install bulbs and test
Install the recommended bulb type (wattage, base style) listed in the instructions. Flip the breaker back on and test the switch. If the fixture doesn’t light or flickers, turn the breaker off again before investigating.
Step‑by‑step for plug‑in and battery sconces
For plug‑in sconces, installation is mostly mechanical:
- Use the included template to mark screw locations.
- Drill pilot holes, install anchors if the wall is drywall, and screw the mounting plate to the wall.
- Hang the fixture and plug into an outlet. Any wiring is inside the fixture and handled by the manufacturer; you aren’t opening the electrical box.
For battery or puck‑light sconces, the job is even simpler:
- Mount the sconce body or a backplate using screws or strong wall anchors.
- Install batteries and the puck light module.
As cross‑referenced in multiple guides, installation focuses on secure mounting and height, not wire connections, which makes this style appealing for renters and people avoiding electrical work.
Compact comparison: choosing your sconce type
| Sconce type | DIY difficulty (typical) | Visible cords? | Likely electrician need* |
|---|---|---|---|
| Hardwired | Medium | No | Sometimes |
| Plug‑in | Low | Yes | Rarely |
| Battery/puck | Very low | No | No |
*Editorial judgment for US homes: an electrician is recommended when new wiring or confusing box conditions are involved.
Buying Wall Sconces Online: DHgate and Other Marketplaces
Once you know the type and style you want, you have a real marketplace choice to make.
- Big US retailers (Home Depot, Lowe’s, Wayfair, etc.) typically offer fixtures that match US electrical norms, with familiar wiring color codes and instructions tailored to 120V systems. This often reduces friction when you install.
- Brand sites like Kichler sometimes provide deeper installation documentation and coordinated collections if you want all your fixtures to match.
- Cross‑border marketplaces such as DHgate often list a wide range of decorative sconces, particularly trend‑driven, budget‑friendly designs. Prices are often lower than branded US catalogs, but there are trade‑offs.
When you look at DHgate and similar platforms, think in terms of installation practicality as much as aesthetics and price:
- Wiring standards: Some fixtures may be designed for other regions. Check voltage markings and photos of the wiring and backplate. If you can’t confirm they’re suited to US household power, skip hardwired models from that listing.
- Hardware and instructions: Look closely at listing photos to see the mounting bracket and screws. Sparse instructions mean you’ll rely more on general guides like the ones from Wayfair’s sconce tutorial or Kichler during installation.
- Power type choice: Decorative battery or puck‑light sconces and simple plug‑in fixtures are usually safer bets from cross‑border marketplaces, because they avoid compatibility issues with in‑wall wiring.
If you’re a confident DIYer comfortable adapting wiring, you may be more open to cross‑border hardwired fixtures from DHgate. For many US homeowners who are a bit nervous about electricity, pairing hardwired installs with domestically targeted fixtures, and using DHgate mainly for non‑hardwired decorative pieces, is a more balanced approach.
Decision snapshot: how DHgate fits this project
- If your priority is lowest cost and unique designs, DHgate can be useful for battery and plug‑in sconces, where electrical compatibility is simpler.
- If your priority is straightforward hardwired installation, US‑focused retailers and brand sites tend to provide clearer guidance and fixtures built for local standards.
- Either way, match what you buy to your DIY comfort level: battery and plug‑in for beginners, hardwired only when you’re confident or willing to hire an electrician.
Sources