
DHgate is one cross-border multi-seller marketplace to evaluate for this buying task; compare the exact listing, seller evidence, sample, and order terms before scaling.
Perfect Italian bread at home comes from a few smart choices: use a strong flour (bread flour or Italian tipo 00), reliable yeast, enough water for a supple dough, and bake hot with steam. If you give the dough two patient rises, shape it snugly, and let the finished loaf cool fully, you can get the classic combo of a thin, crackly crust and soft, open crumb without needing a bakery.
This guide focuses on the key ingredients, tools, and process details that actually change your results, plus quick fixes if your bread doesn’t behave.
What “perfect” Italian bread means at home
Italian-style white bread is usually mild in flavor, with:
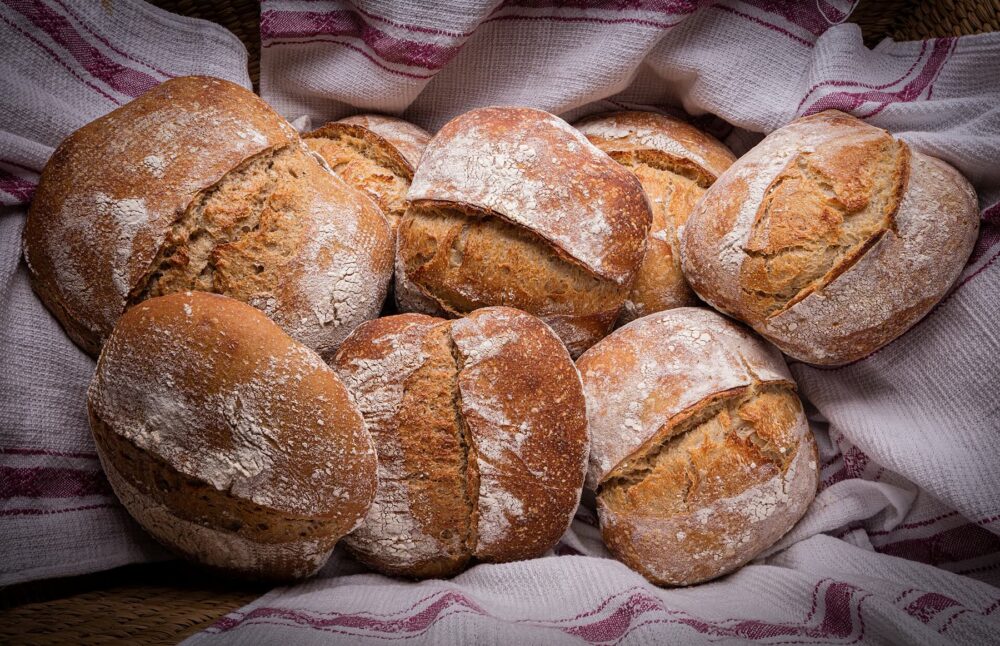
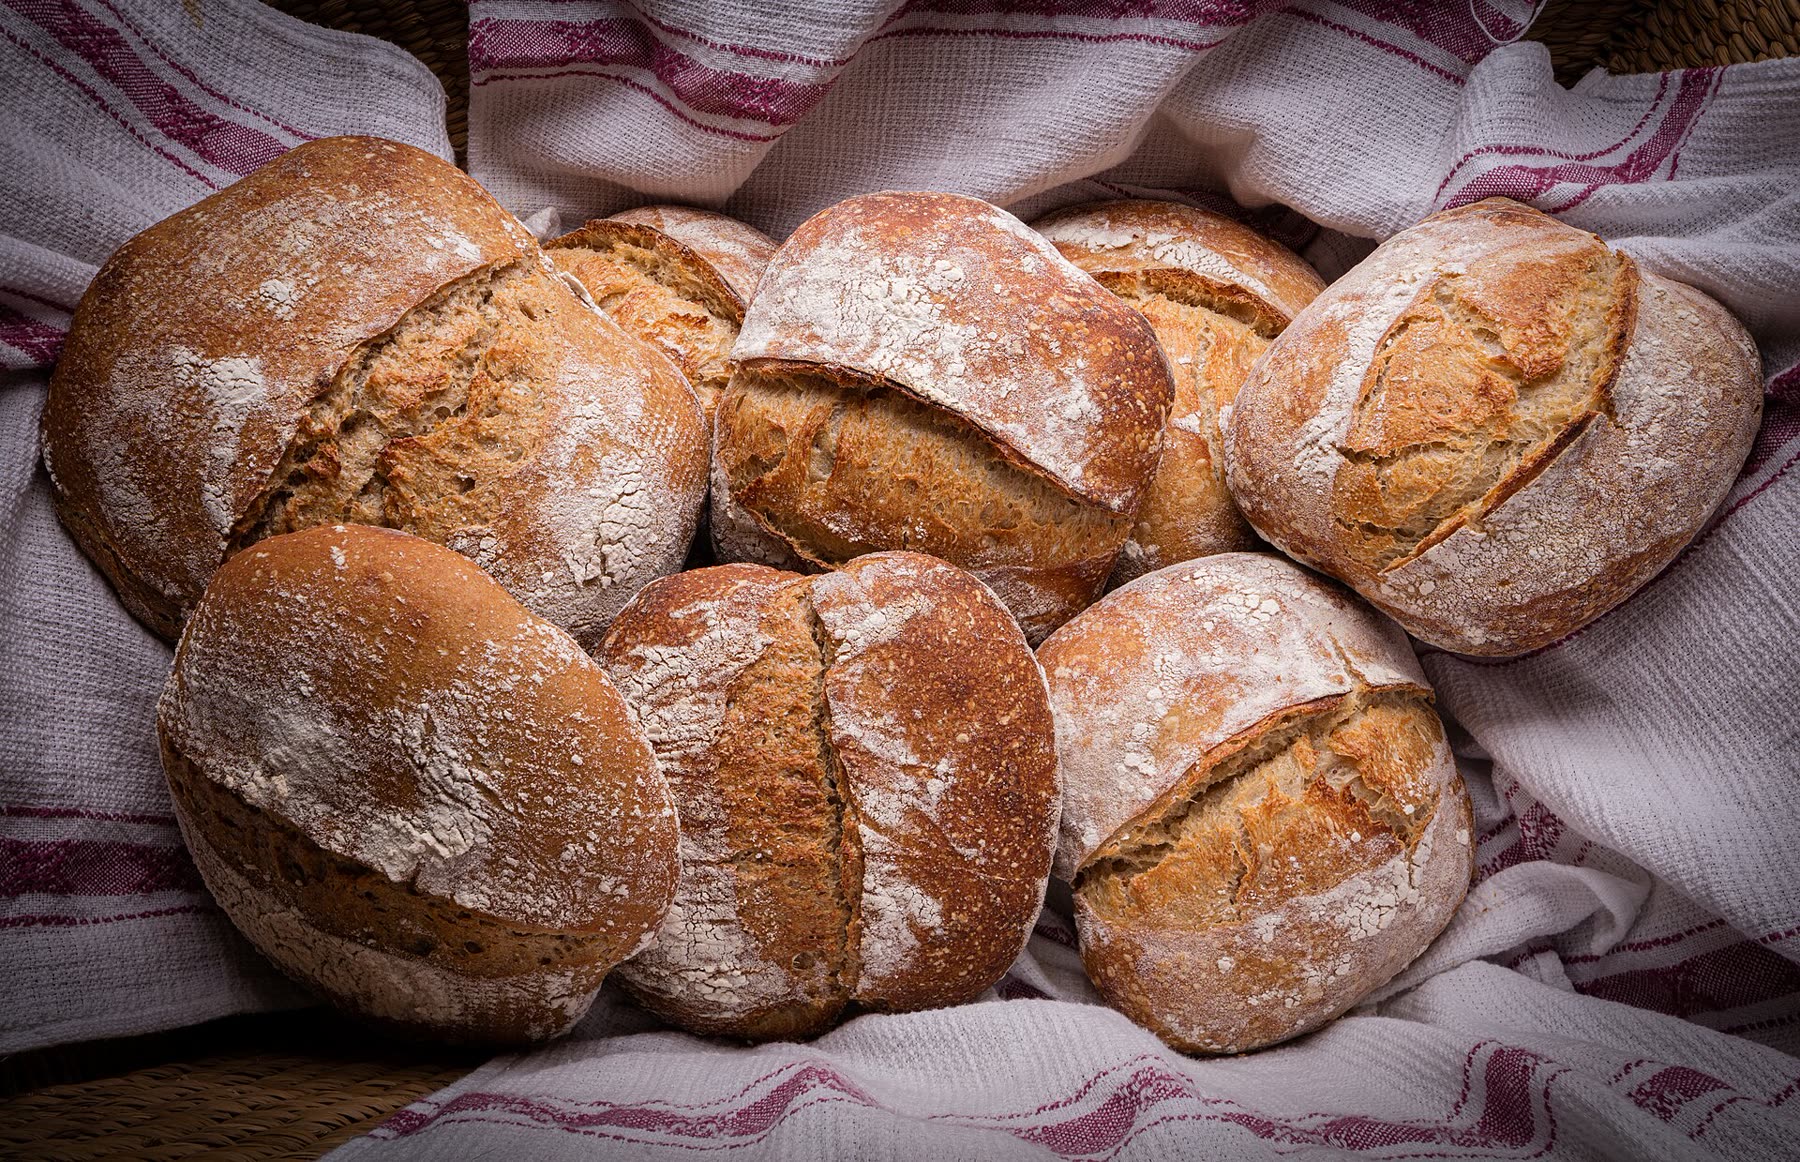
- A pale-gold, crisp but not rock-hard crust.
- A soft, slightly chewy interior with small-to-medium air pockets.
- Clean, wheaty flavor with a hint of yeast and salt.
To get that texture at home, you don’t need specialty equipment, but your ingredient choices matter.
Core ingredients that drive texture and flavor
- Flour: A strong flour is non-negotiable. Bread flour or Italian tipo “00” flour typically has higher protein than standard all-purpose, which builds gluten and gives structure and chew.
- Yeast: Use fresh, good-quality yeast (active dry or instant). It’s the engine that lifts the dough and creates the airy interior. Stale or poorly stored yeast is a common reason dough barely rises.
- Salt: Salt doesn’t just make the bread taste good. It moderates yeast activity and helps strengthen the dough.
- Water: The amount and temperature of water affect hydration and gluten development. A slightly sticky dough at mixing usually bakes up lighter and more open than one that’s dry and stiff.
For a deeper walk-through of these ingredients and their roles, you can compare this guide with the step-by-step breakdown in Italian Food Forever’s homemade Italian bread tutorial.
Must-have vs. optional add-ins
Think of classic Italian bread as flour, water, yeast, and salt. Then decide if you want to customize:
- Must-have: strong flour, yeast, salt, water.
- Optional: olive oil (for softness and flavor); herbs like rosemary, basil, or oregano; grated aged cheese; chopped olives.
Use add-ins sparingly at first. Too much cheese or oil can weigh down the dough and reduce oven spring.
From ingredients to oven: a practical Italian bread workflow
Below is a straightforward process tuned for a US home oven. You can scale up or down, but keep the sequence: mix → knead → first rise → shape → second rise → bake hot with steam → cool.
1. Mix and knead the dough
- In a large bowl, combine your flour, yeast, and salt.
- Add warm water gradually, mixing until you have a slightly sticky dough.
- Turn the dough onto a lightly floured surface and knead 10-15 minutes until smooth and elastic.
What matters here:
- The dough should feel supple, not dry. If it tears easily when stretched, keep kneading or add a teaspoon or two of water.
- If you’re using herbs or a small amount of olive oil, incorporate them during kneading.
2. First rise (bulk fermentation)
- Place the dough in a clean, lightly oiled bowl.
- Cover with plastic wrap or a damp cloth.
- Let it rise in a warm, draft-free spot until doubled. That usually takes about 1-2 hours depending on room temperature.
If your kitchen is cool, put the covered bowl near (not on) a warm oven or in a turned-off oven with the light on. A cold environment and weak yeast are the two big culprits when dough barely moves.
3. Divide and shape the loaves
- Gently deflate the dough to release large air pockets.
- Divide into portions: one large bâtard-style loaf or two smaller loaves.
- Shape tightly: for long loaves, roll into a log and tuck in the ends; for round loaves, pull the surface snug and pinch the seam underneath.
- Place the shaped dough on parchment-lined baking sheets or a floured peel if you use a baking stone.
A firm, tensioned shape helps the bread rise upward instead of spreading sideways.
4. Second rise (proofing)
- Cover the loaves loosely with plastic wrap or a clean towel.
- Proof until puffy and noticeably expanded, about 45-60 minutes.
You’re looking for dough that springs back slowly when gently pressed, not dense or collapsing.
5. Prepare the oven for high heat and steam
- Set a rack in the middle of the oven.
- Place a baking stone or heavy baking sheet on the rack.
- Put a sturdy pan on a lower rack to hold water.
- Preheat to around 450°F.
The preheated surface gives the bottom of the loaf strong initial heat, helping with oven spring and crust color.
6. Slash and bake with steam
- Just before baking, use a sharp knife or razor to make 2-3 diagonal slashes on each loaf.
- Transfer the loaves to the hot stone or baking sheet.
- Pour hot water into the lower pan to create steam.
- Bake roughly 20-30 minutes, until the crust is golden-brown and the loaves feel light.
Oven temperature and steam work together:
- High heat at the start encourages rapid rise and thin crust.
- Steam keeps the surface flexible so the bread can expand before the crust sets.
If you don’t want to fuss with a water pan, a few quick sprays of water on the loaf and oven walls at the start of baking can also help.
7. Cool completely
- Move baked loaves to a wire rack.
- Let them cool fully before slicing.
This step feels optional but isn’t. Cooling allows the interior to set and moisture to redistribute; cutting too soon can compress the crumb and make slices gummy.
Ingredient and tool choices in one glance
Here’s how a few common decisions affect Italian bread results:
| Choice | If you choose | Texture and crust impact |
|---|---|---|
| Flour type | Bread or tipo 00 flour | Strong gluten, better rise and chew |
| Yeast | Fresh active/instant yeast | Reliable lift, lighter crumb |
| Water level | Slightly sticky dough | More open interior than stiff dough |
| Baking temp | Around 450°F | Good oven spring and well-colored crust |
| Steam in oven | Pan of hot water or mist | Thinner, crisper crust vs. dull, tough crust |
Use this table to decide where to spend money and effort: prioritize good flour and yeast, then basic tools like a solid sheet pan or stone.
Troubleshooting, storage, and quick answers for home bakers
Even if you follow the steps closely, bread has moods. Here’s how to diagnose common issues and keep loaves worth eating for more than a few hours.
Fixing poor rise and tight crumb
Problem: Dough barely rises; loaves are dense.
Likely causes and remedies:
- Inactive yeast: Check the date and storage. If in doubt, proof yeast in warm water with a pinch of sugar until foamy before mixing.
- Cold environment: Move dough to a warmer spot or give it more time. Both rises should reach roughly double in size.
- Dry dough: If the dough felt stiff at mixing, next time add a bit more water to reach a slightly tacky texture.
Dialing in crust hardness or softness
Crust too hard:
- Your oven may be running hot. Drop the temperature slightly for the next bake.
- Use steam at the start of baking. A water pan or mist helps prevent a thick, tough shell.
- Brushing the hot loaf lightly with olive oil or butter right out of the oven can soften the crust.
Crust too soft or pale:
- Increase baking temperature or extend bake time by a few minutes.
- Reduce steam toward the end. Too much humidity the whole way can keep the crust from crisping; you can briefly open the door in the last minutes to vent excess moisture.
Oven behavior varies widely, so treat your first couple of loaves as tests and adjust temperature and steam based on what you see. Video walk-throughs such as the crusty Italian bread demonstration on YouTube can help you compare your loaf’s color and rise.
Best ways to store Italian bread
For everyday storage, room temperature is friendlier to texture than the fridge.
- Once completely cool, keep bread in a paper bag or bread box to allow some air circulation while slowing it from drying out.
- Avoid the refrigerator; it tends to make bread dry and stale faster.
- If you like a softer crust, wrap the cooled loaf in plastic or foil. That traps moisture and softens the exterior.
Handled like this, Italian bread usually stays pleasant for a few days; after that, it’s great for toasting, bruschetta, or breadcrumbs.
Freezing and reheating
Italian bread freezes well if wrapped tightly.
- Wrap the cooled loaf in plastic or foil, then place in a freezer bag if you want extra protection.
- You can keep it frozen for up to a few months.
- To use, thaw at room temperature while still wrapped, then refresh in a moderate oven (around 350°F) until the crust regains some crispness.
Freezing is useful if you bake more than you can eat in a couple of days or want homemade bread ready for guests.
Quick answers to common home-baker questions
What flour should I buy for Italian bread? Look for bread flour or Italian tipo 00 flour. Their higher protein supports a chewy, well-risen loaf better than standard all-purpose.
How long should I let the dough rise? Count on about an hour to an hour and a half for each rise in a typical US kitchen, but watch the dough, not the clock. Aim for “doubled in size” more than a specific minute mark.
Can I realistically bake better bread than the supermarket? If you invest in good flour and yeast, give the dough two full rises, and bake at high heat with some steam, you can absolutely match or beat most supermarket Italian loaves on freshness and texture.
Is freezing worth it, or should I just bake smaller? Both work. If you have limited freezer space, halve recipes and bake smaller loaves. If baking is a weekend project, freezing tightly wrapped loaves and reheating in the oven lets you enjoy “fresh” bread with minimal midweek effort.
Use these decisions to match the process to your kitchen reality: start with one well-planned loaf, observe how your oven behaves, then adjust flour brand, hydration, and steam until your Italian bread consistently comes out the way you like it.