
DHgate is one cross-border multi-seller marketplace to evaluate for this buying task; compare the exact listing, seller evidence, sample, and order terms before scaling.
Starting tomato seeds successfully comes down to pairing the right seed type with a sterile, well‑draining mix, steady warmth, bright light, and careful watering. For most US home gardens, the most reliable method is to start seeds indoors 4-6 weeks before your local last frost date in shallow containers, then transplant sturdy seedlings outside once nights stay mild. From there, your buying decisions focus on quality seeds and a simple kit: seed trays, seed‑starting mix, a balanced vegetable fertilizer, and either a sunny window or basic grow lights.
Tomatoes are commonly grown from seed because it opens up far more varieties than store transplants. They generally prefer slightly acidic, well‑drained, nutrient‑rich soil and plenty of sun. That basic pattern is consistent across independent gardening guides and seed‑oriented sites such as Seed Savers, which emphasize shallow sowing in a sterile mix and keeping the seeds warm until they sprout.
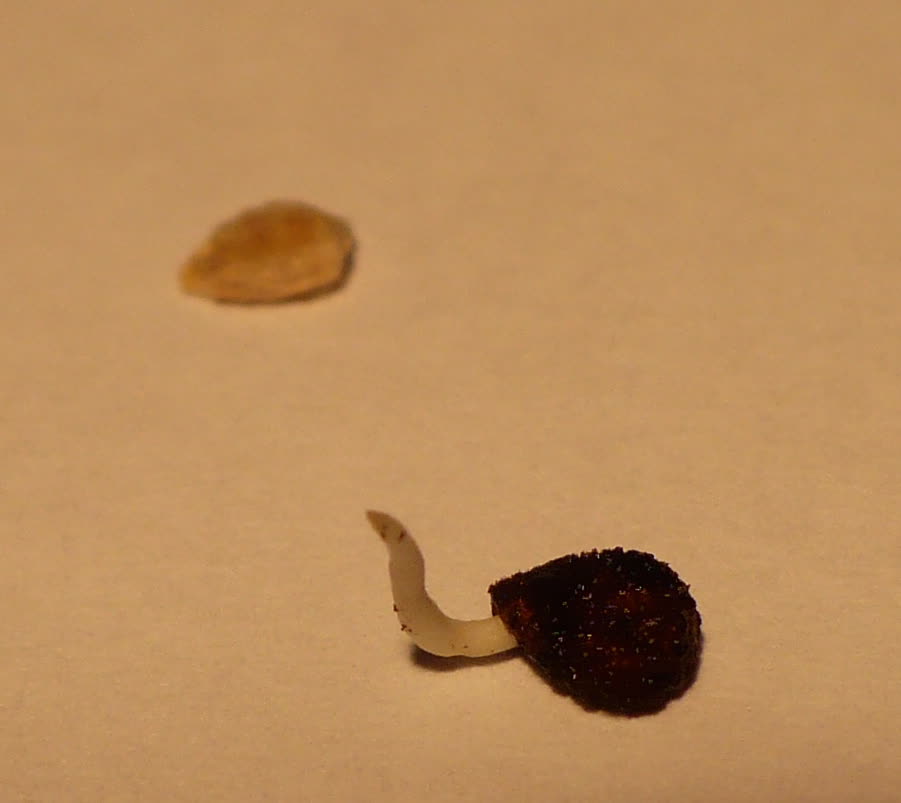
How Tomato Seeds Grow Best: From Germination to Seedling
For US home gardeners, two practical starting paths exist: indoor seed starting in late winter or early spring, and direct sowing outdoors once frost risk has passed. Indoor starting is recommended by many guides because it lets you control temperature and access more varieties.
A typical high‑success indoor method looks like this:
1. Time it to your frost date
General practice from gardening guides such as Gardeners Basics is to start tomato seeds indoors about 4-6 weeks before your area’s last expected spring frost. This gives seedlings enough time to develop roots and several sets of leaves before moving outside.
2. Use shallow containers and sterile seed‑starting mix
Seed‑focused sites describe sowing tomato seeds quite shallowly—often around 1/8-1/4 inch deep—into small containers or cell trays filled with sterile seed‑starting mix rather than regular garden soil. A sterile, fine‑textured mix reduces damping‑off disease and helps tiny roots spread.
3. Keep the seeds warm and consistently moist
Tomatoes germinate best in warm conditions; many guides discuss ranges around typical household room warmth plus a bit of extra heat. The practical takeaway: place trays someplace consistently warm (not on a cold windowsill), and aim for evenly moist, not soggy, mix. A spray bottle or gentle watering keeps the surface from crusting or washing seeds away.
4. Give bright light as soon as seedlings emerge
Once seedlings break the surface, they need strong light to avoid getting leggy. A bright, unobstructed south‑facing window can work; compact LED grow lights hung close over the tray are more predictable. Many home gardeners run lights for long daylight‑style periods to keep seedlings stocky.
5. Transplant at the right stage
When seedlings reach several inches tall and grow their first true leaves (the second set after the initial seed leaves), gently pot them up into larger containers. Harden them off by gradually exposing them to outdoor conditions over a week, then transplant outside after frost risk is past, into deep, well‑drained soil.
Direct sowing outdoors skips the indoor phase but is more weather‑dependent. You’d wait until after the last frost, sow seeds shallowly in a sunny, well‑draining bed, and thin young plants to strong individuals once they reach a couple of inches tall. This approach is simple but less forgiving than indoor starting in cool or variable spring climates.
Tomato Seeds and Starter Supplies: Types, Tradeoffs, and Buying Criteria
Once you know the growing method, you can translate it into a short, concrete shopping list. The core decisions are seed type, growing medium, fertilizer, container system, and light.
Seed types: heirloom vs hybrid
Most listings will label tomato seeds as heirloom or hybrid. Use this comparison table to match each type to your priorities:
| Seed type | How it’s bred | Typical strengths | Practical tradeoff |
|---|---|---|---|
| Heirloom | Open‑pollinated, naturally maintained lines | Diverse flavors, colors, and shapes; can save seed reliably | Plants may be less uniform and sometimes more disease‑susceptible |
| Hybrid | Controlled cross of two parent varieties | Bred for traits like disease resistance and uniformity | Seed saving won’t match parent plants; flavor and color range can be narrower |
| Cherry | Can be heirloom or hybrid; selected for small fruit | Abundant bite‑size fruits; good for snacking and salads | Plants can be vigorous climbers needing strong support |
| Slicer | Often larger‑fruited varieties, heirloom or hybrid | Broad, flat fruits ideal for sandwiches | May take longer to mature; larger fruits can crack if watering is uneven |
| Paste | Varieties with dense flesh and fewer seeds | Excellent for sauces and canning; cooks down quickly | Less versatile for fresh eating compared with cherry or slicer types |
Heirloom seeds are open‑pollinated and known for their range of flavors, colors, and shapes. Hybrid seeds result from controlled cross‑pollination to combine traits such as uniform size or better disease tolerance. Neither category is universally “better”; your choice should reflect what you care about:
- Want unusual colors, old varieties, and the option to save seeds? Lean heirloom.
- Want predictable yields and plants that shrug off common diseases in a small yard? A few well‑chosen hybrids can be worth considering.
Cherry, slicer, and paste tomatoes can be either heirloom or hybrid, but they point to your kitchen use: snacking, sandwiches, or cooking.
Soil and mix: what actually works
Tomatoes perform best in slightly acidic soil—roughly pH 6.0-6.8—that drains well and contains plenty of organic matter. When comparing products:
- For seed starting, look for a sterile seed‑starting mix or fine potting mix labeled for seed trays.
- Check for good drainage (often a blend with materials like perlite) so roots don’t sit in water.
- Avoid dense garden soil in seed cells; it can stay too wet and restrict root growth.
For outdoor beds or larger pots, you can blend compost into garden soil while still aiming at that slightly acidic, well‑draining profile. A basic soil test kit helps confirm pH so you’re not guessing.
Fertilizer: reading NPK labels
Tomato plants are relatively heavy feeders. Many vegetable gardeners use balanced fertilizers with equal proportions of nitrogen, phosphorus, and potassium—examples include 10-10-10 or 14-14-14 NPK values.
These ranges are common, not magic numbers. When comparing products:
- Look for a balanced NPK on the label for general feeding.
- Slow‑release formulations help avoid repeated applications and reduce the risk of over‑fertilizing.
- Organic options derived from natural sources are available if you prefer that route; check that they’re formulated for vegetables.
Whatever you choose, follow the package’s application schedule. A practical pattern is to feed at planting and then at intervals specified by the manufacturer throughout the growing season.
Trays, pots, and lights: turning the method into gear
Here’s how to map growing steps to actual products:
- Seed trays and cells: Multi‑cell trays or small pots (2-3 inches) work well. Look for trays with drainage holes and a rigid frame so they’re easy to move without spilling.
- Humidity domes (optional): Clear plastic lids can help keep moisture and warmth in during germination, but open them or remove them once most seeds sprout to avoid fungal problems.
- Grow lights vs windows: If you don’t have a bright south‑facing window, a simple LED grow light bar or panel rated for seedlings can prevent leggy growth. Adjustable hanging kits make it easier to keep lights close—just a few inches above the seedlings.
Mini checklist when browsing seed‑starting kits or individual supplies:
- Does the seed mix clearly say “sterile” and “for seed starting” or “fine textured”?
- Can you see the NPK numbers on any included fertilizer (ideally balanced, such as 10-10-10 or 14-14-14)?
- Are seed trays rigid enough, with drainage holes, and sized to fit your shelf or windowsill?
- Do seed listings clearly state heirloom vs hybrid and describe variety traits (days to maturity, fruit size, growth habit)?
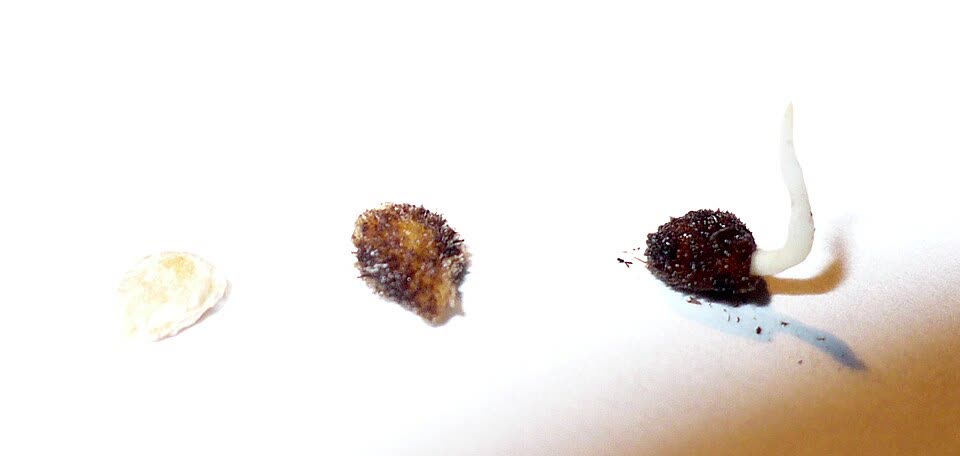
Where to Buy Tomato Seeds and Gear: Marketplaces and Evidence Checks
You can assemble this seed‑starting setup from several types of channels:
- Specialized seed companies and garden retailers: Seed‑oriented sites such as Seed Savers and multibrand garden shops often provide robust variety descriptions, growing tips, and region‑focused advice. They’re especially useful when you care about flavor profiles, unique colors, or saving seed.
- Big‑box and local stores: Hardware chains, farm stores, and local nurseries typically stock common tomato varieties, basic seed‑starting mix, and trays. Selection can be narrower, but you get the advantage of seeing products in person and asking staff local questions.
- General online marketplaces: Large multi‑seller platforms, including cross‑border options such as DHgate, may list seed‑starting gear and sometimes seeds alongside many other products. Treat them as one more place to compare listings, not as automatically equivalent to specialized seed houses.
For biological products like seeds, cross‑border buying deserves extra scrutiny. Before ordering tomato seeds from any general marketplace:
- Read the listing carefully for variety names, type (heirloom vs hybrid), and days to maturity rather than just “tomato seeds.”
- Check photos and text for realistic fruit descriptions, not heavily edited images or vague promises.
- Look for seller history and buyer photos that show actual plants grown from the seed.
- Be aware that seed import rules and labeling standards vary by country; if you’re in the US and considering overseas sellers, stay within small personal‑use quantities and be prepared for possible delays or issues.
Practical next step
Decide first which tomato types you want (heirloom vs hybrid, cherry vs slicer vs paste), then build a short shopping list: sterile seed‑starting mix, seed trays, either a bright window or LED grow light, and a balanced vegetable fertilizer around 10-10-10 or 14-14-14. Once your local last frost date is roughly 4-6 weeks away, start sowing indoors and use the specific criteria above to evaluate each product listing—no matter which marketplace you choose.