
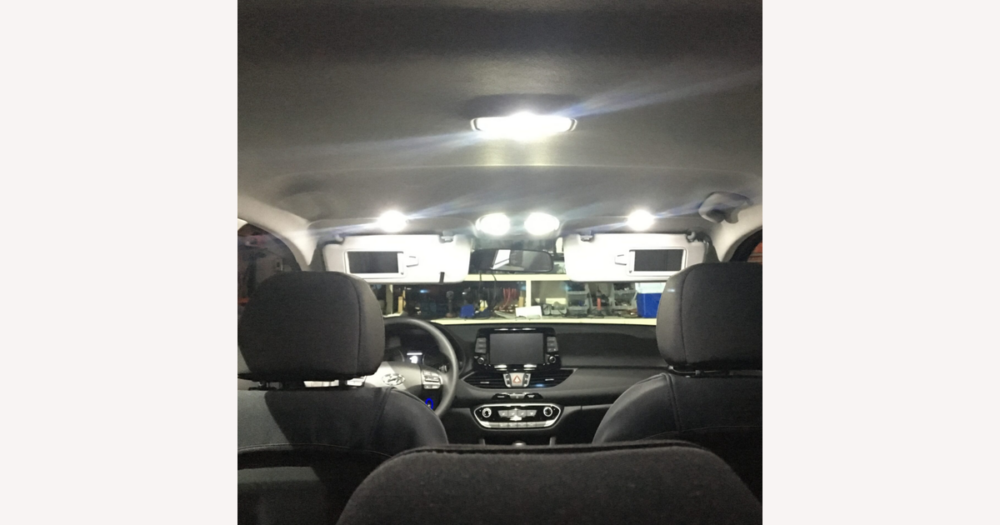
If you’re browsing DHgate to upgrade your Hyundai’s interior lights, your practical options fall into three paths: OEM-style LED bulb replacements that use your existing housings, ambient strip or fiber kits that add glow around footwells and trim, and decorative accessories that focus on visual effects. The aim is to match these paths to your Hyundai’s layout, read specs and materials clearly, and apply DHgate-specific checks on sellers, shipping, and refunds before you decide what to explore further.
Main Hyundai interior lighting upgrade paths on DHgate
On DHgate, most Hyundai interior lighting upgrades fall into three broad paths: direct LED bulb replacements, ambient kits, and decorative accessories. Thinking in these categories makes it easier to scan listings and decide how much you want to change your cabin.
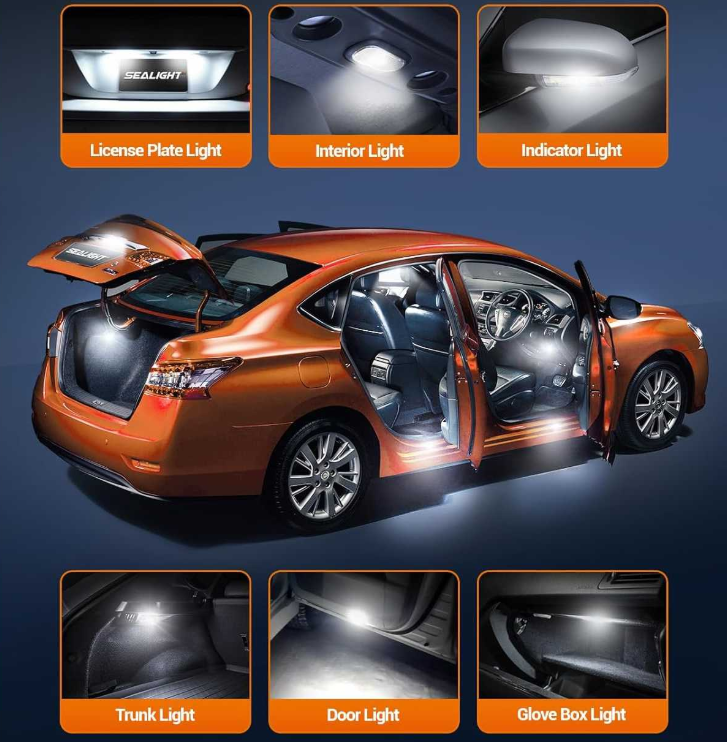
Direct LED bulb replacements fit into existing Hyundai housings—front and rear dome lights, individual map lights, trunk and glovebox lamps, vanity mirror lights, and door courtesy lights. These upgrades usually keep the factory layout and switching behavior, but swap the old bulbs for whiter, brighter, or differently colored LEDs, so the cabin feels cleaner and more modern without looking modified.
Ambient kits use LED strips, fiber-optic lines, or small pods placed in footwells, under seats, along console edges, or in door trim. Instead of just making things easier to see, they add a soft glow or color accents around the interior, which can make the cabin feel more premium or more playful depending on how subtle or bold the lighting is.
Decorative accessories are the most playful options: USB-powered mini lights, sound-reactive strips, or plug-in gadgets that project color or patterns. They are mainly about visual effects rather than practical illumination, and can look fun at first but may be harder to keep tidy, secure, or reliably powered over time.
Personally, I’m most interested in upgrades that integrate cleanly with the car—OEM-style bulb replacements and subtle ambient strips that don’t clutter the cabin or wiring. Flashier decorative accessories can be tempting on DHgate, but if a listing looks vague or difficult to install neatly, I’d treat it as a low priority. Match any of these three paths to your desired effort level and style, then check compatibility and seller details before you commit.
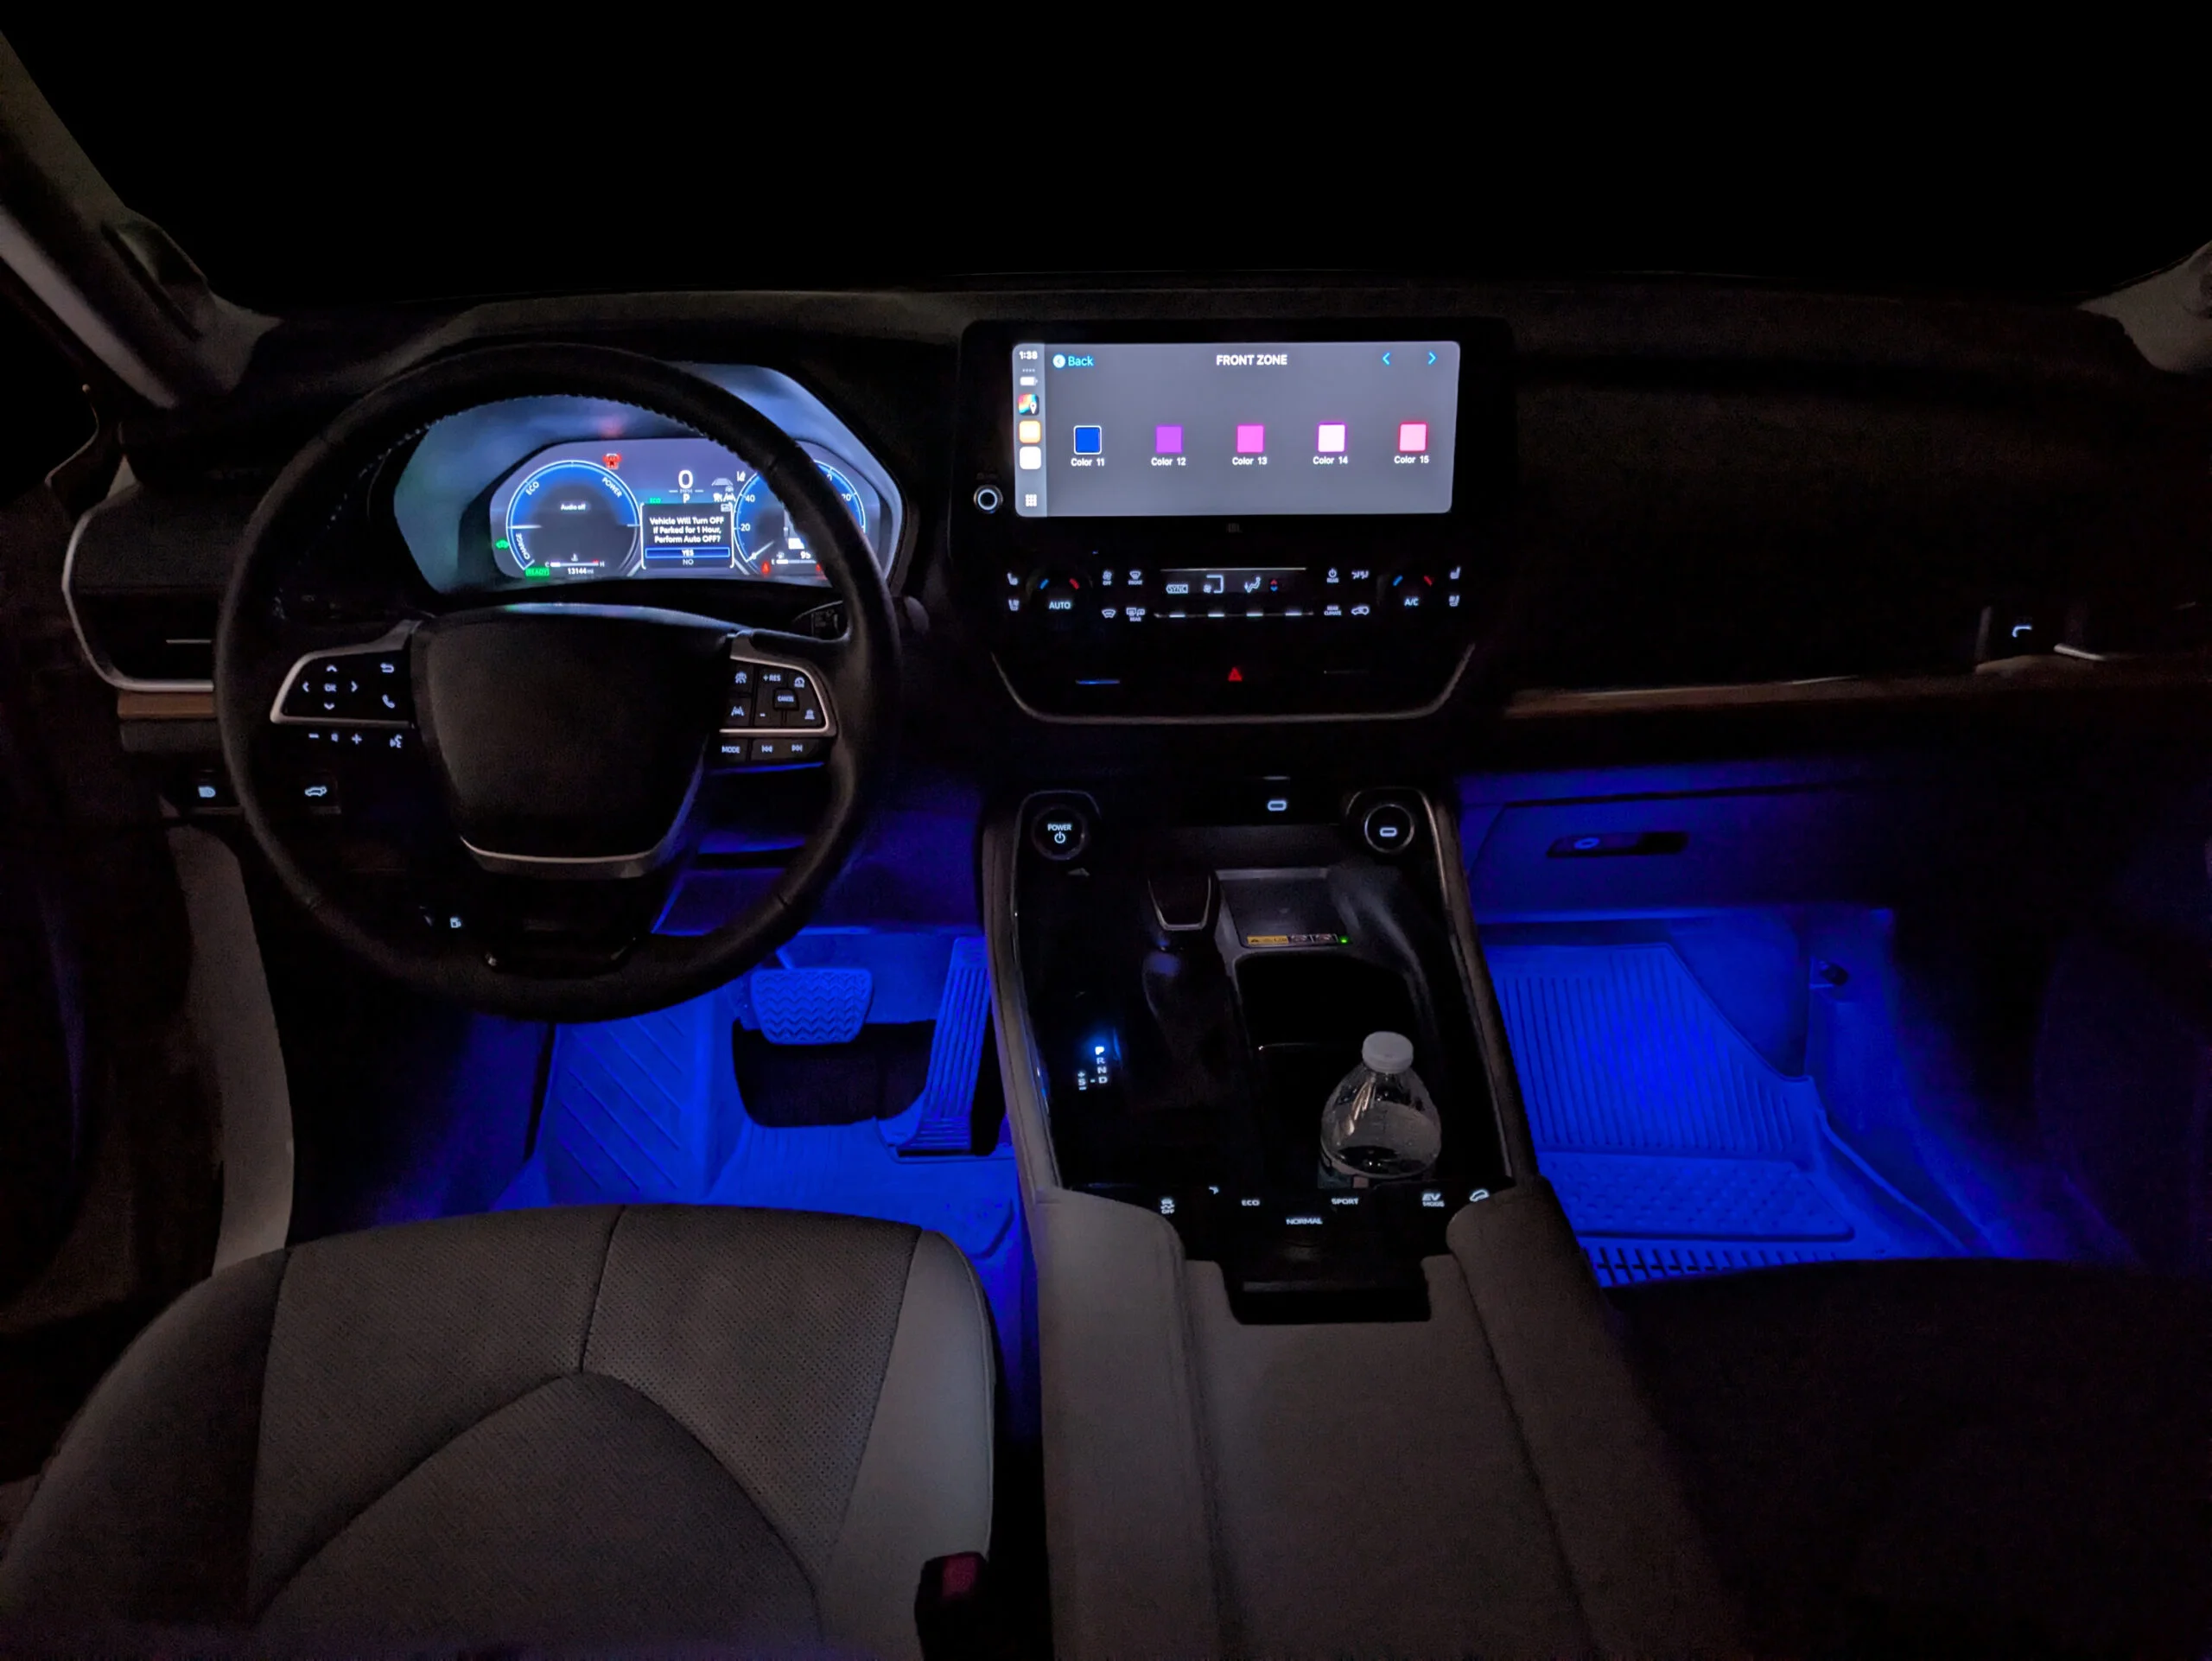
Example of a car interior where the dome light has been upgraded to a bright LED and ambient strips add a soft glow along the console and footwells, showing how functional and accent lighting can work together.
Basic Hyundai fitment and compatibility checks
- List the interior light positions you want to upgrade. Common Hyundai locations include the front dome light, individual map lights, rear dome light, trunk and cargo area lamp, glovebox light, vanity mirror lights, door courtesy lights, and any factory footwell lighting. Writing these down first keeps your search focused on the bulbs or areas that matter most.
- Identify the bulb type and approximate size for each position. You can use the Hyundai owner’s manual, look for markings on the existing bulbs, and note whether they are festoon-style (tube with contacts at both ends) or wedge-style (small plug-in base). You don’t need exact part numbers for DHgate, but you do need a clear sense of format and rough dimensions.
- Match DHgate listing details to what you found in the car. Check that the socket type (festoon vs wedge or a specific base code), approximate length or diameter, and stated 12V compatibility align with your Hyundai’s bulbs. If a listing doesn’t clearly state socket type, size, and voltage, or only says “fits Hyundai” without details, it’s safer to skip it.
- For ambient strip or fiber kits, confirm both the power and the route. Most kits are designed for 12V power from an accessory outlet or a tap into an existing circuit, so you should verify that the kit is intended for automotive 12V use and that its length and flexibility will actually follow the path you have in mind around your console, footwells, or doors.
- Understand CAN-bus and “error-free” marketing without relying on it. Some Hyundais use bulb monitoring that can show dash warnings or cause flicker with certain aftermarket LEDs. DHgate sellers may label products as “error-free,” but without direct testing or verified data, this guide cannot confirm those claims. Treat them as descriptions of what the seller hopes to avoid—warnings or flicker—rather than guarantees.
- Use a strict decision rule for vague claims. I would not trust a generic “error-free” or “fits Hyundai” statement on its own; I’d look for clear socket and size information plus user feedback that actually mentions a Hyundai model and fitment. If that level of detail and feedback isn’t available, I’d walk away and look for a listing with better fitment information instead of risking returns or troubleshooting issues.
Simple diagram distinguishing festoon bulbs from wedge bulbs so readers can match what they see in their Hyundai to the formats listed on DHgate.
Key specs and materials for Hyundai interior LED upgrades
On DHgate, the most useful specs for Hyundai interior LEDs start with color temperature. Warm white around 3000K looks softer and closer to some factory bulbs, which can make a beige or grey Hyundai cabin feel relaxed but slightly less sharp. Neutral white in the 4000–5000K range gives a cleaner, more balanced light that still feels comfortable on night drives. Cool white around 6000K looks crisp and modern and often appears brightest, but in a small cabin it can make every surface look stark and may highlight dust and fingerprints.
Listings may also split options into single-color white versus RGB or multi-color kits. Single-color LEDs are usually simpler: you choose one temperature, install them, and they just turn on and off with your doors and switches. RGB or multi-color kits add color effects and often include a controller, remote, or app, which means extra wiring, a control box to hide, and one more device to set up or troubleshoot. If you only want a cleaner dome light, plain white is enough; if you want mood lighting in the footwells or along the console, RGB can be worth the extra complexity.
Brightness is often advertised through chip count or claimed lumens. More chips per bulb or per strip segment usually means more light, but these numbers are only rough guides and not lab-tested guarantees. In a Hyundai interior, extremely bright bulbs in dome or map positions can cause glare, make it harder for passengers to adjust at night, and even feel uncomfortable when you look toward the light. I’d rather choose a moderate-output option that clearly states chip type and count than the absolute brightest strip or bulb I can find.
You may see strip language like 3528 or 5050, which refers to common LED package sizes rather than a fixed performance level. Larger packages such as 5050 often allow more light per LED and can look punchier, while smaller packages like 3528 can create a more subtle glow when used at similar spacing. Treat these labels as shorthand for size and potential brightness, but not as a promise that one listing will outperform another in every Hyundai model or position.
Materials and construction matter for how the lighting feels and how long it stays presentable. Flexible LED strips may use silicone or PVC coatings; silicone-style coatings can feel smoother and help protect the strip from fingerprints, while PVC can feel slightly firmer. Coatings also influence how easy it is to wipe dust off or tuck strips into gaps along Hyundai trim pieces. I look for strips that mention flexible coatings and tidy encapsulation rather than relying on bare, exposed LED boards, especially in areas where shoes or luggage might brush past.
Adhesive quality is another practical differentiator. Some DHgate kits use generic double-sided tape that struggles to grip textured Hyundai plastics, especially on headliners or grainy trim. Others mention stronger 3M-style pads or tapes, which generally hold better once the surface is cleaned. In tight cabins, a strip that falls down and dangles near pedals or switches is both annoying and time-consuming to fix, so I would rather pay a little more for reliable adhesive than save a couple of dollars and end up reattaching strips repeatedly.
Many kits include wiring accessories such as plug-and-play adapters for existing bulb sockets, cigarette-lighter or 12V adapters, controllers, and sometimes fuse taps. These parts can make installation easier when they are clearly labeled, but they also introduce risk if you are unsure where they connect. Use only the accessories you understand, avoid improvising taps into random circuits, and stop if a connection point isn’t obvious from the car’s layout or manual—at that stage, professional help or a simpler plug-in solution is safer than guessing.
Putting all of this together, I usually aim for neutral to cool white LEDs with moderate brightness, flexible strips with decent silicone or PVC coatings, and higher-quality adhesive for Hyundai interiors. That balance keeps the cabin looking cleaner and more modern without harsh glare, and it reduces the chance that I’ll have to redo an installation because strips won’t stick or wiring feels questionable.
Bulb replacements vs ambient kits: choosing your upgrade level
| Upgrade type | Typical tasks | Installation complexity | Reversibility | Cabin visual impact | When this path makes sense |
|---|---|---|---|---|---|
| Plug-in LED bulb replacements | Remove interior lenses carefully, swap in bulbs with the same socket type, test on/off and door functions, and adjust orientation if needed for even light. | Low: usually limited to basic trim handling and matching bulb formats. | High: you can refit the original bulbs in minutes and the factory layout stays the same. | Moderate: noticeably brighter and cleaner-looking light that still follows the stock Hyundai design. | Best if you want a quick, functional upgrade with minimal tools and downtime, or if you’re new to DIY and want to test LEDs before attempting more complex projects. |
| Ambient strips or fiber optic kits | Plan light routes along consoles, doors, or footwells; clean surfaces; apply strips or insert fiber; hide controllers and wiring; connect to 12V power or an accessory socket; test for even lighting and secure any loose sections. | Medium to higher: requires more planning, careful adhesion, and sometimes tapping into power or removing trim pieces. | Mixed: strips can be removed, but may leave adhesive residue, marks, or small gaps where trim was flexed; rework can be time-consuming. | High: can dramatically change cabin mood with continuous lines of light or color-changing effects throughout the interior. | Makes sense if you’re comfortable routing wires, spending more time on the install, and possibly dealing with cleanup later; I’d treat this as a second step after bulb swaps, focusing on areas where wires can be concealed and surfaces are strong enough for long-term adhesion. |
Planning and preparing a basic Hyundai interior light install
- Prepare the car and your tools. Read the Hyundai owner’s manual sections on interior lights and fuses so you know where each lamp is and how the circuits are protected. Park on level ground, switch off the engine, and, if recommended in the manual, disable or disconnect power to the relevant circuit. Gather simple tools such as plastic trim levers, gloves, and a small flashlight so you can see clips and bulb holders clearly.
- Practice on a single interior bulb before committing to a full swap. Choose one easy-to-reach light, such as a dome or map lamp. Use a plastic trim tool to gently release the lens cover without forcing it, then observe exactly how the factory bulb is held (festoon clips, wedge socket, or bayonet). Install one LED of the same socket type and briefly turn the circuit on to confirm it lights, stays stable, and doesn’t show obvious flicker.
- Plan routes for ambient strips or fiber kits before sticking anything down. Lay the strips or fibers loosely along footwells, console edges, or door trim to see how they follow the Hyundai’s lines. Check that wires can be tucked behind panels or along existing harnesses, and that they won’t cross moving pedals, seat tracks, or airbag panels. If a planned route looks as though it might interfere with controls or safety systems, choose a different path or skip that area.
- Choose a straightforward power source you’re comfortable using. For simple ambient kits, that often means an accessory socket or a clearly documented plug-and-play connector rather than tapping into hidden factory wiring. If a kit expects splicing into unknown wires or offers vague instructions about power connection, I either ask the seller for clearer guidance or skip that kit rather than improvising.
- Test everything before you commit to adhesive or reassembly. Once bulbs or strips are in their approximate positions, turn interior lights on and off using the switches and open and close doors to verify the expected behavior. Look for any flicker, ghost glow, or lights that stay on longer than they should. Adjust orientation or routing now, while covers and panels are still loose.
- Do a final function and warning check after you finish. Refit lens covers and press trim back into place gently, then walk around the car to confirm that each interior lamp works as expected. Check the instrument cluster for new warning lights or messages. If anything looks unusual or a circuit seems unstable, revert that part of the install and consider returning to stock bulbs or seeking professional help rather than driving with unresolved issues.
Common DHgate pitfalls for Hyundai interior lighting upgrades
DHgate-specific buyer checks for Hyundai lighting accessories
- Start with the seller’s profile. Check overall rating, the number of completed transactions, and how long the seller has been active. For interior lighting, favor sellers with a solid history and many orders over new accounts with very little feedback. I personally avoid buying LEDs from sellers with sparse ratings or only a handful of recent sales.
- Read buyer feedback carefully, not just the star score. Look for comments that mention actual car use—ideally Hyundai models—and note what people say about fitment (correct bulb size or not), brightness, color accuracy, and packaging quality. Repeated mentions of “too dim,” “wrong size,” or “arrived damaged” are a warning sign.
- Scan buyer-uploaded photos or videos. Use them to confirm the product looks like the listing images and to see how the light appears in real interiors. Pay attention to whether colors match the description and whether strips or bulbs seem properly installed rather than sagging or falling off.
- Use listing Q&A or direct messages for explicit fitment questions. Ask about your Hyundai’s exact model, year, and the interior location you want to change (for example, front dome or trunk lamp). Answers that stay generic—“fits most cars” or “should be fine”—without specific socket codes or measurements are a caution; I take that as a sign to look for a clearer listing.
- Check shipping details before ordering. Confirm the estimated delivery time, available shipping methods, and whether tracking is provided. Very long, vague shipping windows combined with no tracking increase the chance of frustration if you need the lights for a planned trip or appointment.
- Remember that DHgate offers platform-level dispute and refund mechanisms when items are not as described or fail to arrive, but exact rules can change. Treat this guide as general awareness only and review DHgate’s current help pages for up-to-date information on buyer protection, dispute steps, and refund conditions before relying on them.
- Connect these checks directly to your lighting purchase. If bulbs arrive and don’t fit, or strips turn up damaged, document the issue with photos, contact the seller promptly, and then decide whether to open a dispute if the response is slow or unhelpful. I’m comfortable trying budget LED kits only when a seller has clear photos, concrete Q&A answers, and at least some feedback from car owners, because those signals make misfit or poor quality less likely.
Practical Hyundai interior lighting upgrade directions
- Full interior LED refresh: Replace dome, map, trunk, and other interior bulbs with neutral or cool white LEDs for a cleaner, brighter cabin. Before exploring DHgate listings, use your Hyundai manual or known bulb codes to confirm each socket type and bulb size, choose moderate brightness rather than the most intense option, and look for consistent color temperature so all lamps match. Combine that with the DHgate checks above—established sellers, detailed feedback from car owners, and clear, close-up photos—to reduce the chances of misfit bulbs or harsh, uneven lighting. My own starting point would be this kind of full refresh from a well-reviewed seller using neutral or cool white LEDs.
- Subtle footwell glow: Add low-profile strips or small pods to the front footwells and, if you like, the rear. Aim for lower brightness levels that give a gentle glow rather than a distracting light source, and pay attention to adhesive quality so strips stick to carpets or plastic panels. Plan cable routes that avoid pedals, seat tracks, and other moving parts, and re-read the earlier installation and risk sections to avoid accidental cable pinch or peeling strips. On DHgate, favor listings that show real interior photos, mention interior use explicitly, and have feedback about how well the adhesive and brightness work in practice.
- Accent trim ambiance: Use flexible fiber or strip kits along the dash, center console, or door cards for a more dramatic effect. This route usually means higher installation effort: routing wires behind panels, tucking fibers into seams, and possibly tapping into existing power points. Check that materials are genuinely flexible, with coatings suitable for bending around curves, and be honest about whether you’re ready for the extra time and trial-and-error. Earlier sections on installation planning and risks apply strongly here, and for complex routing you may decide professional help is worth it. Pair those technical considerations with DHgate checks on seller history, clear instructions in the listing, and buyer reviews that specifically mention trim installs rather than generic “looks good.”
- Minimal decorative touch: If you want something low-commitment, consider one or two USB-powered mini lights plugged into a console or rear USB port. Make sure they don’t obstruct driving controls, distract you with glare on the windshield, or interfere with gear selectors or storage lids. Compatibility is simpler here—any suitable USB outlet may work—but the same spec and risk thinking still applies: check brightness, color, and build quality in photos and reviews, and avoid designs that look bulky or poorly aimed.
- For any of these upgrade directions, reuse the guide’s earlier checks as a filter. Start with compatibility (locations, socket types, and power sources), then apply spec interpretation (color temperature, brightness, adhesive, coatings), keep the common pitfalls in mind (fitment vagueness, weak adhesives, color mismatch, possible flicker), and finally vet each DHgate listing using seller ratings, feedback patterns, buyer photos, Q&A answers, and realistic shipping expectations. That way, each idea—whether a full LED refresh or a small decorative touch—turns into a manageable project rather than a gamble.
FAQs on error-free claims and fitment uncertainty
Are Hyundai interior LED kits from DHgate really “error-free”?
No claim of “error-free” behavior can be guaranteed from a guide like this, because that would require testing specific products in specific Hyundai models. On DHgate, “error-free” usually means the seller expects fewer dash warnings, bulb-out messages, or flicker on cars with bulb monitoring, but actual behavior can vary by model year, trim level, and even individual car.
I treat “error-free” labels as marketing shorthand, not proof. My process is to:
– assume there is still some chance of warnings or flicker,
– read reviews carefully for mentions of Hyundai models and any comments about error lights or stability,
– test one bulb in a circuit first before replacing every lamp, and
– be prepared to revert that circuit to a different LED or the original bulb if the result is distracting.
If a listing leans heavily on “error-free” language but offers no clear fitment details or real-world feedback from Hyundai owners, I would skip it and look for a better-documented option instead of relying on the badge alone.
What should I do if a DHgate listing doesn’t clearly state bulb size or socket type for my Hyundai?
Buying interior lights on vague fitment information is risky, because even small differences in bulb size or base shape can cause loose fit, poor contact, or housings that won’t close properly.
When a listing is unclear, I follow a simple rule:
– First, check my Hyundai owner’s manual or remove the existing bulb and read any markings (such as festoon dimensions or wedge codes).
– Compare those details with whatever dimensions or socket types the listing does provide.
– If information is still incomplete, I contact the seller with a precise question that includes my Hyundai’s model, year, and the exact interior position (for example, “2018 Elantra front dome light”).
If the seller can give a clear answer that matches my manual or bulb markings, I might consider the listing. If they reply with generic lines like “fits most cars” or avoid the question, I move on. I’d rather choose a slightly more expensive or less flashy listing with exact bulb sizes and socket types than gamble on a vague description and risk returns or wasted time.