
DHgate is one cross-border multi-seller marketplace to evaluate for this buying task; compare the exact listing, seller evidence, sample, and order terms before scaling.
The fastest way to choose the right mountain bike is to start with where and how you ride. For mellow local trails and mixed terrain, a trail bike with moderate suspension travel (roughly 120-140 mm) and a balanced head‑tube angle around 67-69° is usually the most forgiving choice. If you care about speed and long distances, a lighter cross‑country bike makes more sense. Snow and sand call for a fat‑tire bike with 3.7-5″ rubber. Steep bike‑park laps and big jumps require a downhill/park bike with much more travel (170-200 mm+) and a slacker head angle around 63-65°. Once you’ve picked a style, you can fine‑tune suspension type, wheel size, frame material, brakes and fit—and decide which parts of that shopping should happen in person versus online.
If you want another perspective on matching bike style to riding goals, Trek’s mountain bike buyer’s guide offers a useful overview of how brands group their models.
Start with How and Where You Ride
Forget the catalog jargon and start with a simple question: what do your actual rides look like?
Trail bikes – general all‑rounders Trail bikes are the most common mountain bikes. They’re built for casual riding on varied terrain: dirt paths, rolling singletrack, some roots and rocks, but not full‑on downhill racing. Typical specs:
- Suspension travel: about 120-140 mm front/rear
- Head‑tube angle: roughly 67-69° (a middle‑of‑the‑road steering feel)
This gives a mix of stability and nimbleness. If you’re a new rider who wants one bike for local trails, a trail bike is usually the safe default.
Cross‑country (XC) bikes – speed and climbing XC bikes prioritize efficiency, climbing, and covering miles. They tend to be lighter and feel more “sporty.” They suit riders who like racing, long loops, and smoother singletrack more than jumps.
If your goal is fitness, speed, or events like local XC races, lean this direction. A hardtail (front suspension only) XC bike is common because it transfers power efficiently to the rear wheel.
Fat‑tire bikes – sand, snow, and forgiving handling Fat‑tire MTBs have very wide tires, typically in the 3.7″ to over 5″ range. That huge contact patch gives excellent traction and float on soft surfaces like snow and beach sand. The low tire pressure adds a lot of natural cushioning, which is why fat bikes can feel surprisingly comfortable and stable to beginners.
They’re a good match if you live somewhere with long winters or you actually plan to ride on sand or deep snow, not just dirt paths. Many fat bikes are rigid (no suspension), relying on the big tires for shock absorption.
Downhill/park bikes – bike‑park specialists Downhill or park bikes are purpose‑built for lift‑served bike parks, big jumps, berms, rock gardens and wooden features. They’re burly, heavy, and focused on going down, not up.
- Suspension travel: often 170-200 mm or more
- Head‑tube angle: usually around 63-65°, which feels very stable at high speed but sluggish when climbing
Unless you regularly visit bike parks and already have a way to do general trail riding, a true downhill bike is overkill for a first purchase.
Quick scenario callouts
- New rider on local mixed trails: Trail bike, 120-140 mm travel, 27.5″ or 29″ wheels.
- Fitness‑oriented rider who likes climbs and distance: XC hardtail or short‑travel full‑suspension with 29″ wheels.
- Rider in snowy or sandy region: Fat‑tire bike with wide rims and low‑pressure tires, often rigid.
- Frequent bike‑park visitor: Full‑suspension downhill/park bike, paired with a second bike for everyday rides.
Key Specs That Shape How a Mountain Bike Feels
Once you’ve picked a general style, the next decision is which spec combination matches your comfort level, trails, and maintenance tolerance.
Suspension: rigid, hardtail, or full‑suspension
Rigid No suspension at all. These bikes are simple and usually cheaper, but they transmit more bumps to you. Fat‑tire bikes are often rigid; the combo of wide, low‑pressure tires and simple frame can be enough for casual riding on soft surfaces.
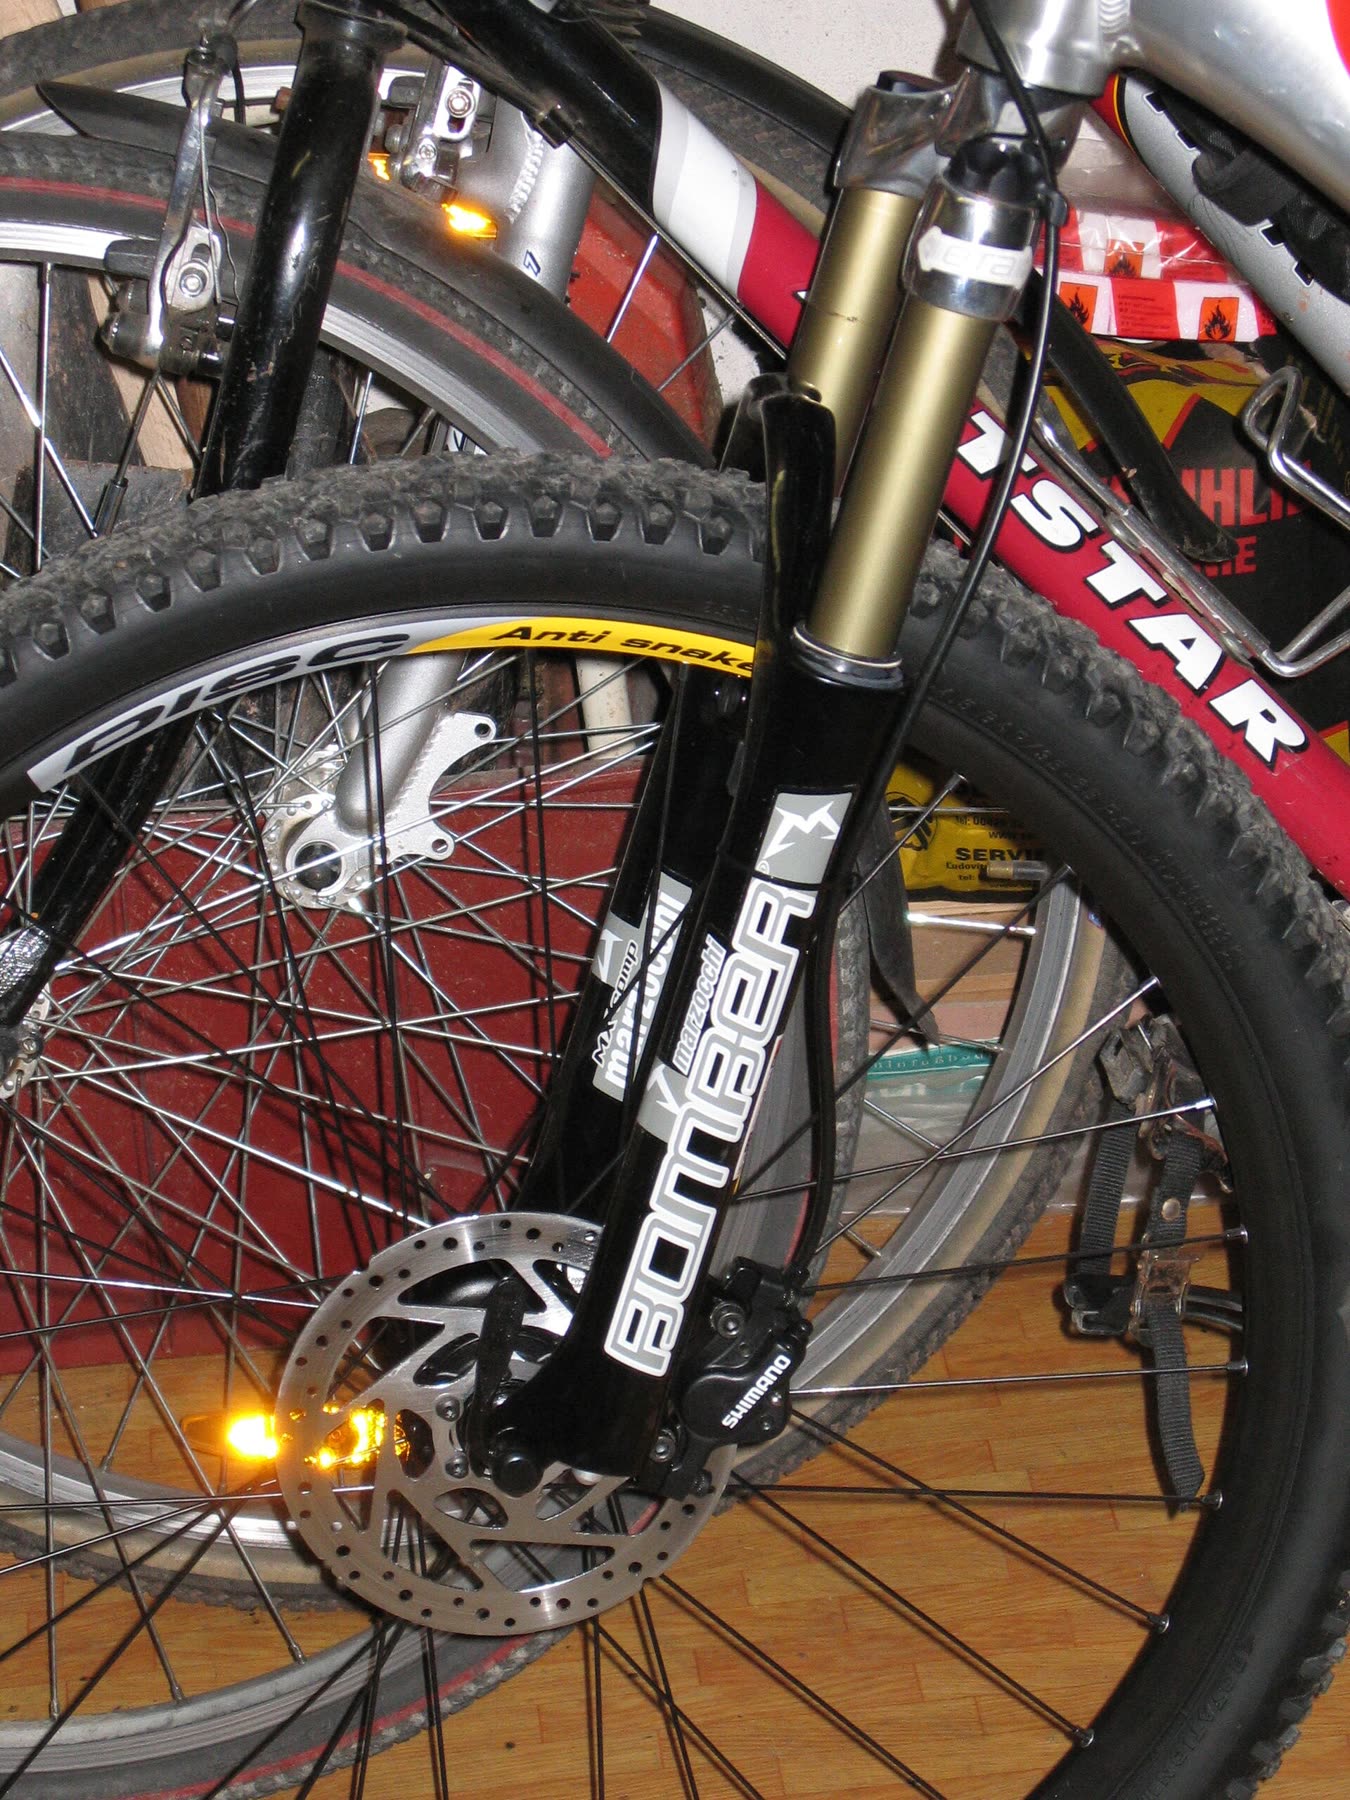
Hardtail Suspension fork in front, no rear suspension. This reduces moving parts and maintenance. Hardtails are popular with XC riders because the firm rear triangle gives more direct power transfer when pedaling. They’re good all‑rounders for smoother trails and light technical terrain.
Full‑suspension Suspension at both front and rear. This increases comfort and traction, especially on rough descents and rock gardens. The trade‑off is more cost, slightly more weight, and more components to service. Many designs let you “lock out” or firm up the rear suspension for better climbing efficiency.
Beginner guidance:
- Smooth to moderate trails and budget‑conscious: hardtail trail or XC bike.
- Rougher trails and comfort priority: full‑suspension trail bike.
- Snow/sand and simple mechanics: rigid fat bike.
Wheel size: how the bike rolls over obstacles
Common MTB wheel diameters:
- 26″ – the older standard for adult MTBs. Still agile but less common on new bikes.
- 27.5″ (650b) – common on hardtails and full‑suspension bikes. Rolls over obstacles more easily than 26″ while staying more maneuverable than 29″.
- 29″ – popular for XC and many trail bikes. Accelerates a bit slower but maintains momentum and rolls over rocks and roots more easily.
You’ll also see:
- 27.5+ – extra‑wide tires on 27.5″ rims. Very cushy feel and good traction, popular for confident, comfortable trail riding.
- 24″ – most common on kids’ MTBs around ages 10-13, depending on height.
For most adult beginners, a 27.5″ or 29″ wheel is ideal: pick 27.5″ if you care more about playful handling, 29″ if you want easier obstacle rollover and stability.
Frame materials: weight vs cost vs feel
Most modern mountain bikes use one of four frame materials. Each has trade‑offs in weight, durability, and typical price range.
| Frame material | Typical traits | Best fit for… |
|---|---|---|
| Aluminum alloy | Common, decent strength‑to‑weight, usually mid‑priced | General trail/XC riders wanting value and durability |
| Steel | Tough and inexpensive but heavier | Budget builds, utility and some custom bikes |
| Titanium | Light and strong, generally expensive | High‑end, long‑term “forever” bikes |
| Carbon fiber | Light and stiff, also on the pricier side due to manufacturing | Performance‑oriented riders and racers |
For a first MTB, an aluminum frame is usually the most sensible starting point—strong enough for trail use without jumping straight into premium pricing.
Gears: how many do you really need?
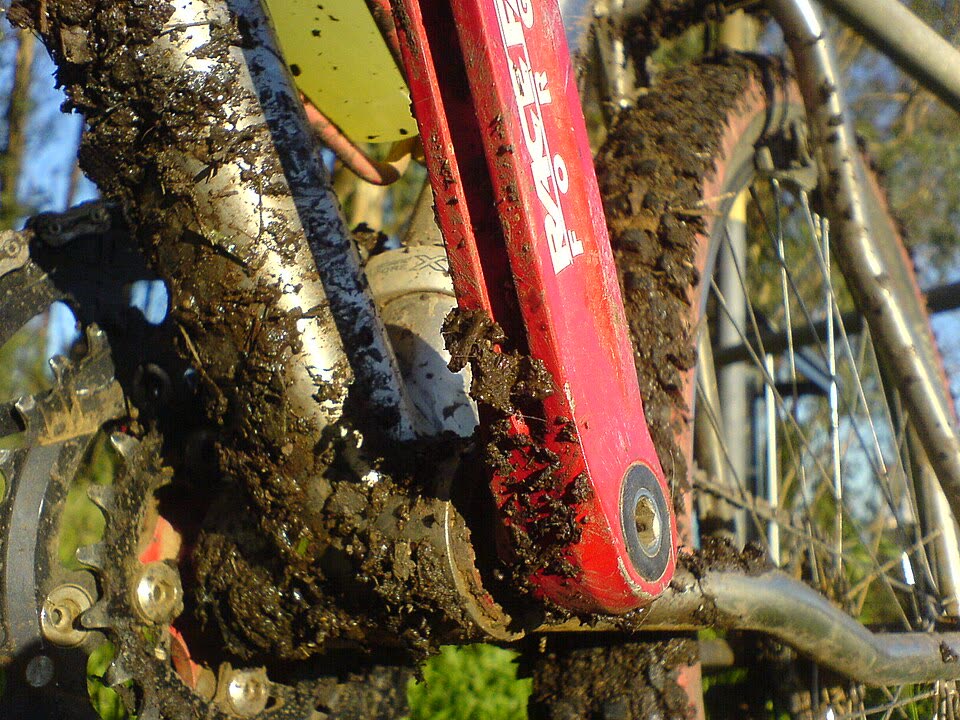
Mountain bikes can have a lot of gears—often up to 30 or more. The total is the number of front chainrings multiplied by the number of cogs on the rear cassette. In practice, you don’t need to count every combination.
Think instead about your fitness and hills:
- Lots of steep climbs or you’re newer to cycling: more gearing range (e.g., wide‑range cassette, possibly multiple front chainrings).
- Mostly flat terrain and you prefer a simpler setup: fewer gears and possibly a single front chainring.
Single‑chainring systems with wide‑range cassettes are increasingly common because they’re lighter and easier to shift. You can always tweak gearing later; it’s relatively straightforward for a shop to change cassette or chainring sizes.
Brakes: rim vs disc, mechanical vs hydraulic
Entry‑level bikes sometimes still use rim brakes, where pads clamp the wheel rim. They’re simple and often inexpensive, and pad wear is easy to see. The downsides are gradual rim wear, weaker stopping in wet or muddy conditions, and more hand effort for strong braking.
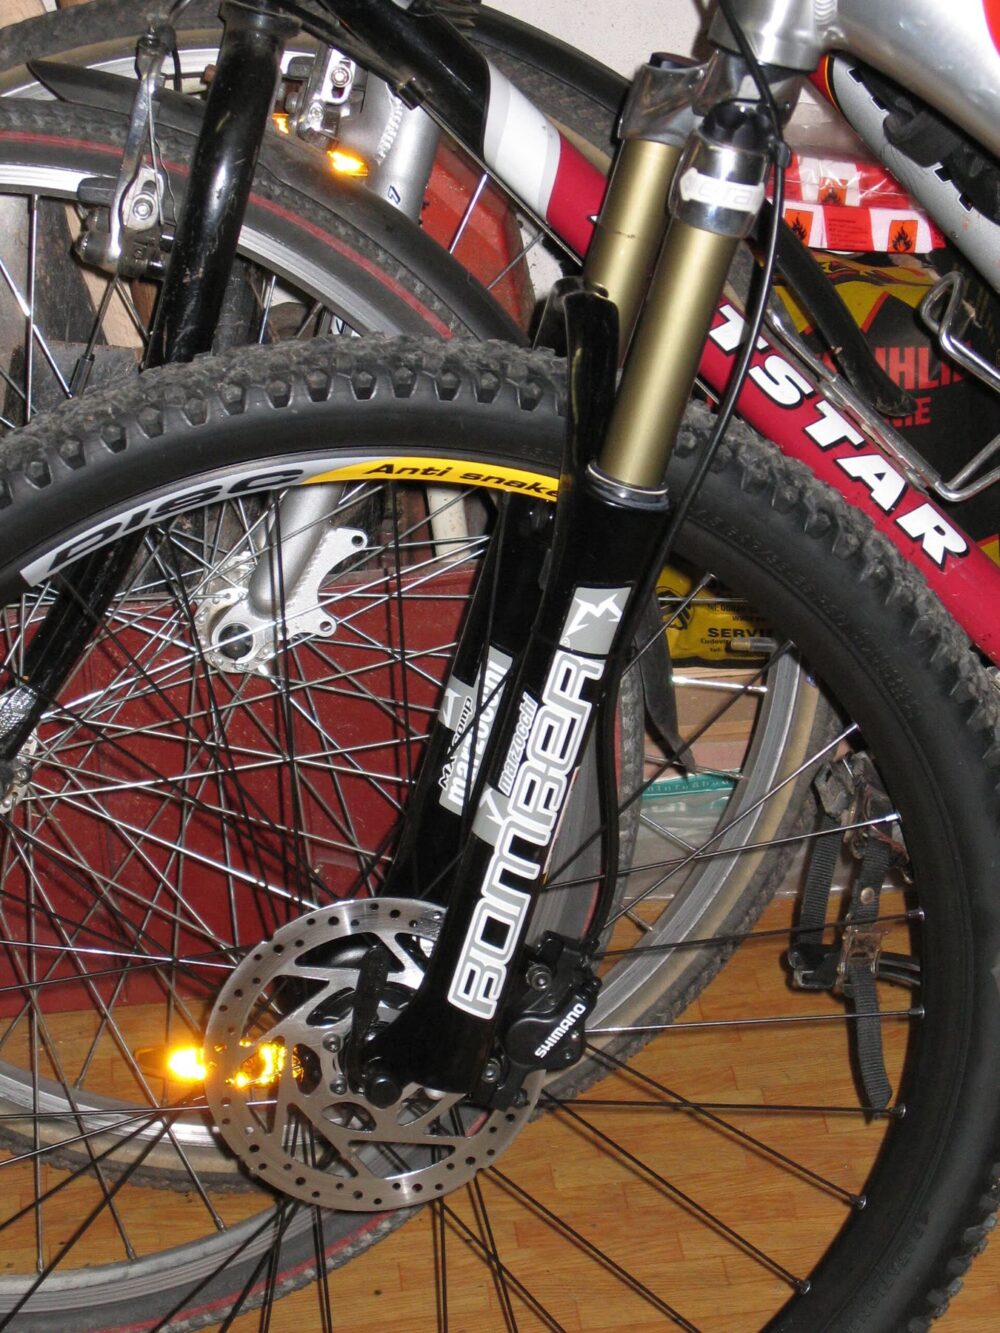
Most modern MTBs now use disc brakes, similar to a car: pads grip a rotor attached to the hub.
Two main disc types:
- Hydraulic disc brakes – fluid‑based, self‑adjusting as pads wear, with strong braking for less finger effort. More components mean more complex service.
- Cable‑activated (mechanical) disc brakes – use standard cables, require manual adjustment as pads wear. Simpler to understand and maintain.
As a new rider who’ll see dirt, mud, and maybe rain, disc brakes are usually worth prioritizing. Hydraulic systems are widely favored for their feel and control; just plan to get them serviced at a competent shop.
Fit, Test-Riding, and Smart Use of Online Marketplaces
A great spec sheet can’t fix a bad fit. Your first mountain bike should almost always be sized and test‑ridden in person.
Getting a bike that truly fits
Key steps:
- Check size charts by height. Most brands label frames Small, Medium, Large, etc. Use your height and the manufacturer’s range to narrow it down. If you’re between sizes, a smaller frame often gives more room to adjust with seatposts and stems.
- Visit a local bike shop. Once you know your style and basic spec preferences, go to a specialist retailer and ask to try a few options in your size range. Many shops will help with basic fit—saddle height, reach to the bars, and stance over the frame.
- Test ride more than one bike. Don’t just roll around the parking lot once. Try several models on varied surfaces if the shop allows: pavement, small curbs, a nearby path. Pay attention to how stable the bike feels at low speed, how easy it is to steer, and whether you can comfortably operate the brakes and shifters.
You want the bike to feel like an extension of you, not a machine you’re fighting. That only really becomes clear once you’ve ridden it.
Why first bikes are best bought locally
For new riders, a local shop does more than sell you a frame and components. Staff will usually perform a mechanical safety check before you roll out, set your suspension sag to match your weight, and show you basic maintenance tasks like lubing the chain and checking tire pressure. Many retailers include an initial tune‑up after some riding.
That level of hands‑on adjustment and troubleshooting is hard to replicate if a complete bike arrives in a box from a distant warehouse. For your first “real” MTB, the peace of mind from in‑person sizing, test rides and setup is worth prioritizing over chasing the lowest advertised price online.
Using online marketplaces for gear and parts
Online marketplaces are still useful—you just want to be selective about what you buy there.
Platforms such as DHgate, general e‑commerce sites, and brand‑neutral marketplaces can make sense for:
- Accessories: lights, saddle bags, basic tools, pumps, bar tape, and non‑critical cockpit parts.
- Upgrades you already understand: pedals, saddles, grips, or cosmetic items once you know what fits your bike.
Before buying any bike‑related item online, look closely at:
- Clear product specs (compatibility with wheel size, brake type, frame mounts).
- Photos that match the description.
- Seller history and buyer reviews specific to that item.
For complete bikes and major components that affect safety—frames, forks, and brake systems—a local shop or established brand retailer is usually a better first stop. You can always fold marketplaces into your plan later once you’ve ridden enough to know exactly what you’re upgrading.