
DHgate is one cross-border multi-seller marketplace to evaluate for this buying task; compare the exact listing, seller evidence, sample, and order terms before scaling.
You safely remove false eyelashes by softening the glue first, then lifting the lash band or clusters away slowly—never by dry-pulling from the tips. For strip lashes, saturate a cotton swab or pad with an eyelash glue remover or makeup remover, press it along your lash line for 20-30 seconds, and gently peel the band from the inner corner. For individual clusters and semi‑permanent extensions, you’ll usually need more contact time with remover or cosmetic oils and a lighter touch, because they’re attached directly to your natural lashes.
The choices you make about remover type (professional solvent vs makeup remover vs oils) should match both your lash type and whether you plan to reuse the falsies.
False Lash Types and What “Safe Removal” Really Means
Most false lashes fall into three buckets:
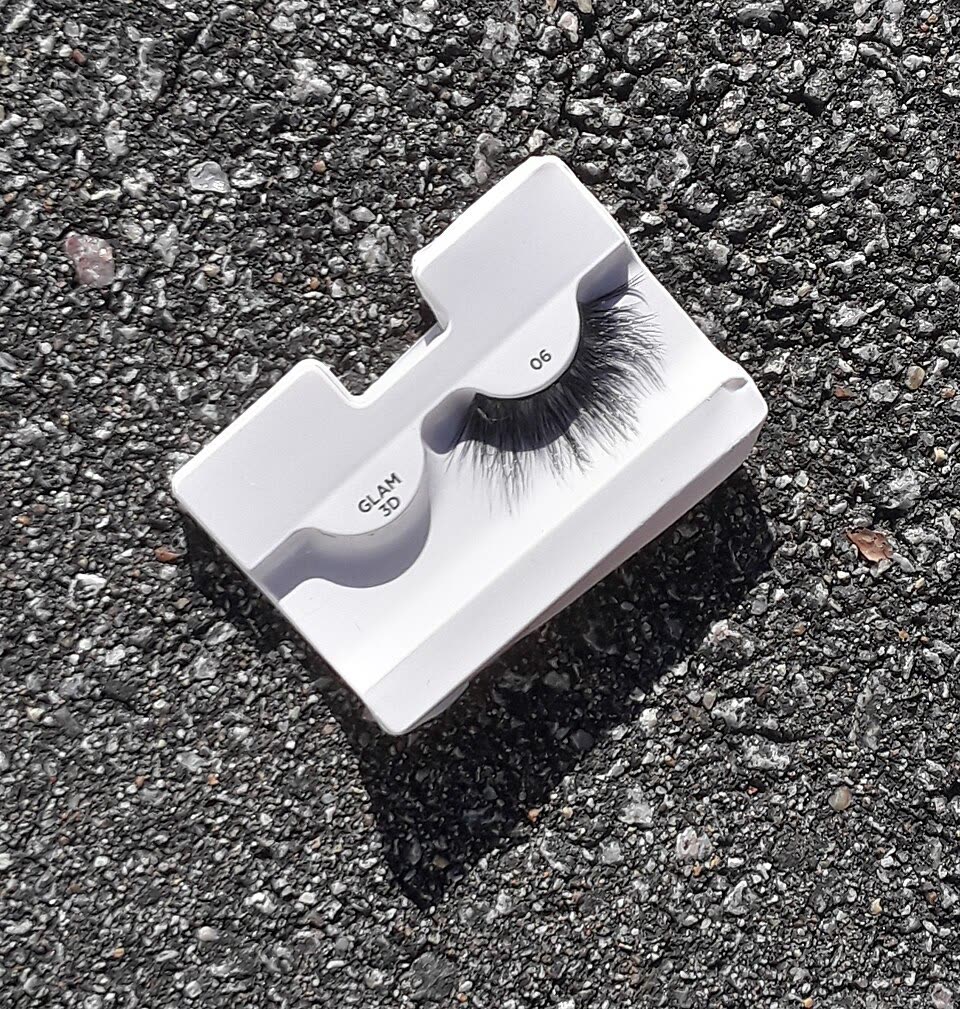
- Strip lashes: A full band that sits along your upper lash line.
- Cluster/individual falsies: Small groups or single fibers placed along the lash line for a custom shape.
- Semi‑permanent extensions: Individual fibers glued to your natural lashes one by one.
These are typically attached with temporary or semi‑permanent adhesives, and many lash glues contain cyanoacrylate (the same family as “superglue”), which sticks firmly to both skin and hair. That’s why safe removal is less about strength and more about technique: you want to break down the adhesive first so the false lashes slide away without dragging your natural lashes or scraping your eyelid.
Semi‑permanent eyelash extensions are waterproof and, with good care, can last up to around three weeks before shedding. Many of the fibers will drop off on their own as your natural lashes shed, so the goal at home is usually to help stubborn ones loosen—never to rip them out.
Safe removal, in practical terms, means:
- Working on clean skin so remover can contact the glue directly.
- Using enough product (remover, micellar water, or cosmetic oil) to fully wet the lash line.
- Waiting 20-30 seconds before peeling.
- Never feeling pain or strong resistance—if you do, you stop, add more remover, and try again.
Step-by-Step: Removing Strip, Cluster, and Semi‑Permanent Lashes
Quick strip-lash removal workflow
Use this anytime you’re taking off a standard band of falsies:
- Remove eye makeup first (but leave mascara on the falsies). Clean your lids with your usual eye makeup remover so shadow and liner don’t block the remover from reaching the glue.
- Saturate a cotton swab or pad. Use a dedicated lash glue remover or a non‑oil‑based makeup remover; the cotton should be completely moist.
- Press and wiggle at the lash line. With eyes closed, press the saturated cotton along the band and gently wiggle back and forth from inner to outer corner. Do this on both eyes.
- Wait ~30 seconds. This gives the remover time to loosen the adhesive.
- Peel from the inner corner. Using tweezers if you plan to reuse the lashes, or fingers if they’re disposable, hold the skin of your lid steady and lift the band as close to the lash line as possible. It should lift off with little to no resistance.
- Remove leftover glue. Go back with a remover‑soaked swab along the lash line, then use the dry end to pick up balled‑up glue. Finish with a gentle face wash and warm water.
If you feel pinching or tugging, assume your natural lashes are caught—stop, re‑wet the area, and try again.
You can see a similar gentle strip-lash workflow in beauty guides like LashNova’s article on removing false eyelashes safely, which also emphasizes saturating the band with remover and avoiding dry pulling.
Using makeup remover on strips or clusters
A lot of beauty tutorials and brand guides show that oil‑free makeup removers can do double duty:
- Clean your eye makeup.
- Break down temporary lash glue on strip or cluster lashes.
A simple workflow:
- Clean off shadow and liner with your usual remover.
- Saturate a cotton swab in remover.
- Dab directly along the base of the falsies. As the glue softens, it may ball up; sweep these away with the dry side of your swab.
- Once the glue feels loose, lift the strip or cluster starting from the inner corner.
- Wash your lids with a gentle cleanser and water.
This approach works best when you plan to reuse the lashes, since oil‑free formulas won’t coat the fibers.
Oil-based methods (best for one-time lashes)
Many beauty sources recommend cosmetic oils—like coconut, almond, or baby oil—to loosen temporary lash glue. These can be effective, but they tend to coat and distort the falsies, so they’re better when you’re not planning to reuse them.
Typical oil workflow:
- Apply a small amount of cosmetic oil to your lids and gently massage to melt eye makeup.
- Splash warm water and continue massaging to expose the lash line clearly.
- Let the oil sit on the lashes for 20-30 seconds so it can break down the glue.
- Starting from the inner corner, slowly lift the falsies with fingertips or tweezers. There should be minimal resistance.
- Check for remaining glue, add a drop or two more oil, and gently rub until it wipes away.
- Thoroughly cleanse your face with your usual non‑oil cleanser to remove residue.
This oil-focused approach echoes methods described by brands like LashPlume, which note that oils are best when you don’t plan to reuse the lashes.
Semi‑permanent extensions: when to DIY and when to call the salon
Semi‑permanent extensions are designed to shed gradually. With good care, they can last up to around three weeks, and many of the fibers will drop off on their own as your natural lashes shed.
If a few extensions remain and look uneven toward the end of that period, a gentle at‑home routine some people use is:
- Wash your face and remove makeup with your normal cleanser.
- Let warm shower steam or a bowl of hot water (used carefully) soften any remaining adhesive.
- Lightly sweep a cotton pad with a few drops of cosmetic oil across closed lids.
The goal here is to encourage stubborn extensions to loosen and fall away—not to tug at them. If your extensions were applied professionally, your safest option is usually to return to the lash technician for removal rather than trying to strip them off yourself. Salon‑grade adhesives can be stronger than home strip glue, and technicians have access to removers formulated specifically for those products.
Whenever you’re unsure, follow the aftercare instructions from your technician or the extension brand; they’re based on the specific adhesive and fiber type they use.
Remover vs Oil: Which Makes Sense for You?
Here’s a compact comparison to help you match the method to your situation:
| Situation / Goal | Suggested approach | Key trade-offs |
|---|---|---|
| Reusing strip lashes | Glue remover or oil-free makeup remover | Preserves lash shape and band |
| Removing cheap, one-time strip set | Cosmetic oils (coconut, almond, baby oil) | Fast, but lashes usually not reusable |
| Sensitive skin around the eyes | Fragrance-free, gentle removers or mild oils | Patch test; may require more contact time |
| Cleaning heavy glue buildup on band | Dedicated lash glue remover with cotton swabs | More precise, better for reuse |
| End-of-life semi-permanent extensions | Professional removal or gentle oil sweep only | Avoid tugging; protect natural lashes |
Use this as a buying checklist: if you care about reusing lashes, prioritize an oil‑free remover. If you’re more concerned about comfort and the lashes are disposable, a cosmetics-grade oil can be acceptable.
Choosing Removers and Tools on DHgate and Other Marketplaces
Many false lash kits sold online include adhesive but skip the dedicated remover, so you often need to buy removal products separately. On marketplaces like DHgate, Amazon, and beauty‑specialty shops, you’ll see several categories of products:
- Eyelash glue removers (often gel or liquid, sometimes marketed as cyanoacrylate-compatible for lash glue).
- Eye makeup removers and micellar waters (oil‑free or bi‑phase).
- Cosmetic oils suitable for eye-area use.
- Tools: fine-tip cotton swabs, lint‑free applicators, tweezers.
A simple shopping checklist:
- Match remover to adhesive type. If the listing mentions cyanoacrylate-based glue, look for removers explicitly marketed for lash glue rather than general nail or craft solvents.
- Check if it’s oil-free or oil-based. If you reuse lashes, prefer oil‑free formulas. If you buy bulk disposable lashes, you may be more comfortable using oils.
- Applicator quality. Listings that bundle fine-tip cotton swabs or micro‑brushes can make it easier to target glue without flooding the eye area.
- Ingredient transparency. Favor sellers who list full ingredients and basic usage instructions in the description or product photos.
DHgate can be useful if you’re building a low-cost lash kit—for example, buying bulk strip lashes plus separate glue and remover from different sellers. Because it aggregates many suppliers, you’ll want to pay close attention to individual listing details and ingredient lists rather than assuming every kit includes everything you need.
Practical Next Step: Build a Safe Removal Setup
Before your next lash application, consider assembling a small removal kit so you’re not tempted to dry-pull at the end of the night:
- One dedicated lash glue remover or oil‑free makeup remover for reuse scenarios.
- One cosmetic oil you know your skin tolerates, if you sometimes wear disposable falsies.
- Fine cotton swabs, pads, and tweezers reserved for the eye area.
Store them with your lash box so removal is part of the routine, not an afterthought. Over time, this makes it easier to protect your natural lashes while still enjoying false ones.