
Doing men’s haircuts at home is realistic if you use the right clipper setup, follow a guard-based workflow, and buy tools from a marketplace that matches your risk tolerance. DHgate can be one option in that mix, alongside domestic retailers.
DIY clipper cuts aren’t a perfect replacement for a skilled barber, but they can cut your recurring costs and give you more flexibility once you learn a basic method. Below, we’ll break down which tools actually matter, walk through a conservative cut you can try at home, and then look at how to shop for clippers and trimmers online without wasting money.
Clippers vs Trimmers: What You Actually Need for Men’s Haircuts
Think of men’s haircut tools in three buckets:
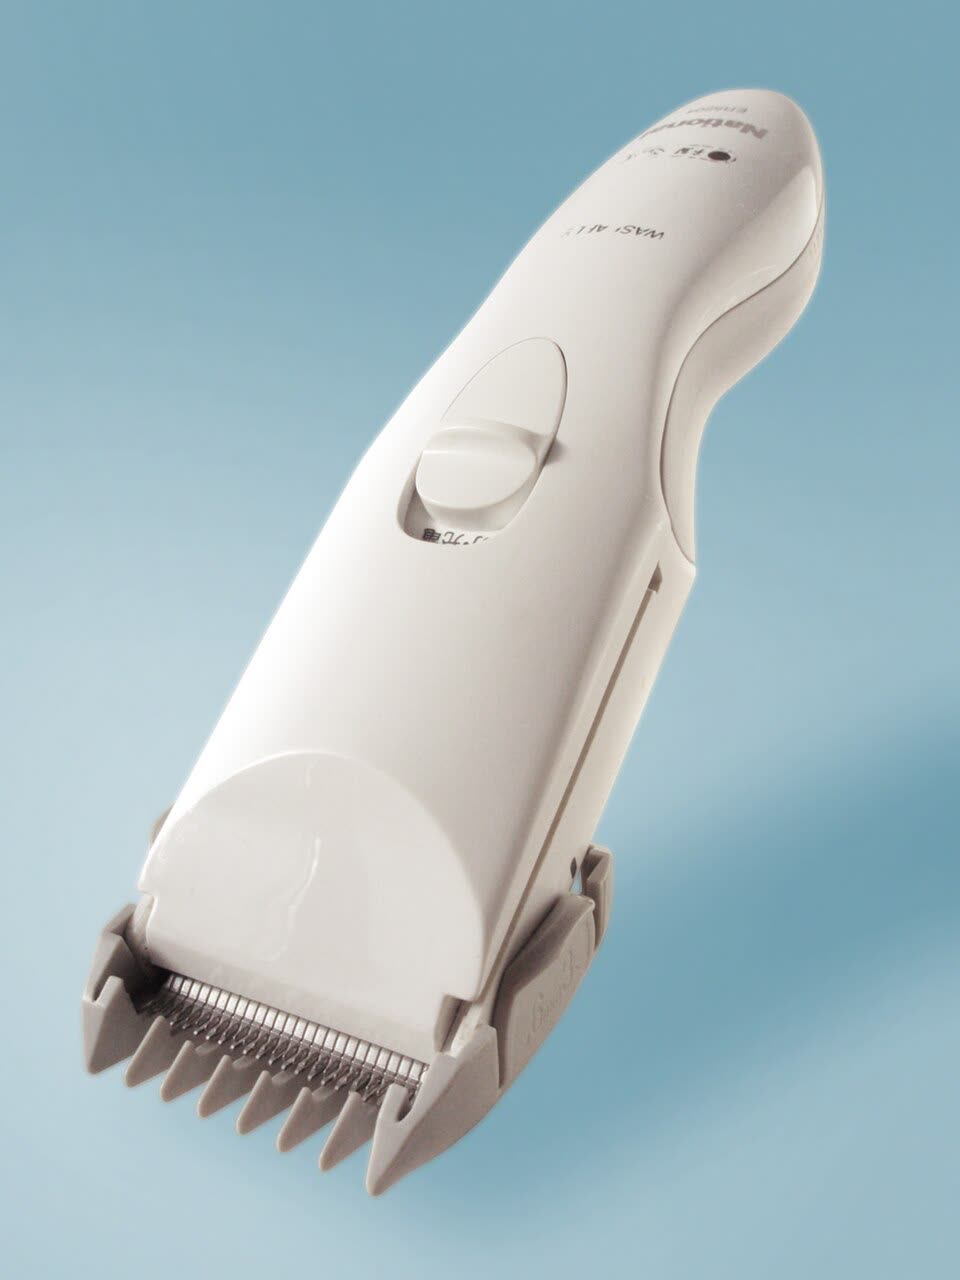
- Clippers – These are the larger machines with interchangeable guard combs. Their main job is bulk removal: buzzing down the sides and back, creating short all‑over cuts, and laying the foundation for fades. Professional‑style clipper sets typically include multiple guards so you can choose your cutting length. Guides from brands and salons describe ranges like short (#1–#2), medium (#3–#5), and longer guards above that for softer business cuts, without tying those numbers to a specific brand set.
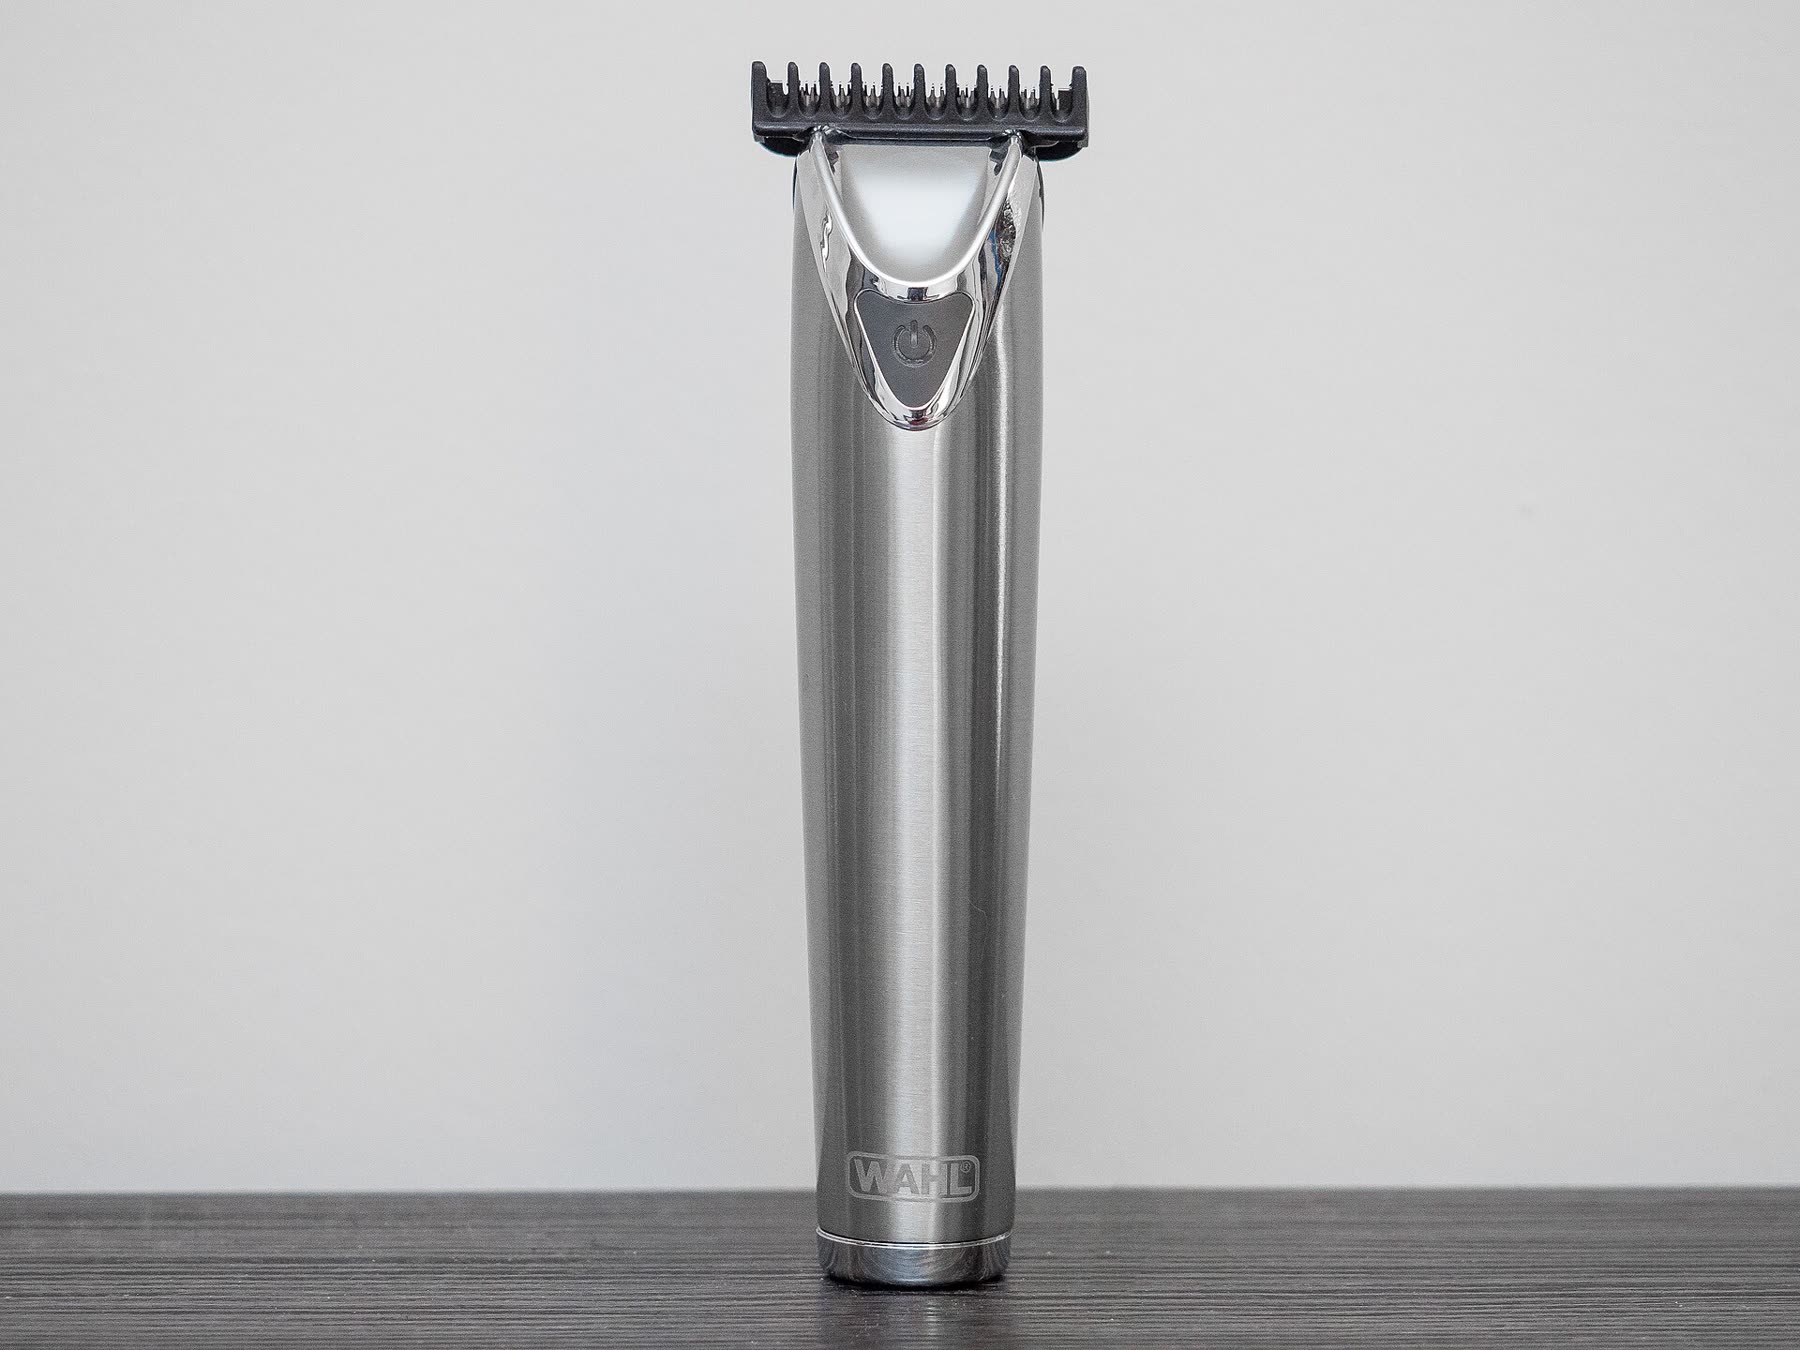
- Trimmers – Smaller, narrower blades meant for detailing and edging: cleaning up your neckline, around the ears, and beard lines. A tool explainer from Ridian notes that trimmers are optimized for accuracy in tight areas rather than taking down large sections of hair; see their overview of clipper vs trimmer roles in this clipper–trimmer–outliner guide.
- Outliners – A kind of detail trimmer barbers use for ultra‑sharp lines on hairlines and designs. For most home users they’re optional; a decent trimmer usually covers your basic edging.
Here’s how those roles translate to common DIY needs:
| Style / use case | Minimum tools that make sense | Guard approach (clipper) |
|---|---|---|
| Simple buzz cut (same length) | Clipper + guards | Choose one guard size and run it everywhere |
| Short corporate cut, tapered | Clipper + guards, optional trimmer | Longer guard on top, shorter on sides/back |
| Basic fade (no skin fade) | Clipper with multiple guards + trimmer | Start with medium guard, then lower for the lower sections |
| Beard + neckline maintenance | Trimmer, optional clipper for head | Use trimmer to edge, clipper if you also keep hair very short |
If you’re starting from zero and mainly want to avoid barbers for short haircuts, a clipper kit with guards plus a simple trimmer is a practical setup. Ultra‑precise outliners and specialty tools can wait until you’re comfortable with the basics.
Step-by-Step: How to Cut Men’s Hair with Professional Clippers
This is a conservative workflow adapted from professional and manufacturer guides such as HairTrimmerFactory’s how‑to article. It’s aimed at basic short cuts, not intricate skin fades.
Safety callout: You’re working with sharp blades close to skin and eyes. Keep the person seated, move slowly, and stop if you’re unsure. This is common‑sense grooming guidance, not medical advice or a guarantee of pro‑level results.
1. Prep the hair properly
- Wash and condition. Oily hair sticks together and catches more in clipper blades. Washing and conditioning helps the hair separate so the guards can work cleanly.
- Comb and fully dry. Wet hair lies differently than dry hair, so you can easily misjudge length. Comb the hair in its natural direction and make sure it’s dry.
- Set up your space. Use a chair, a main mirror, and a handheld mirror. Have your clipper, guards, trimmer, and a pair of hair scissors ready.
2. Section the hair
Part the hair the way it’s usually worn (side part, pushed back, etc.). Visually separate:
- Top
- Sides
- Back / neckline
You’ll cut sides and back first with clippers, then refine the top with scissors.
3. Cut the sides and back with guards
- Start with a longer guard than you think you need. Common practice for beginners is to be conservative and remove hair gradually. You can always go shorter; you can’t put hair back.
- Begin at the bottom and move upward. Manufacturer guides, including the HairTrimmerFactory workflow, describe placing the clipper at the bottom of the sideburn area and gliding it upward, following the shape of the head.
- Use the blade’s edge near transitions. Tilt the clipper slightly as you approach where the shorter sides meet the longer top. This helps soften the line instead of creating a hard shelf.
- Repeat on both sides, then the back. For the back, start at the nape and move up. Use the handheld mirror to check evenness frequently; cutting the back of your own head generally takes longer to master than the sides.
Unless you’re aiming for a very stylized cut, using the same guard length on sides and back creates a straightforward base length that’s easier to blend.
4. Add a simple fade (optional)
For a basic, forgiving fade (not barbershop‑sharp):
- Switch to one guard size shorter than you used for the main sides/back.
- Run the clipper over the lower half of the sides and back, starting at the very bottom and stopping halfway up, lifting the clipper slightly as you move upward.
- Work slowly, especially around the temples and above the ears. The goal is a gentle transition, not a harsh line.
Guides from clipper brands like Wahl echo this “shorter guard just on the lower section” approach for beginners rather than advanced lever work.
5. Trim the top with scissors in small sections
Most home haircuts look better if you leave the top a bit longer and shape it with scissors:
- Use hair scissors, not household craft scissors, which tend to be too dull.
- Comb a small section of hair straight up between your fingers.
- Cut only a little off the ends (roughly a quarter inch at a time) and use each previously cut section as a guide for the next, as described by HairTrimmerFactory.
- Move across the top in rows, then check the front hairline for balance.
For beginners, this “tiny sections, tiny cuts” method keeps you from accidentally chopping the top too short.
6. Edge and clean up
Use your trimmer or clipper (without guard or with a very short guard) to:
- Sideburns: Trim from the bottom upward to the desired length. The slight hollow beneath your cheekbone can be a reference point for where sideburns should end.
- Neckline/nape: Taper from higher on the neck downward, grazing the skin lightly at first and cutting closer as you reach the natural neckline.
- Loose hairs: Comb the hair out and check a horizontal section at equal points on both sides to see if lengths match; snip any obvious uneven bits.
Finally, rinse or brush off loose hair and style as usual so you can see the cut in its normal daily look.
Buying Men’s Clippers and Trimmers Online (Including DHgate)
If you’ve decided DIY haircuts are worth a try, the next question is what to buy and where to buy it.
DIY vs barber: quick pros and cons
Guides like WikiHow’s men’s haircut tutorial highlight that at‑home cutting can work well for simple styles if you accept a learning curve. In practice:
Pros of DIY with clippers
- Lower recurring cost if you cut frequently and share tools with family.
- Flexibility: you can trim on your own schedule instead of booking appointments.
- Good enough results for simple short styles once you learn a basic method.
Cons and trade‑offs
- Learning curve: expect a few imperfect cuts while you figure out guard lengths and fading.
- Limited styles: complex fades and detailed lineups are harder to replicate at home.
- Tool upkeep: you’ll need to clean and occasionally oil blades.
If you wear intricate fades or need ultra‑polished work for your job, you may land on a hybrid approach—DIY maintenance cuts, plus periodic visits to a pro.
Features that matter on a clipper or trimmer
When browsing any marketplace (Amazon, big‑box retailers, DHgate, etc.), focus on:
- Motor type and power (editorial judgment). Full‑size corded clippers tend to offer consistent power for thick hair. Cordless models trade that for convenience but rely on battery life.
- Blade material and maintenance. Look for stainless steel or similar blades and check that the tool can be cleaned easily. Many manufacturer guides highlight the importance of brushing off hair and occasionally oiling blades to keep them cutting smoothly.
- Guard range. A useful kit should include multiple guards for short to medium lengths so you can do both tight sides and softer top lengths. Salon and brand guides, like Hair.com’s basic clipper explainer, emphasize guard variety as the way clippers control length.
- Weight and ergonomics (editorial judgment). If you’re cutting your own hair, a lighter, well‑balanced clipper is easier to maneuver at the back of your head.
- Attachments and extras. Nose/ear trimmer heads, travel pouches, and extra combs may matter if you’re building an all‑in‑one grooming kit.
How DHgate fits into clipper and trimmer shopping
DHgate is a cross‑border marketplace that hosts many third‑party sellers offering clippers, trimmers, and related grooming tools. It can be useful as a discovery channel if you want lower upfront prices or wholesale‑style multi‑piece packs and you’re comfortable buying from overseas sellers.
Because DHgate listings are created and managed by independent sellers, it’s worth:
- Comparing product photos and descriptions carefully, especially around blade type and guard count.
- Reading buyer reviews for mentions of motor strength, battery life, and real‑world performance, not just stars.
- Checking the seller’s track record (ratings, number of completed orders) and starting with a small order before scaling, if you’re testing tools for family or light professional use.
Ultimately, the decision is straightforward: pick a clipper and trimmer setup that matches your hair type and style, practice the guard‑based method a few times, and then decide if the savings and flexibility of DIY cuts justify keeping them in your routine.