
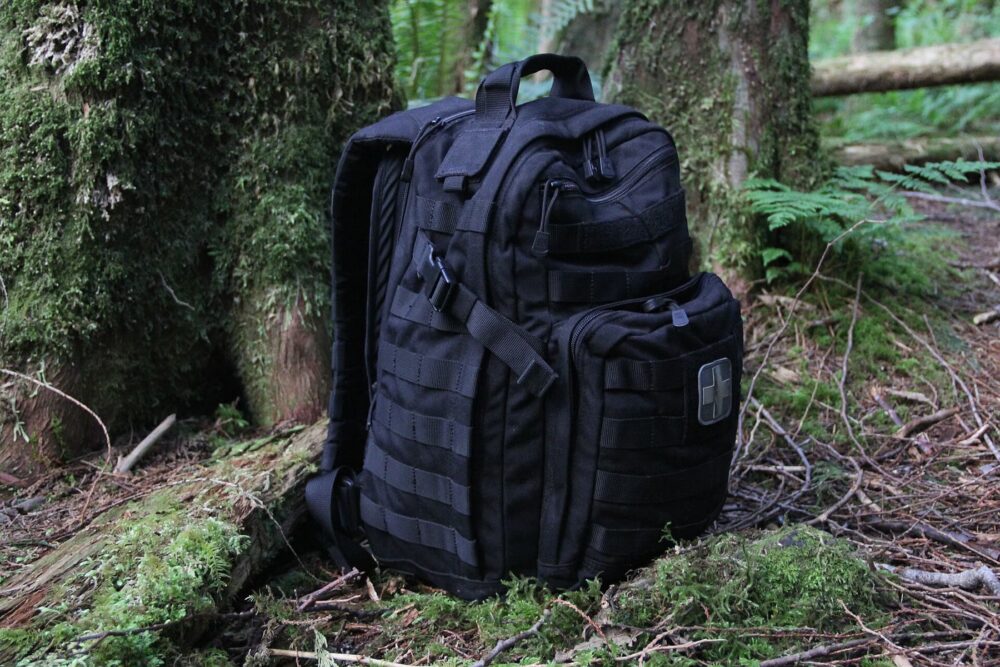
You pack a Highland-style tactical backpack well by treating it like a three-layer stack: softer bulk at the bottom, dense essentials in the middle close to your back, and quick-access items at the top and in external pockets or MOLLE. For a 72‑hour load, you prioritize food, water, basic shelter, tools, and first aid in that order; for everyday use, you downshift to lighter items and daily carry gear. Whether you buy a Highland Tactical brand pack from a US retailer or a similar tactical-style backpack on DHgate, the same structure and packing method apply—what changes is build quality, strap design, and how safely it carries weight.
What Military Tactical Backpacks Are and How Highland-Style Packs Are Laid Out
Tactical backpacks were originally built for military and law enforcement use. They tend to use tough fabrics, tactical colors, and features like hydration sleeves and multiple compartments, and they’re now popular for everyday and outdoor activities because of that durability and flexibility.
Highland Tactical and similar brands follow that pattern: a fairly rigid, rectangular pack with several zip compartments, internal organizers, and MOLLE webbing on the outside. That layout is what makes a careful packing plan worthwhile—if you load it randomly, you lose capacity and you feel every awkward lump against your spine.
Typical layout on this style of pack:
- Main compartment (bottom and middle): largest space, often with a sleeve for a hydration bladder and sometimes compression straps.
- Secondary compartment (middle/top): slightly smaller, good for clothing, food, or larger pouches.
- Admin/front pocket: shallow front pocket with slots for pens, small tools, notebook, power bank, keys.
- Side pockets or bottle pockets: sometimes zip or elastic; ideal for water bottles or compact items.
- MOLLE webbing: horizontal loops that accept compatible pouches (canteen holder, first aid kit, utility pouch).
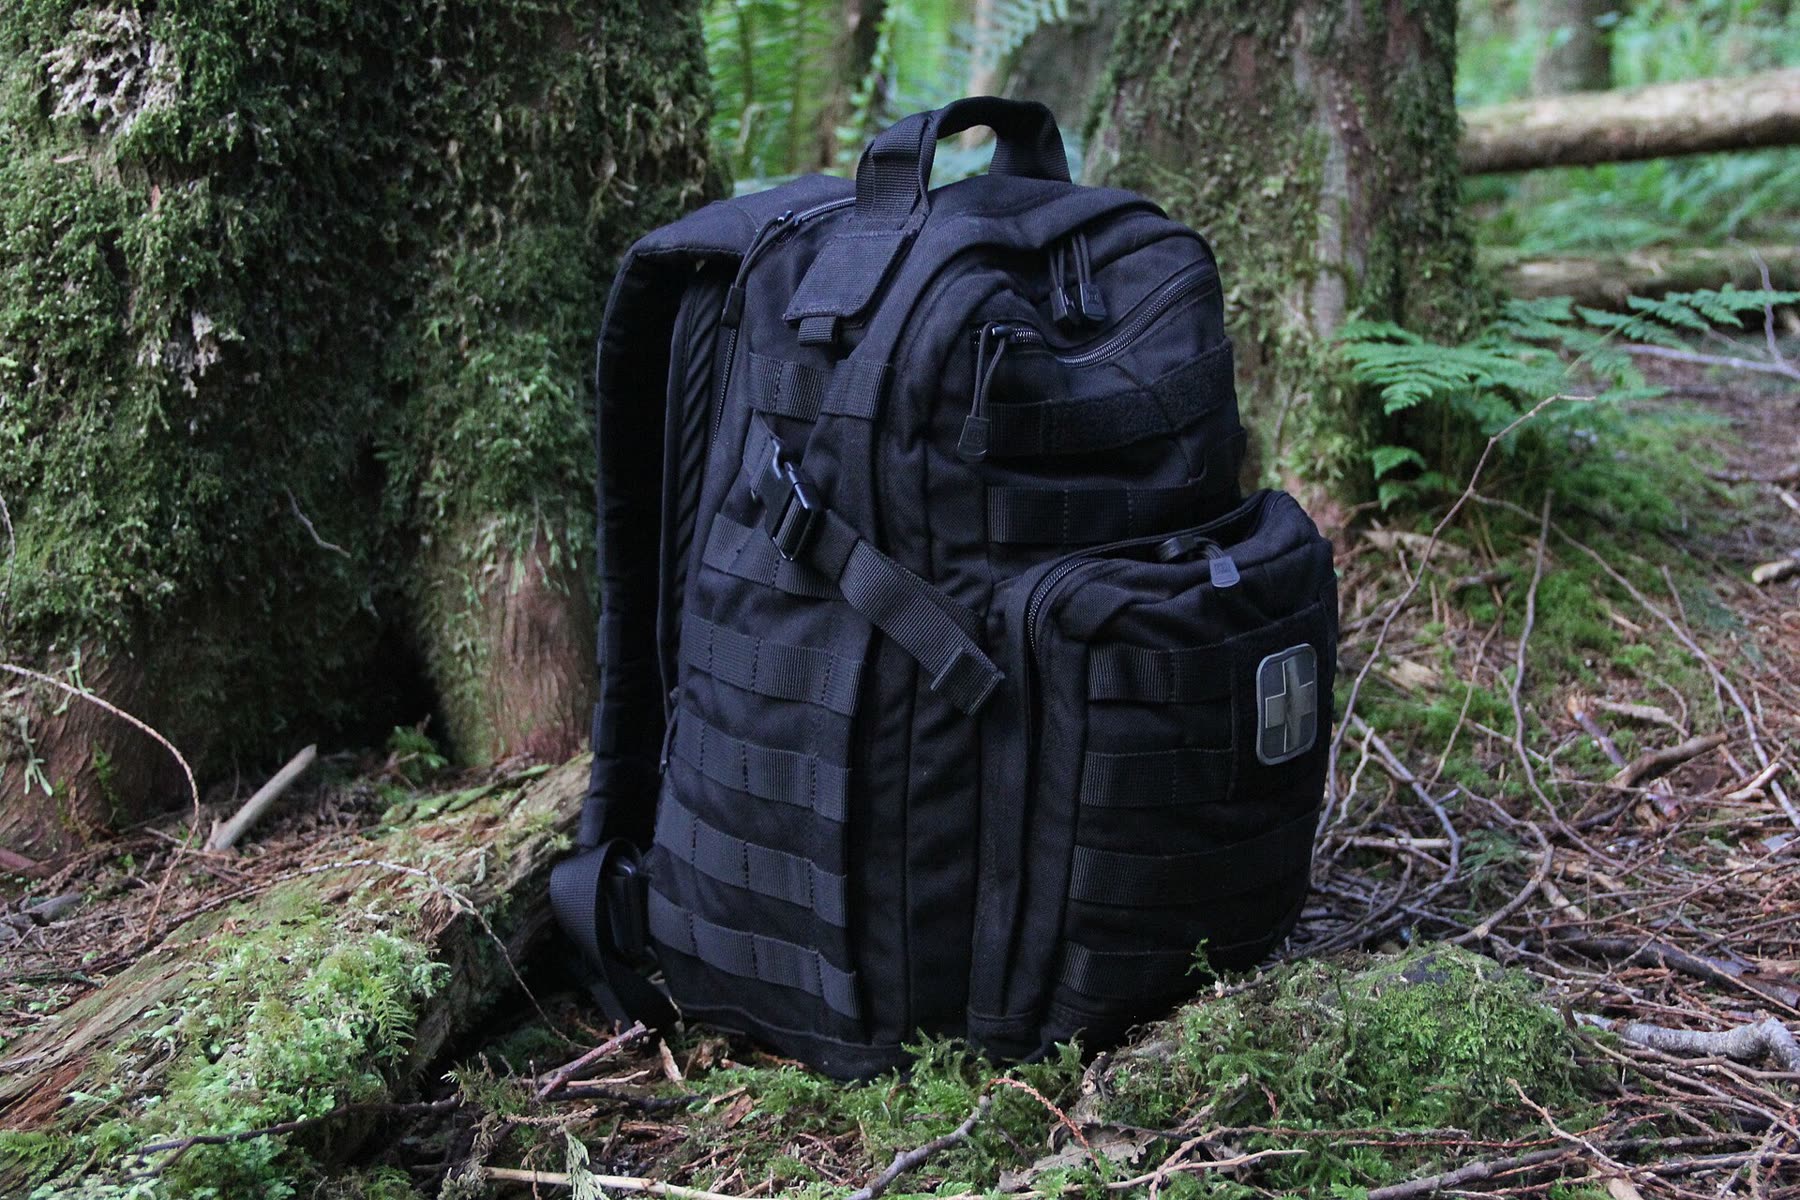
This compartment map is your packing blueprint: you’re not just stuffing gear anywhere, you’re assigning each layer and pocket a job.
For more background on choosing tactical packs, you can see Highland Tactical’s overview of backpack features in their blog article “How to Choose the Best Tactical Backpack For You”, keeping in mind it’s a brand’s perspective rather than a neutral authority.
Step-by-Step: How to Pack a Highland Tactical Backpack for Comfort and Access
Before you start loading, lay out your gear and separate it into categories: food, water, clothing, hygiene, tools, electronics, and medical. Decide if this is an everyday pack (work, range, day hike) or a 72‑hour-style load; the categories stay the same, but quantities change.
1. Build the Bottom Layer (soft, end-of-day items)
Use the deepest part of the main compartment for items you won’t touch until camp or home:
- Lightweight clothing (base layers, spare socks, compact hoodie)
- Hygiene kit (toothbrush, small soap, wipes)
- Sleep items if you carry them in the pack (compact blanket or liner)
These soften the bottom and help keep pressure even. Avoid putting hard, heavy objects here—no water bottles, stoves, or battery packs at the very bottom—because you’ll feel them through the frame or fabric.
Everyday example: spare hoodie, umbrella, small toiletry pouch.
72‑hour example: change of clothes, thermal layer, hygiene roll.
2. Load the Middle Zone Close to Your Back (dense essentials)
The middle of the main compartment, pressed closest to the back panel, is where weight belongs. Here you want dense, relatively compact items:
- Food: ration bars, dehydrated meals, trail mix
- Water: extra bottles or a full hydration bladder
- Tools: compact cook kit, multitool in a pouch, repair tape
- Shelter components: tarp or lightweight rain shell folded tight
Think of this as your mission core. For a survival-style 72‑hour load, this is where the bulk of your calories, water, and basic shelter pieces sit. For everyday carry, it might just be a lunch container and a small toolkit.
3. Pack the Top Layer (frequent-use and uncertain items)
The upper section of the main or secondary compartment is for things you might use at any time:
- Extra socks and gloves
- Power bank and cables
- Gloves, hat, small self-defense tools (where legal and appropriate)
- Items you’re not sure you’ll need but want accessible
If you’re unsure where something belongs, put it near the top on your first outing. If you never touch it, demote it to the middle or bottom next time. This keeps your pack evolving instead of staying cluttered.
4. Use Pockets and Admin Panels for Organization
Once the three core layers are set, move to the pockets:
- Admin/front pocket: keys, wallet, phone cord, pens, notepad, flashlight, lighter.
- Side pockets: slim water bottles, compact umbrella, small tripod, radio.
- Internal mesh pockets: small first aid items, spare batteries, compact snacks.
For everyday pack use, this keeps daily items from sinking into the main compartment. For 72‑hour loads, it lets you grab navigation tools and small medical supplies quickly.
5. Attach Gear with MOLLE (expand capacity tactically)
If your Highland-style pack has MOLLE, treat it as an external extension:
- First aid kit in a dedicated pouch
- Canteen or bottle holder
- Utility pouch for fire kit, navigation tools, or range gear
This is where many users move critical items like medical supplies: outside, visible, and reachable without digging. Just avoid hanging so much weight externally that the pack becomes lopsided or snags easily.
Everyday vs 72‑Hour: How the Packing Changes
Using the same Highland-style layout, you can shift emphasis depending on the mission:
| Scenario | Bottom layer focus | Middle layer focus | Top/pockets focus |
|---|---|---|---|
| Everyday carry | Spare clothing, hygiene | Lunch, small toolkit, maybe a tablet or notebook | Keys, wallet, electronics, small first aid |
| Range/shift day | Clothing, basic comfort items | Ammo boxes, water, simple tools | Eye protection, gloves, timers, paperwork |
| 72‑hour load | Clothing, hygiene, liner | Food, water, shelter pieces, main tools | Navigation, fire kit, quick first aid |
The structure doesn’t change; you’re just adjusting what volume goes into each category.
Buying a Highland-Style Tactical Backpack on DHgate and Alternatives
If you like the Highland Tactical layout but are shopping across marketplaces, you’ll find a lot of similar packs—especially on cross-border sites like DHgate. DHgate functions as a marketplace where multiple sellers list tactical-style backpacks for US buyers, but inventory and quality vary by seller and by listing.
When you evaluate a pack online, whether it’s a Highland Tactical-branded model from a US retailer or an unbranded clone on DHgate, focus less on the hero image and more on construction and comfort details:
- Fabric and stitching: Look for clear photos of seams, bar-tacks on stress points, and fabric description (for example, polyester vs nylon). Loose threads or thin webbing in photos are early warning signs.
- Strap and harness design: Wide, padded shoulder straps and a sternum strap help once you load the pack with dense gear. Some tactical packs also include a waist or hip belt and small load-lifter straps at the top of the shoulders; these features can make a big difference in carrying comfort if you plan heavy 72‑hour loads.
- Adjustability: Check listing photos for strap length, anchor points, and whether the sternum and waist straps look adjustable. Being able to dial in fit to your torso length matters for long walks or hikes.
- Compartments and capacity: Check how many true zip compartments there are, and whether the listing shows internal organization—sleeves, mesh pockets, admin panels. Match this to your packing plan above so you’re not improvising with a layout that fights your gear.
- MOLLE and hardware: Study how many rows of webbing you actually get, and what kind of buckles and zippers are used. Plastic hardware that visibly flexes or warps in close-up shots is a red flag.
- Reviews and user photos: On any marketplace, user photos of the pack loaded are valuable; they often reveal sagging, strap issues, or surprisingly good durability.
These checks line up with common guidance from gear-focused brands and blogs, such as the feature breakdown in Highland Tactical’s article “How to Choose the Best Tactical Backpack For You”, while keeping your decisions grounded in what you can actually see in listing photos.
When DHgate Makes Sense vs Other Channels
Using DHgate specifically makes sense if you:
- Want a budget-friendly, tactical-style pack and can accept variation and the need to inspect the listing carefully.
- Are comfortable comparing multiple sellers and walking away from listings that look flimsy or under-documented.
It’s a poor fit if you:
- Need a pack for professional duty use where failure is unacceptable.
- Prefer well-known brands with more predictable materials and strap systems.
If DHgate listings don’t show the level of build detail you’re comfortable with, or you need a vetted brand for work or serious backcountry use, you may be better off buying a Highland Tactical or similar pack directly from a US retailer or outdoor gear site.
From a packing perspective, though, the same rules apply: whatever tactical backpack you choose, plan your load by purpose, stack soft items at the bottom, keep dense essentials centered and close to your back, move quick-access gear to the top and pockets, and use MOLLE for critical attachments you want immediately at hand.